# Integrate Cloud Voice with an LDAP Server
Linking Cloud Voice to an LDAP (Lightweight Directory Access Protocol) server lets the system look up incoming callers against your directory in real time. When a caller's number matches an LDAP contact, Cloud Voice pulls the corresponding record and shows the caller's name instead of a bare number.
## Before you begin
| Item | Requirement |
| --- | --- |
| Cloud Voice PBX | **Plan:** Enterprise Plan (EP) or Ultimate Plan (UP)
**Firmware:** Version 84.18.0.102 or later |
| Third-party LDAP server | None |
## Step 1. Turn on LDAP integration
1. Open the LDAP configuration page.
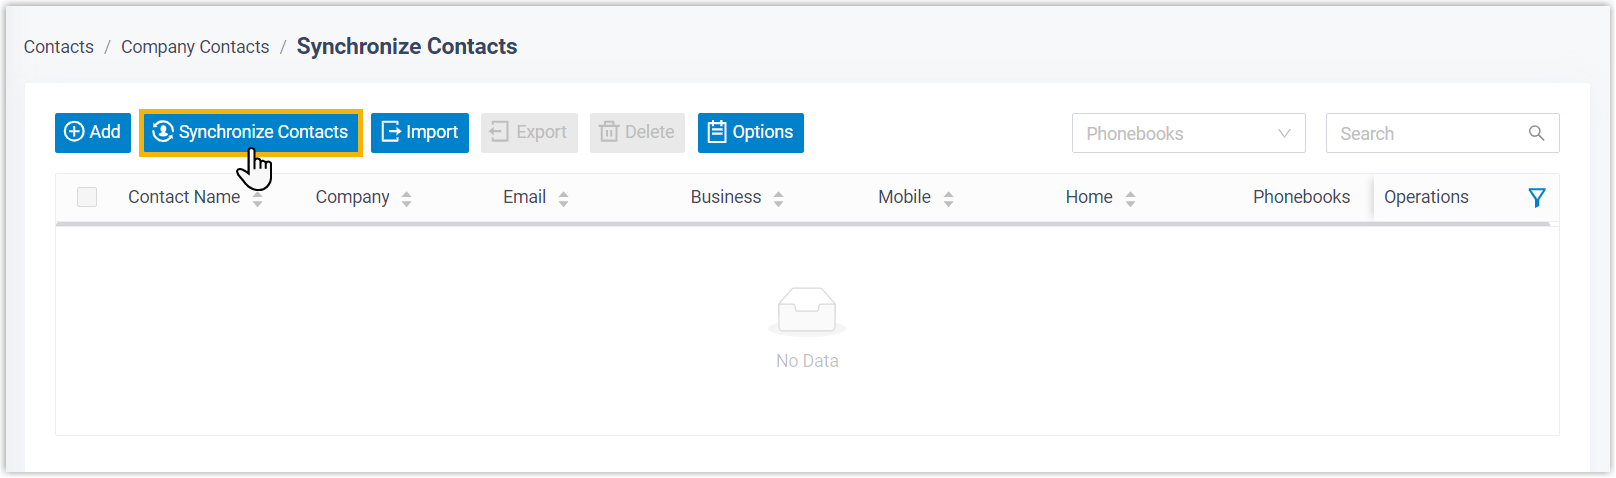
1. Sign in to the PBX web portal and go to **Contacts > Company Contacts**.
2. At the top of the page, click **Synchronize Contacts**.
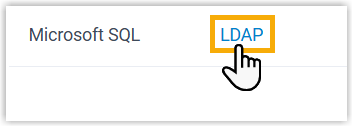
3. Select the **LDAP** tab.
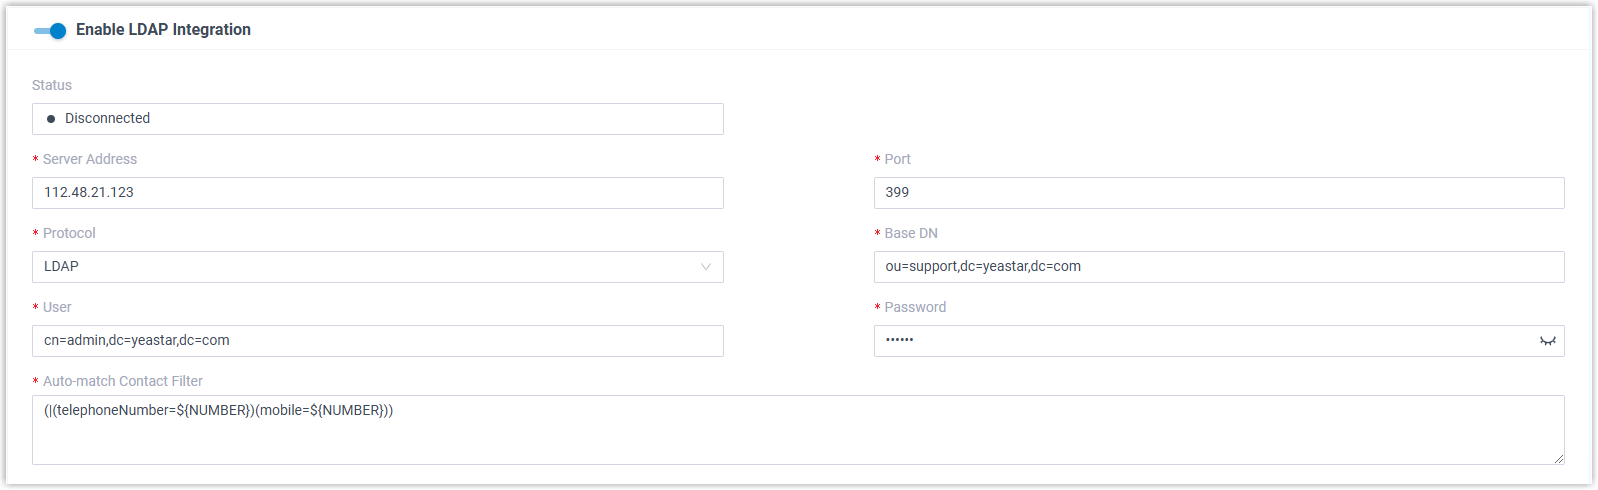
2. Enable **Enable LDAP Integration**, then fill in the connection settings described below.
| Setting | Description |
| --- | --- |
| Server Address | The hostname or IP address of your LDAP server. |
| Port | The port your LDAP server listens on. |
| Protocol | The transport to use:
**LDAP** sends data as plain text.
**LDAPS** wraps the connection in SSL/TLS to encrypt and authenticate traffic between Cloud Voice and the LDAP server. |
| Base DN | The Distinguished Name (DN) that acts as the starting point for contact searches during caller ID matching and synchronization. It must contain a Domain Component (DC) attribute that identifies the root of the directory tree, written as `dc={domain_prefix},dc={domain_suffix}`. Add one or more Relative Distinguished Names (RDNs) to narrow the search. See the examples below. |
| User | The username Cloud Voice uses to bind to the LDAP server. |
| Password | The password for that username. |
| Auto-match Contact Filter | The filter statement used to match a caller's number against directory entries. It must include the `${NUMBER}` variable (the caller's number) and reference at least one number attribute. See the example below. |
**Base DN examples**
- `dc=example,dc=com`, searches contacts starting from `example.com`, the root of the directory tree.
- `ou=support,dc=example,dc=com`, searches only the `support` organizational unit within `example.com`.
**Auto-match Contact Filter example**
`(|(telephoneNumber=${NUMBER})(mobile=${NUMBER}))`
With this filter, an inbound call causes Cloud Voice to compare the caller's number against both the `telephoneNumber` and `mobile` attributes. On a match, it retrieves that contact and shows the caller's name.
:::note
The bind account you supply under **User** must be able to read the attribute types and object classes defined in the server's schema.
:::
:::tip
Choose **LDAPS** whenever your server supports it. Plain **LDAP** sends everything across the network unencrypted, including the bind username and password you enter above.
:::
## Step 2. Map contact fields
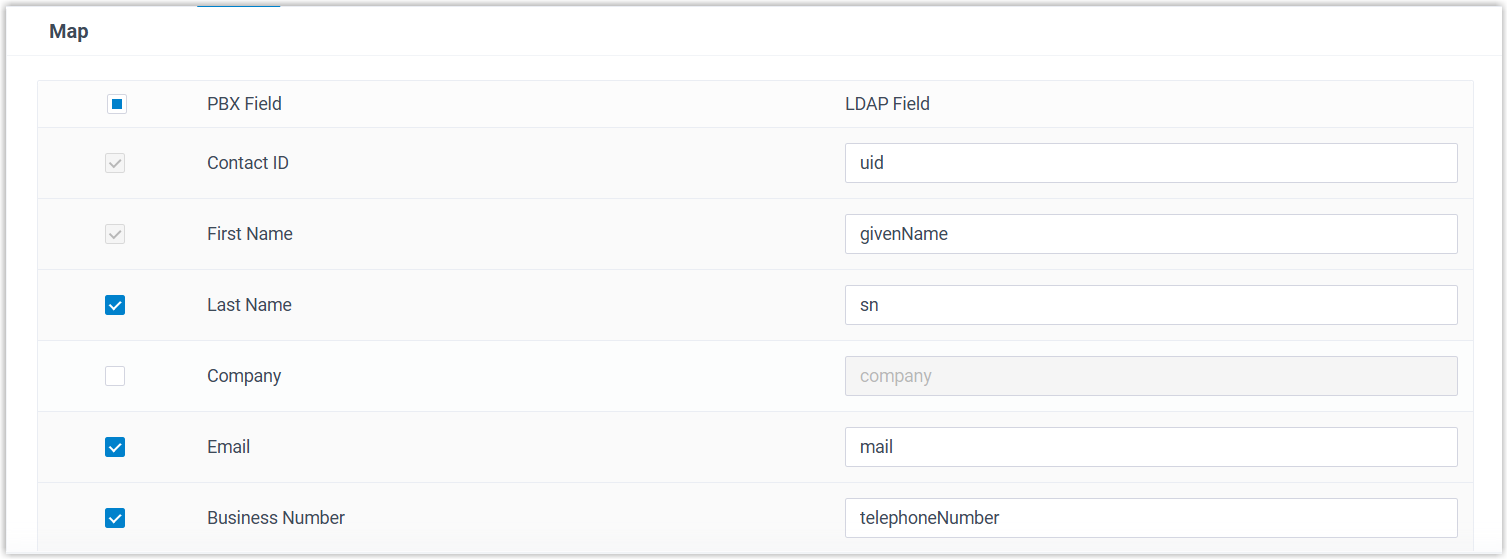
Field mapping tells Cloud Voice which LDAP attributes correspond to each contact detail it displays or stores.
1. Scroll down to the **Map** section.
2. Map the fields needed to display a caller's name.

1. For **Contact ID**, **First Name**, **Business Number**, and **Mobile Number**, enter the matching LDAP attribute name. Once mapped, a matched inbound call shows the contact's first name.
:::note
**Business Number** and **Mobile Number** are mapped here because they are the attributes used in the auto-match filter above. Map whichever number field(s) your own filter references.
:::
2. Optional: to also show the contact's last name, select the **Last Name** checkbox and enter its LDAP attribute name.
3. To copy LDAP contacts into the PBX, enable the fields you want to synchronize and map them as well.
4. Click **Save**.
## Result
- Cloud Voice is now connected to your LDAP server.
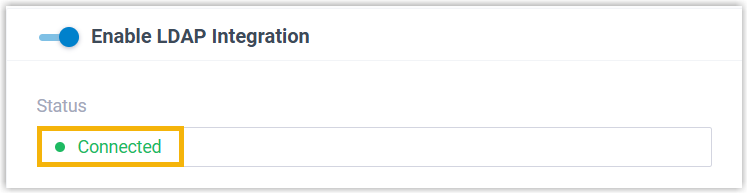
- When an incoming call matches an LDAP contact, the caller's name is displayed.
## What to do next
To let extension users place calls to LDAP contacts directly from the Cloud Voice App, set up contact synchronization so those records are pulled into the PBX. See [Set up Contact Synchronization from LDAP Server](/pbx/integrations/ldap/set-up-contact-synchronization-from-ldap-server/).