
Create & Manage Trunks
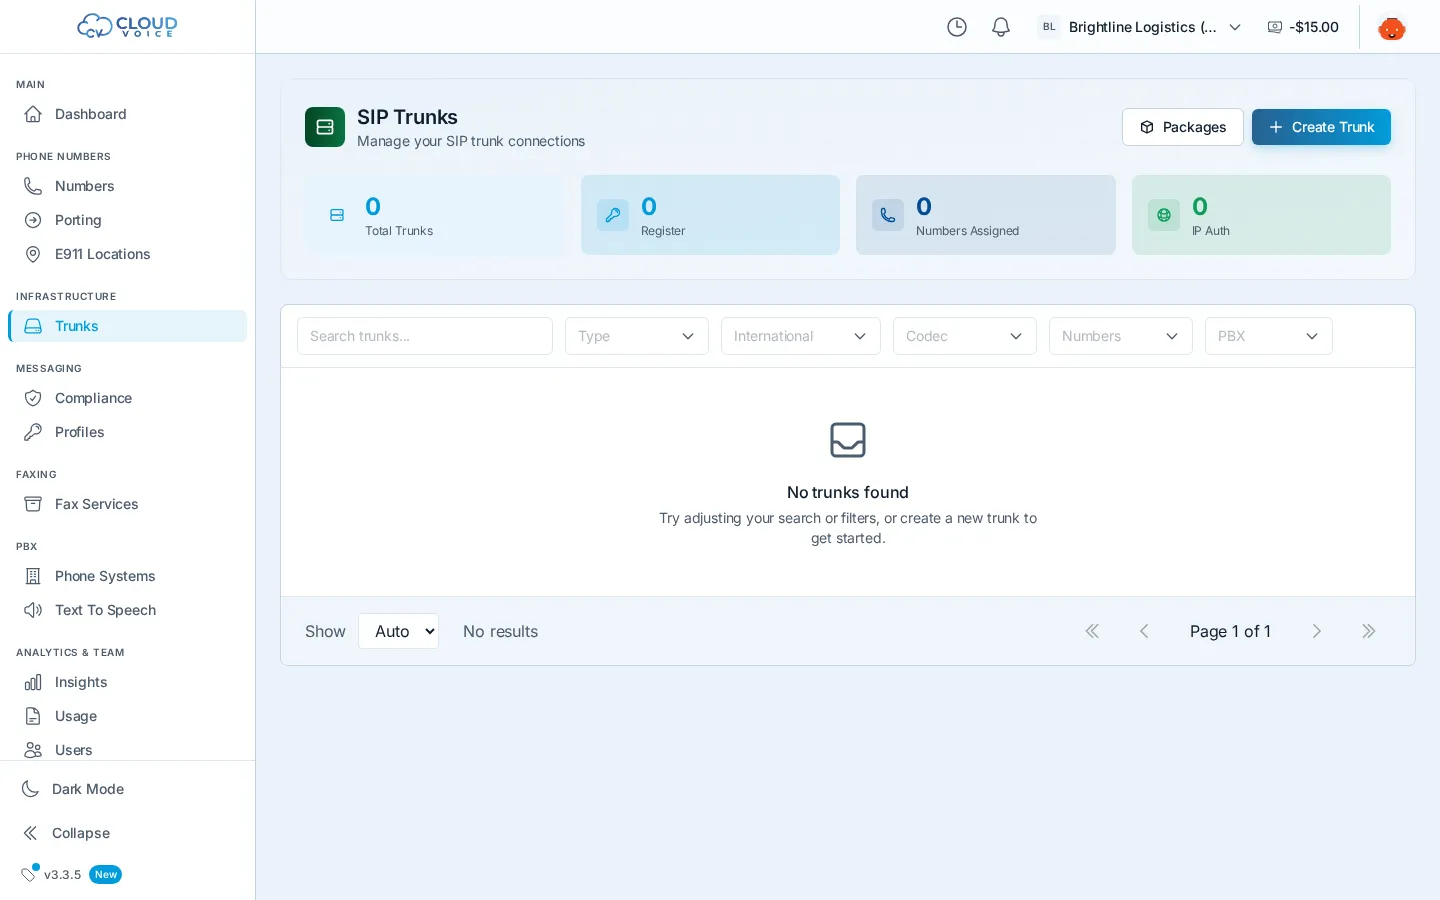
Trunks are created and managed from the dashboard under Infrastructure → Trunks. A short wizard walks you through choosing a type, naming the trunk, and setting up authentication; once created, the trunk appears in your trunk list alongside its status and the numbers attached to it.
Create a trunk
Section titled “Create a trunk”- Sign in at portal.voice.izt.cloud and open Trunks.
- Click Create Trunk to start the wizard.
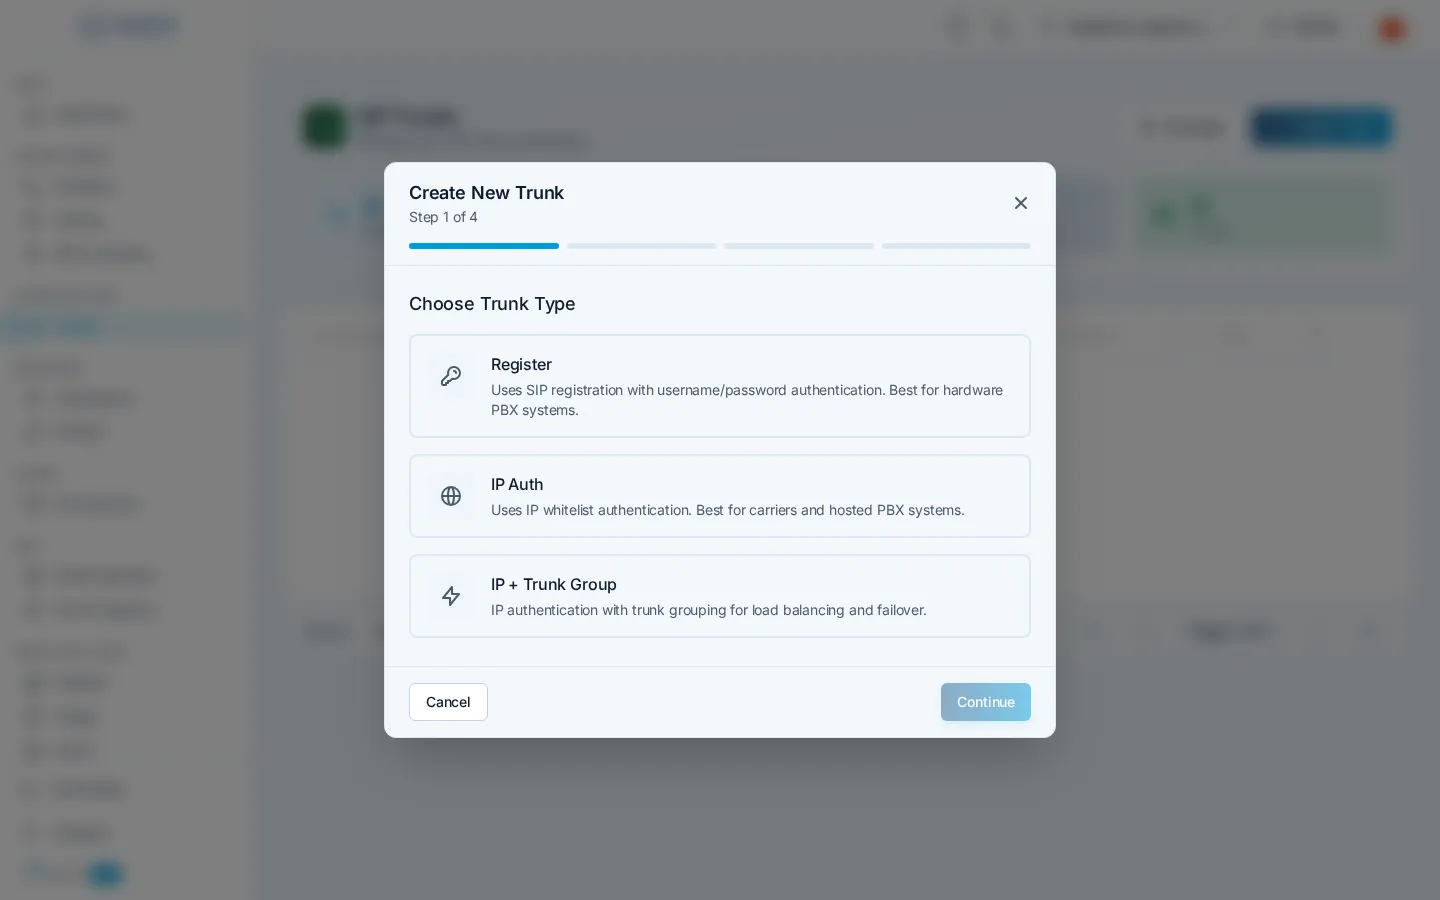
- Choose a type: pick what matches your equipment: Register (credentials are generated for you), IP, or IP + Trunk Group. See Trunk Authentication if you’re unsure.
- Name it: give the trunk a descriptive name (at least 3 characters), e.g. “Main Office PBX”.
- Authentication: for Register trunks, credentials are generated automatically. For IP types, add at least one IP address in CIDR format (for example
203.0.113.10/32). - Review & create: set the codec priority and remaining options, then click Create Trunk.
Codecs and options
Section titled “Codecs and options”Each trunk carries an ordered codec preference list used to negotiate media. Supported codecs include OPUS, G722, PCMU, PCMA, G729, GSM, iLBC, AMR, and others; put your preferred codec first. Trunks also support:
- International calling controls: country-code allow/block lists (see Outbound Calling & Caller ID).
- Caller ID override: force a specific number you own as the outbound caller ID.
- Tags: label trunks for organization and bulk filtering.
- PBX attachment: connect the trunk to a hosted PBX on your account.
- Host (IP-type trunks), the IP address or hostname, optionally with a port, where inbound calls to this trunk should be delivered.
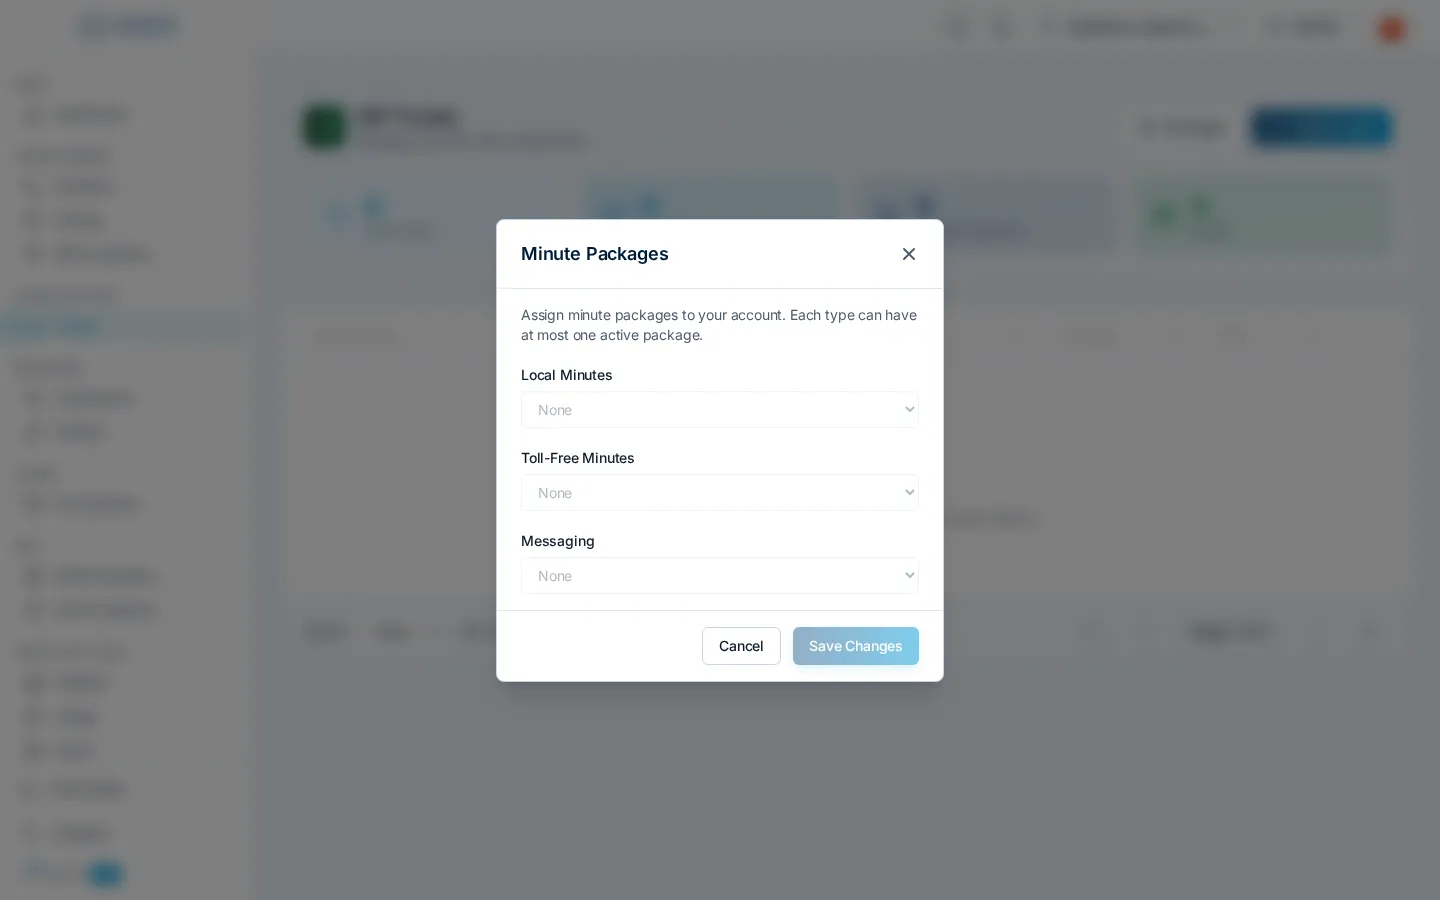
Each trunk also has a Packages dialog, opened from the trunk list, where you can review the packages attached to that trunk.
Viewing status
Section titled “Viewing status”- The trunk list shows each trunk’s type and how many numbers route to it.
- A Register trunk’s detail panel shows live registration status: the registered contact, the user agent of your PBX, and reachability with round-trip latency.
- Each trunk exposes live statistics for current calls and traffic, see CDRs & Call Troubleshooting.
- The dashboard home page includes a Trunk Health widget, so anything degraded shows up first thing when you sign in.
Update or delete a trunk
Section titled “Update or delete a trunk”You can rename a trunk and change its IP allowlist, host, codecs, international settings, caller ID override, tags, and PBX attachment at any time from its detail panel. For Register trunks you can also regenerate the password: the new credentials take effect immediately, so update your PBX right after.
Deleting a trunk fails while phone numbers still route to it. Re-route or remove those numbers first (see Inbound Number Routing), then delete the trunk.
Question about this page?
Ask the AI assistant. It starts from this page, then searches the rest of the docs.
Ask Cloud Voice AI
Answers are AI-generated from the docs and may contain mistakes. Verify with the linked pages.