
E911 Emergency Locations
When someone dials 911 from one of your numbers, emergency dispatchers see the registered address for that number, not where the caller happens to be standing. The E911 Locations page is where you register and validate those addresses, then assign them to numbers so every phone on your account is 911-ready.
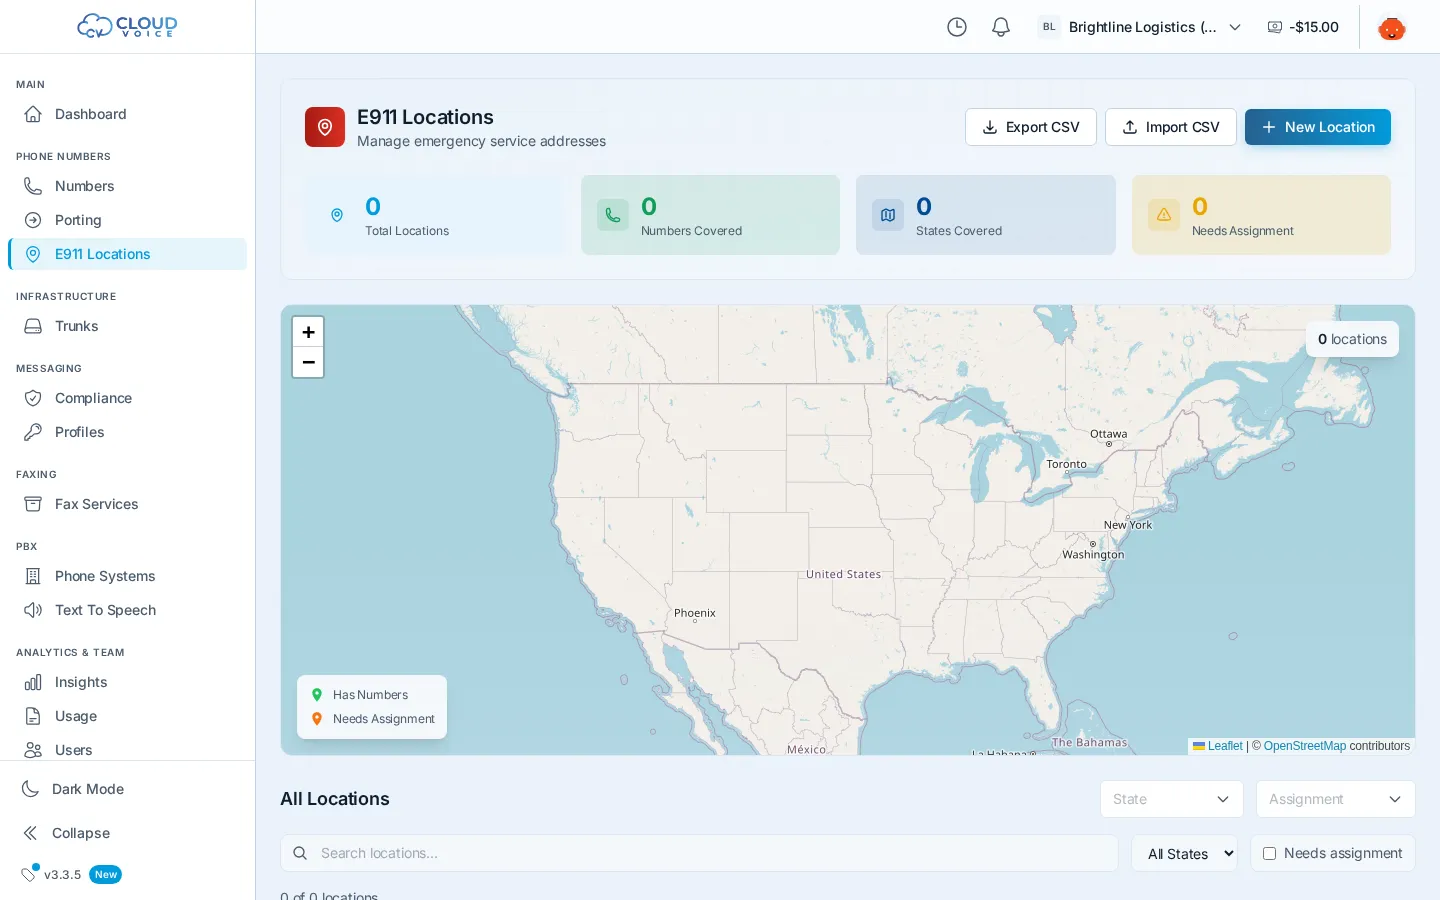
Add an emergency location
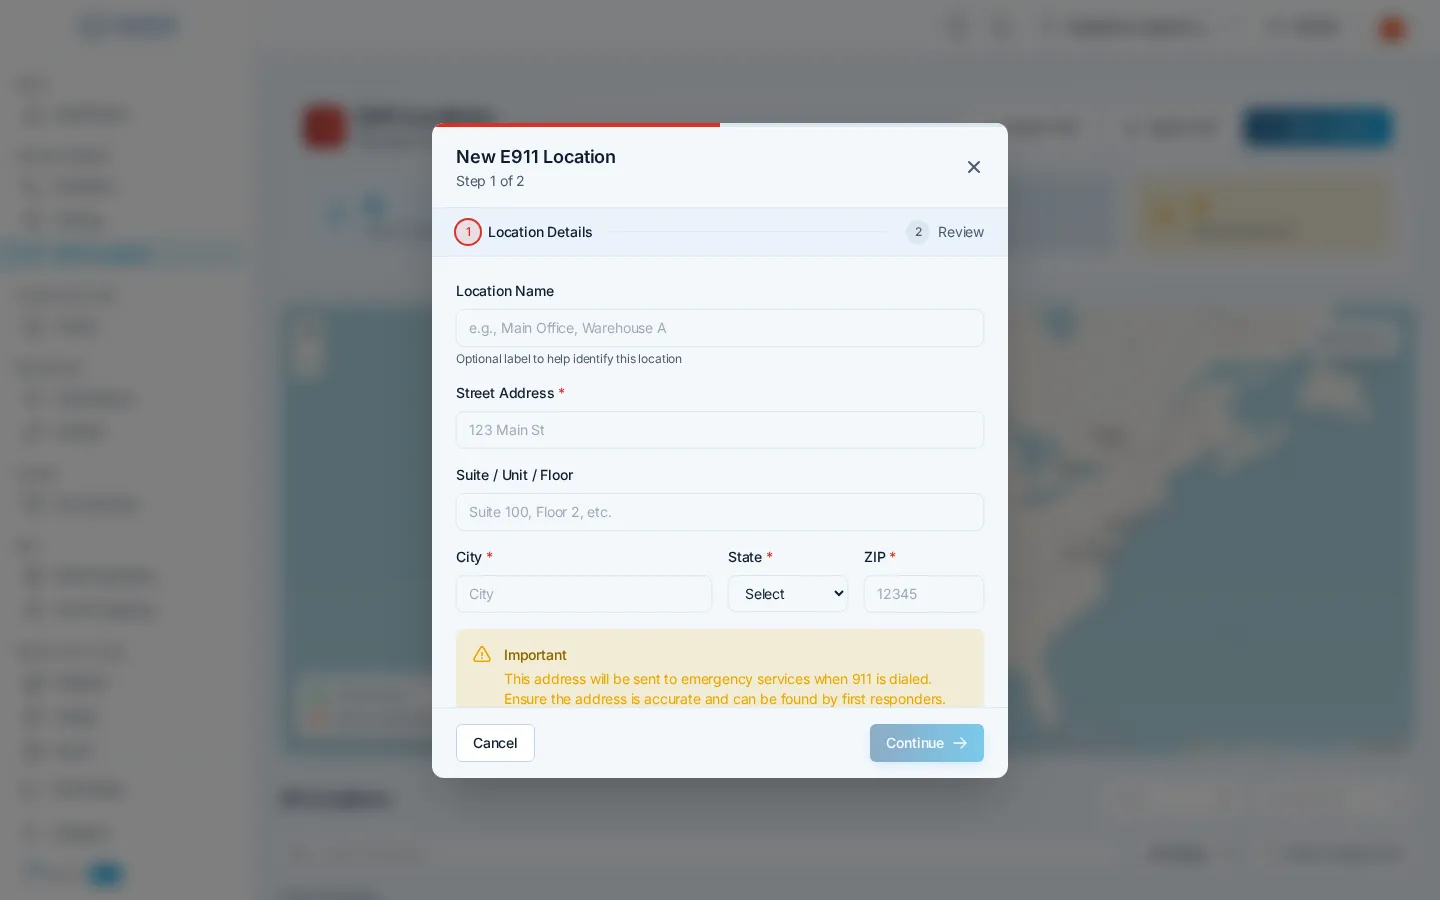
Section titled “Add an emergency location”- On the E911 Locations page, click New Location.
- Enter the full street address where the phone is physically located, this is exactly what dispatchers will see. Include suite, floor, or unit details.
- The address is validated against postal address records; you’ll be prompted to fix anything that can’t be verified.
- Review the address carefully, then click Create Location.
Assign a location to numbers
Section titled “Assign a location to numbers”Locations don’t do anything until numbers point at them:
- Open a number on the Numbers page and pick the location from the E911 location dropdown in its detail panel.
- Assigning many phones at one site? Select multiple numbers with the checkboxes and set the location once with bulk edit.
- On the Numbers page you can filter by “no E911 location” to find any numbers that still need one.
Manage your locations
Section titled “Manage your locations”The E911 page shows your locations both as a map with markers and as a list:
- Each location card shows its address and how many numbers are assigned to it.
- Click a marker or card to open the detail panel, see the assigned numbers, and edit the address.
- Filter by state or by whether a location has numbers assigned.
- Deleting a location that still has numbers assigned shows a warning first, reassign those numbers before removing it.
Question about this page?
Ask the AI assistant. It starts from this page, then searches the rest of the docs.
Ask Cloud Voice AI
About
Answers are AI-generated from the docs and may contain mistakes. Verify with the linked pages.