
Messaging Profiles
A messaging profile is the bridge between your application and your phone numbers: it holds the API credentials your integration authenticates with and the webhook settings that deliver inbound messages and delivery receipts back to you. Create one profile per integration or environment, then attach the numbers it should send and receive on.
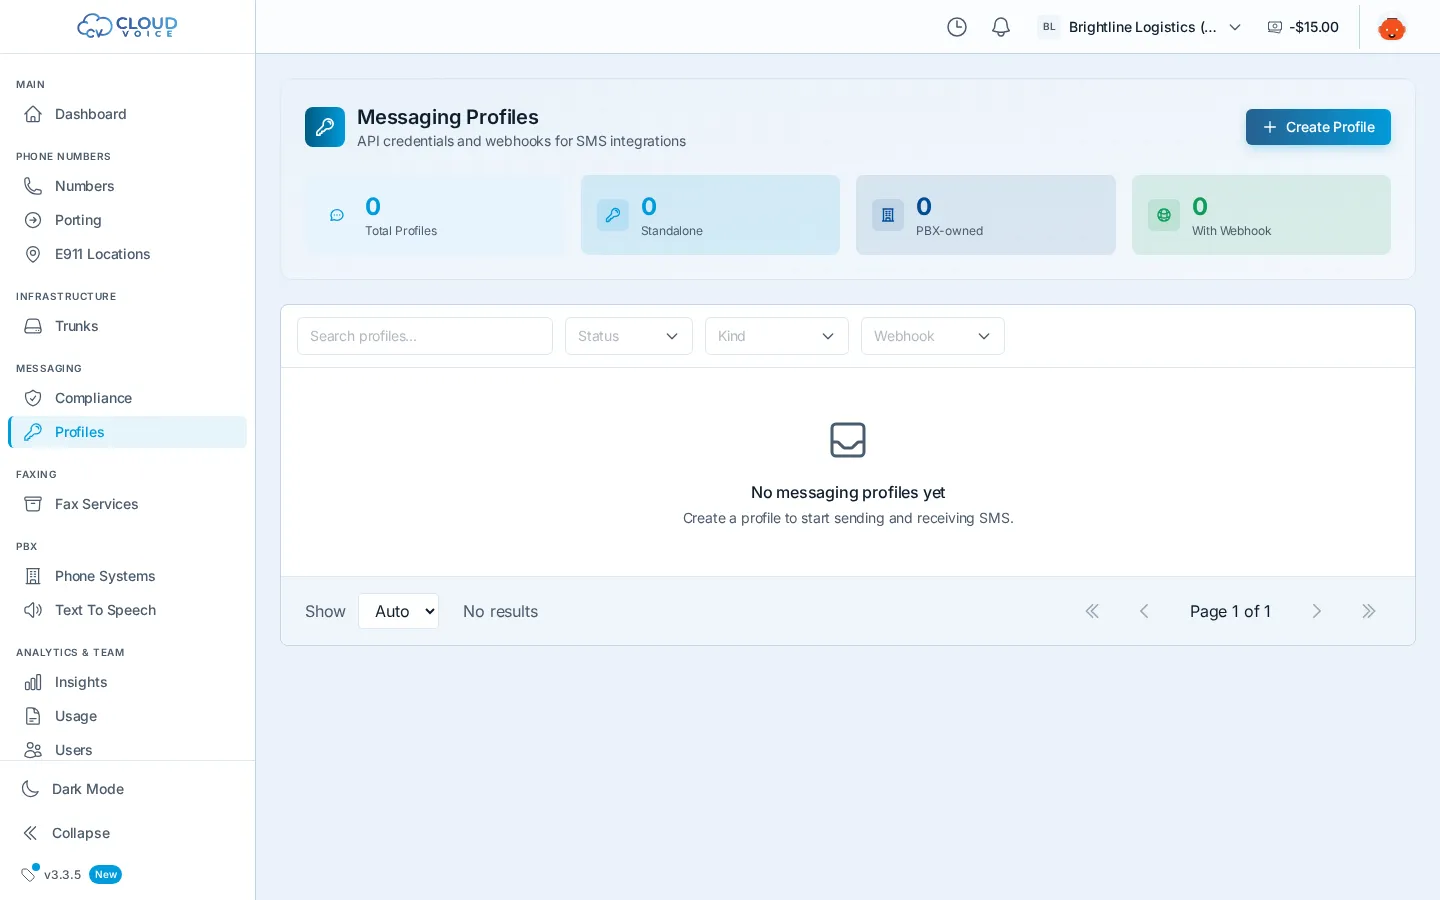
Create a profile
Section titled “Create a profile”- Go to Messaging → Profiles and click Create Profile.
- Name the profile and set its webhook URL: the endpoint in your application that should receive inbound messages and delivery receipts.
- Save.
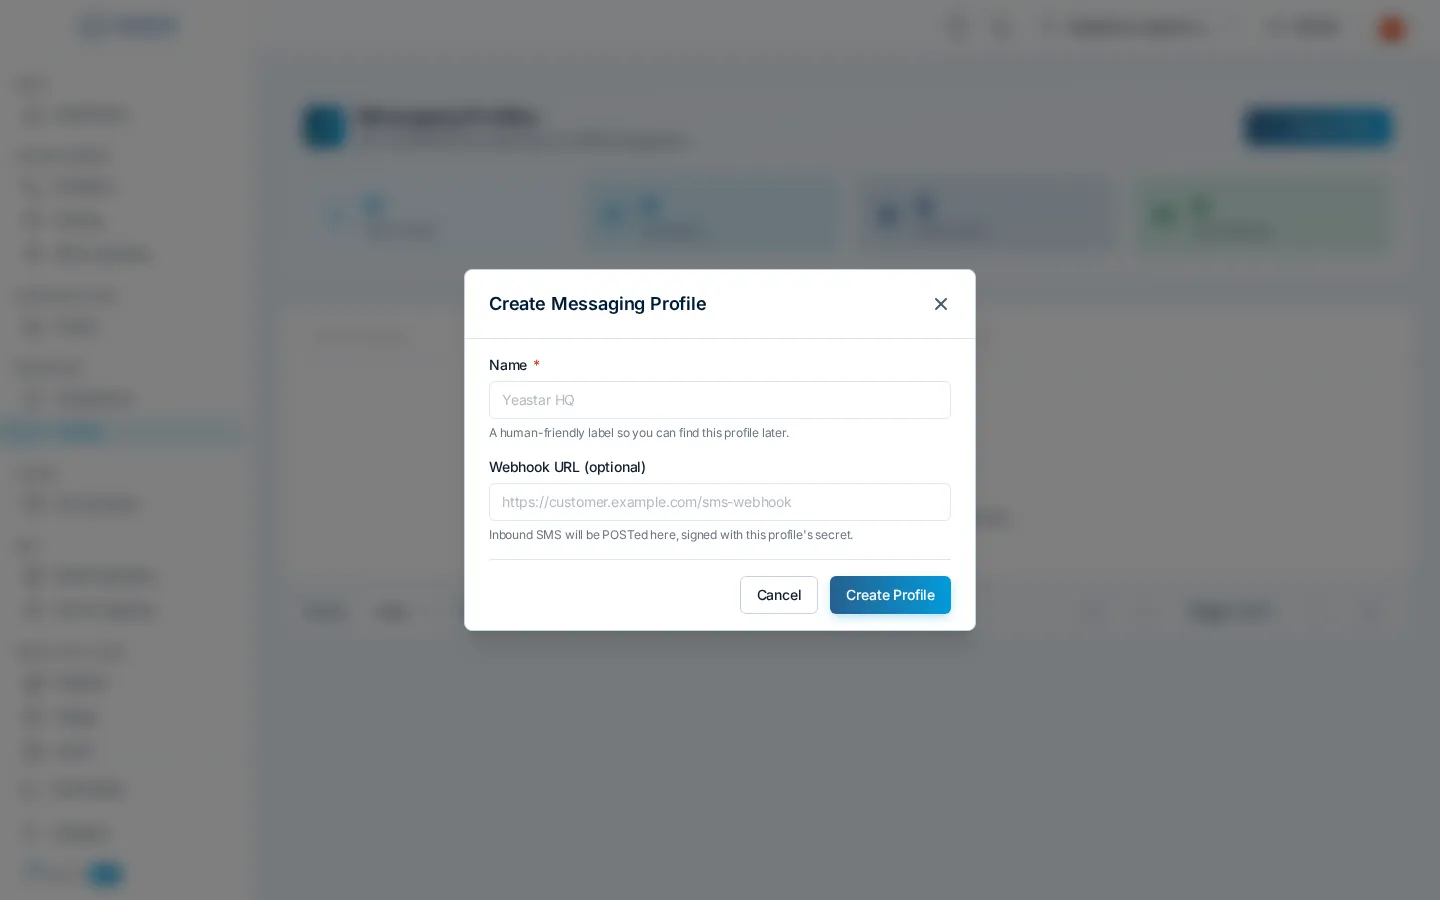
The new profile appears in the list with its credentials ready to use.
Connect your integration
Section titled “Connect your integration”Open the profile and copy its API credentials into your application’s configuration. From then on:
- Outbound messages your app sends through the API are authenticated by the profile.
- Inbound messages and delivery receipts are POSTed to the profile’s webhook URL as they happen.
Keep credentials secret; treat them like any other API key.
Attach numbers
Section titled “Attach numbers”Attach message-enabled numbers to the profile so it has numbers to send from and receive on. Two compliance points to remember:
- The number must have SMS/MMS capability, check its features on the Numbers page.
- For US local (10DLC) traffic, the number must also be attached to an active campaign: see Messaging Compliance.
Watch your traffic
Section titled “Watch your traffic”Every conversation your profiles handle, inbound and outbound, with delivery status and media, is visible under Messaging Insights.
Question about this page?
Ask the AI assistant. It starts from this page, then searches the rest of the docs.
Ask Cloud Voice AI
Answers are AI-generated from the docs and may contain mistakes. Verify with the linked pages.