
Users & Roles
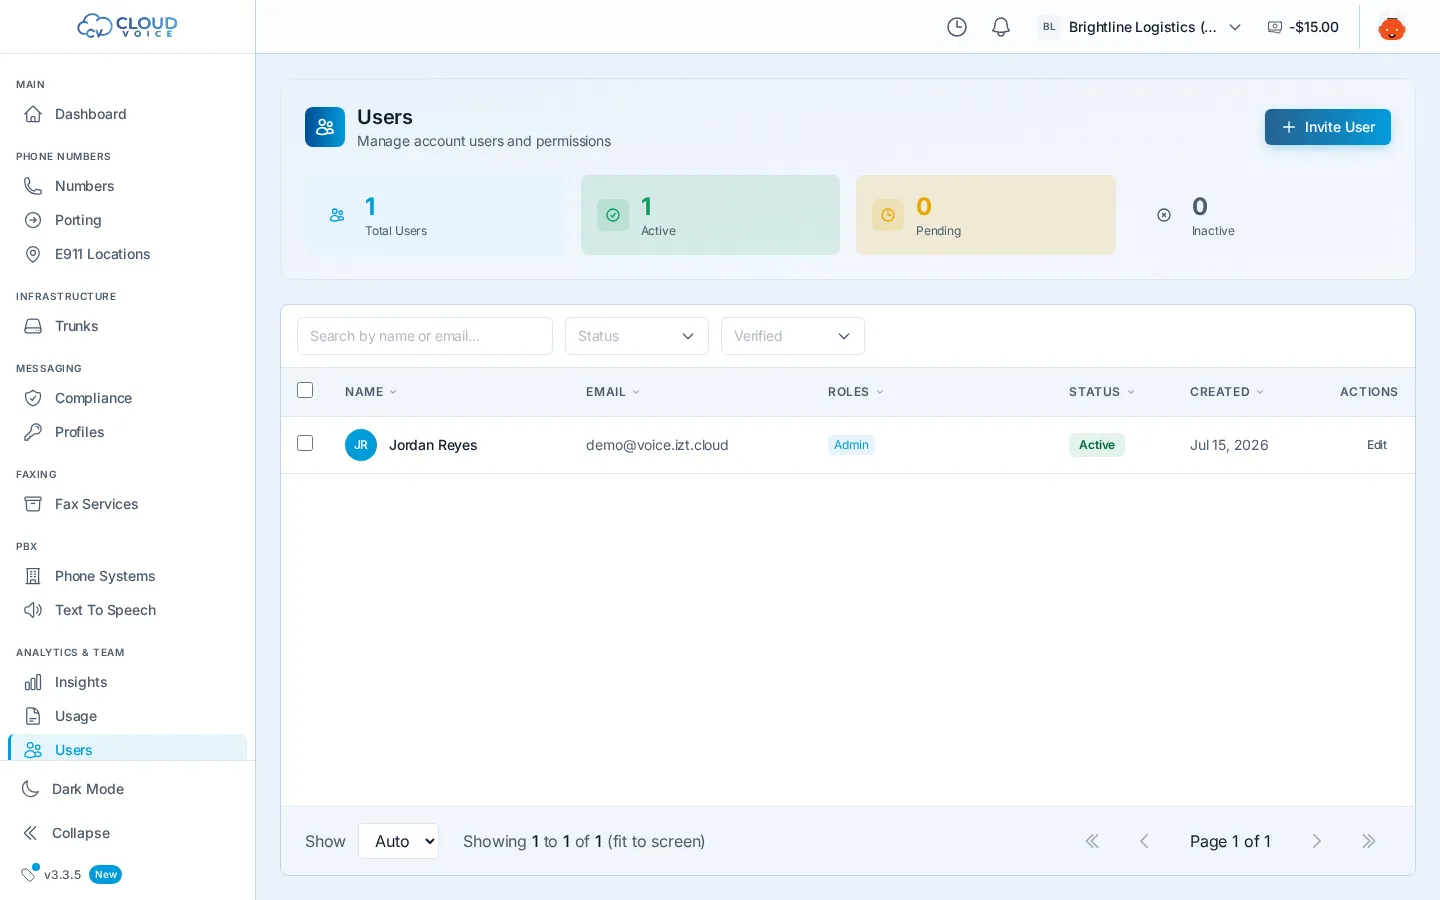
The Users page is where you add teammates to your account and manage what they can access. Invitations are passwordless, invitees sign in with a magic-link email, the same way you do, and permissions are granted by assigning roles.
Invite a teammate
Section titled “Invite a teammate”- On the Users page, click Invite User.
- Email & roles: enter the person’s email address and pick any roles to assign, then click Next.
- Review & send: check the details, then click Invite User.
The invitee receives a magic-link email, there’s no password to share. If the email address is brand new to the platform, they get one extra step to set their name. They appear in your user list as Pending until they accept, then flip to Active. You can resend the verification email from a user’s detail panel if it went astray.
Manage users
Section titled “Manage users”The user list shows each person’s name, email, roles, and status. You can:
- Search by name or email, and filter by status, role, or verification.
- Open a user to view their details and resend verification.
- Change roles at any time from this page.
- Remove a user to revoke their access (with confirmation). You can’t remove yourself.
Roles (Beta)
Section titled “Roles (Beta)”A role is a reusable bundle of permissions, define it once, assign it to many users, and update it in one place when responsibilities change.
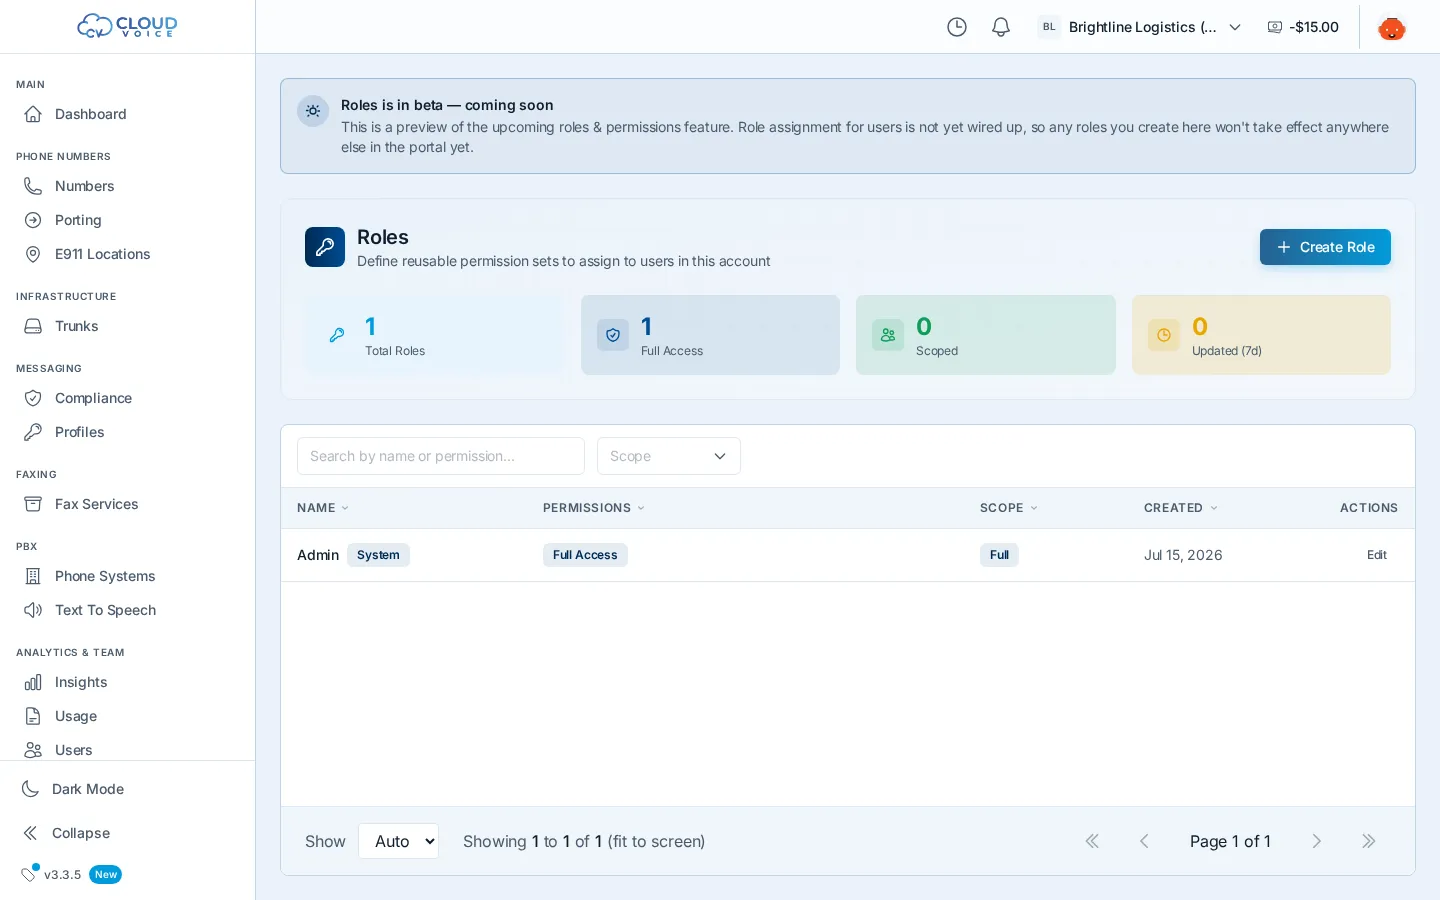
- On the Roles page, click Create Role.
- Name the role: something clear and unique, like “Billing Viewer”, then click Next.
- Choose permissions: select what the role grants, then click Create Role.
Assign roles from the Users page, either while inviting someone or on an existing user. When you edit a role later, everyone who has it inherits the change automatically.
Question about this page?
Ask the AI assistant. It starts from this page, then searches the rest of the docs.
Ask Cloud Voice AI
Answers are AI-generated from the docs and may contain mistakes. Verify with the linked pages.