
Enable Live Chat on a Wix Website
Once you have generated the Cloud Voice Live Chat code snippet, you can drop it into your Wix site. The snippet needs to load just before the closing </body> tag of your pages. After the code is in place, a chat widget appears in the lower-right corner of every page you selected, letting visitors start a live conversation with your agents.
Before you start
Section titled “Before you start”Make sure you have already created a live chat channel and copied its code snippet. The snippet is generated when you set up the channel, so complete that step first if you have not already.
Add the snippet in Wix
Section titled “Add the snippet in Wix”-
Sign in to your Wix account and open Settings.
-
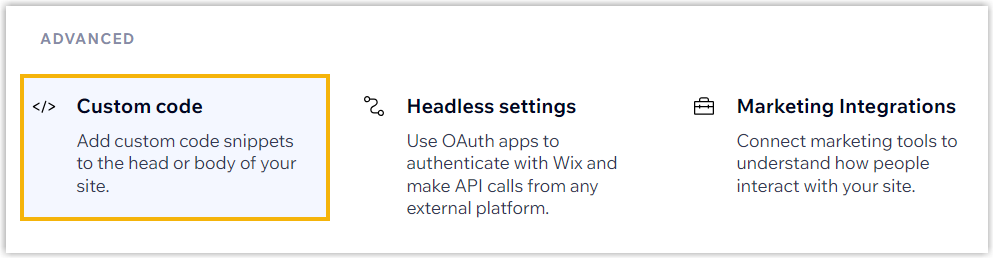
Under the ADVANCED heading, select Custom code.
-
In the upper-right corner, click Add Custom Code.
-
Fill in the dialog as follows, then click Apply:
- Paste the code snippet here: Paste the Live Chat widget snippet you copied earlier.
- Name: Give the code a label so you can recognize it later.
- Add Code to Pages: Choose which pages should display the widget.
- Place Code in: Choose Body - end.
Result
Section titled “Result”Open your live Wix site. The Live Chat widget now sits in the bottom-right corner, ready for visitor conversations.
Question about this page?
Ask the AI assistant. It starts from this page, then searches the rest of the docs.
Ask Cloud Voice AI
Answers are AI-generated from the docs and may contain mistakes. Verify with the linked pages.