
Create a Message Queue
A message queue pools a set of agents so that conversations arriving on your message channels are distributed among them instead of landing on one person. This spreads the workload and shortens the time customers wait for a reply. Follow the steps below to build a queue and add its agents.
Limits
Section titled “Limits”How many message queues you can create, and how many agents each one holds, depends on the number of extensions on your system:
| Extensions (N) | Message queues | Agents per queue |
|---|---|---|
| N ≤ 50 | 16 | 25 |
| 50 < N ≤ 200 | 32 | 60 |
| N > 200 | 64 | 120 |
Before you start
Section titled “Before you start”Your system must be running firmware 84.20.0.21 or later.
Create the queue
Section titled “Create the queue”-
Sign in to the PBX (Private Branch Exchange, your hosted phone system) web portal and open Messaging > Message Queue.
-
Click Add.
-
In the Name field, enter a name that makes the queue easy to recognize.
-
Under Chat Assignment Mode, choose how sessions are handed to agents.
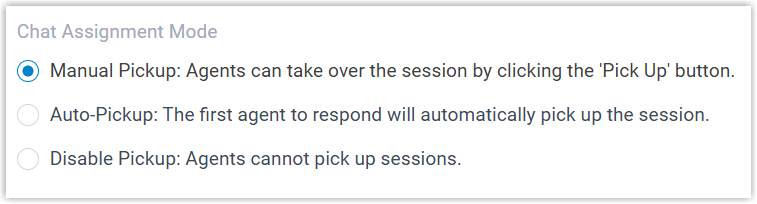
Mode What it does Manual Pickup Every agent can see and reply to messages until one agent clicks Pick Up to take ownership of the session. Auto-Pickup Every agent can see the messages, and the first one to reply automatically takes the session. Disable Pickup Every agent can see and reply to messages, and no one can take ownership of a session. -
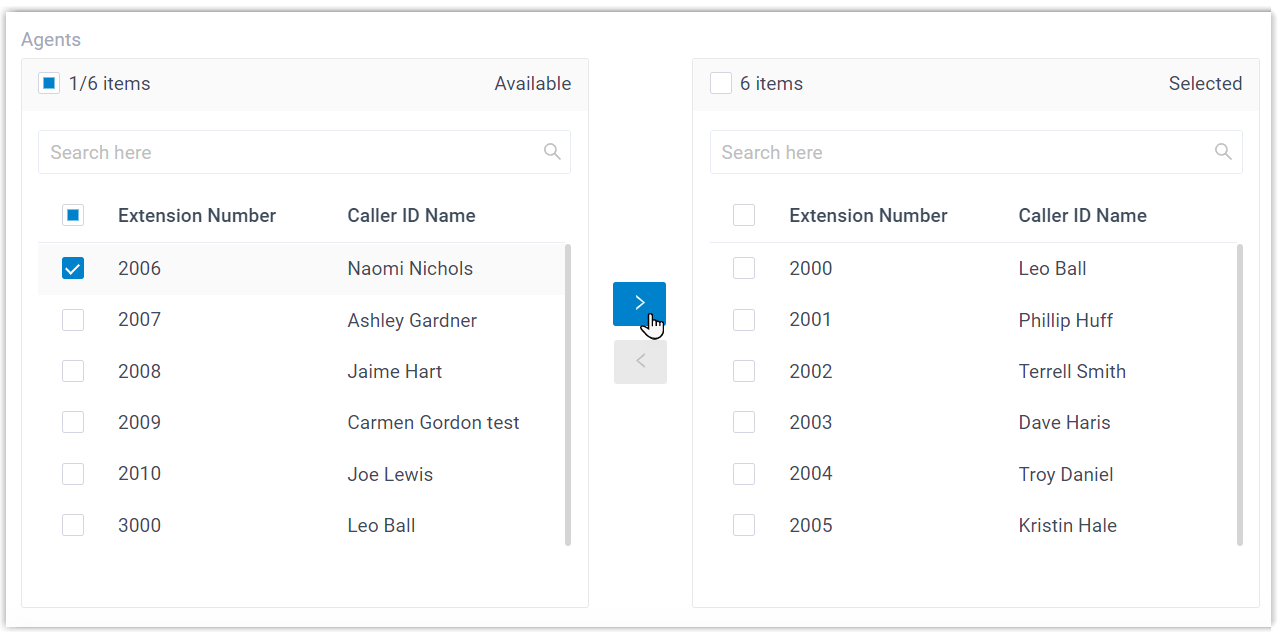
In the Agents section, move the extension users you want on the team from the Available list into the Selected list.
-
Click Save.
Every extension user in the Selected list is now an agent of the queue.
What to do next
Section titled “What to do next”Point a channel number at this queue so its incoming messages are delivered here. Open Messaging > Message Channel, click the edit icon  next to the channel, go to Messaging Settings, and set the queue as the inbound message destination.

Question about this page?
Ask the AI assistant. It starts from this page, then searches the rest of the docs.
Ask Cloud Voice AI
Answers are AI-generated from the docs and may contain mistakes. Verify with the linked pages.