
Check and Manage Recordings
The Recordings tab collects the call recordings tied to your extension so you can review them, return a call, save a copy, or clear out ones you no longer need. Everything you do here is available across the Cloud Voice App on desktop, web, and mobile.
Before you start
Section titled “Before you start”An administrator must have given your extension permission to view recordings. Without it, the Recordings tab will not show your call recordings.
Open your recordings
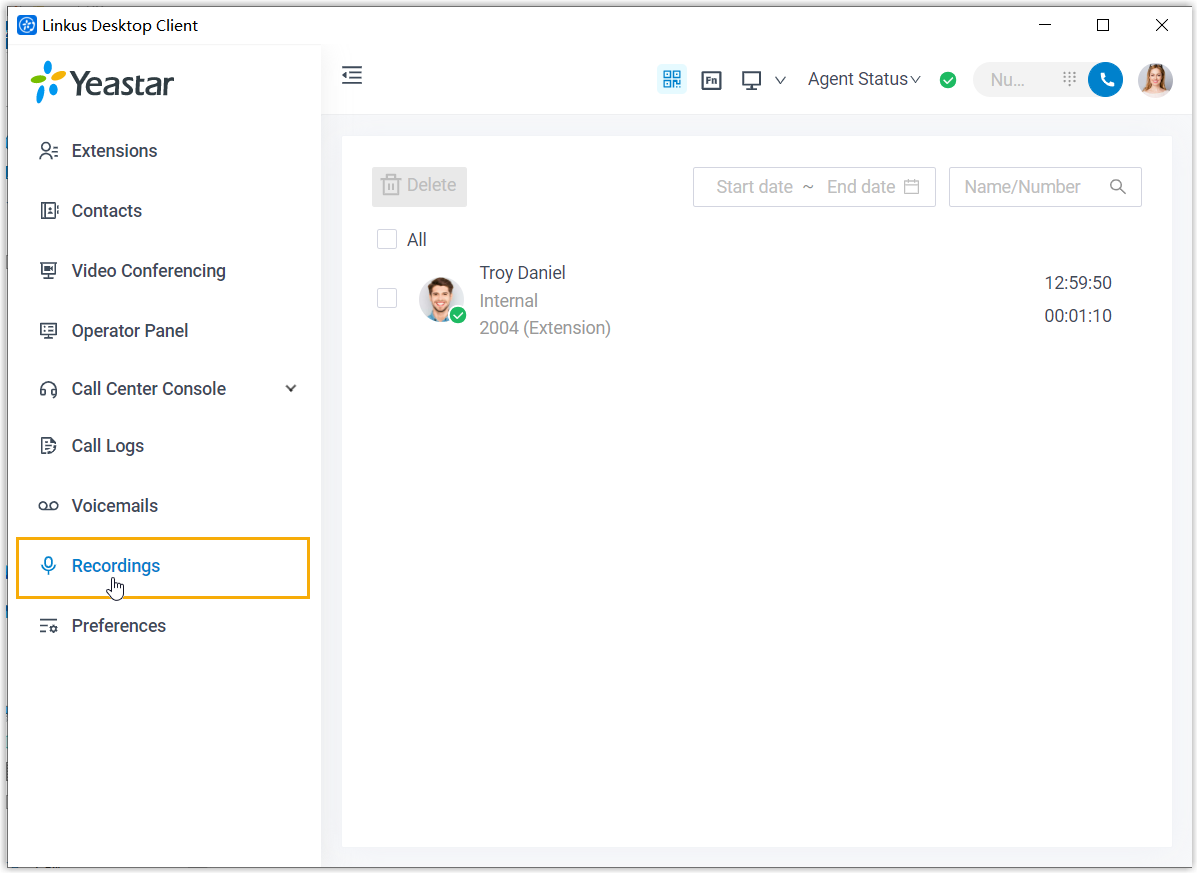
Section titled “Open your recordings”In the Cloud Voice App, select Recordings. Each row lists a recorded call, and the actions for a row appear on the right when you point at it.
Play a recording
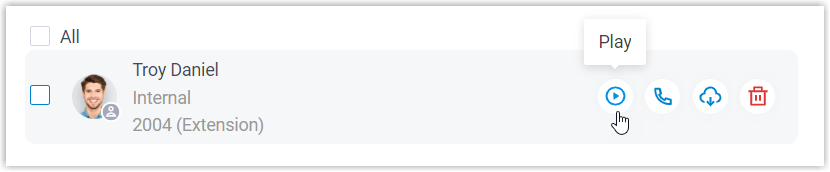
Section titled “Play a recording”- Point at the recording you want to hear.
- On the right side of the row, select the play icon
 .
.
Call someone back from a recording
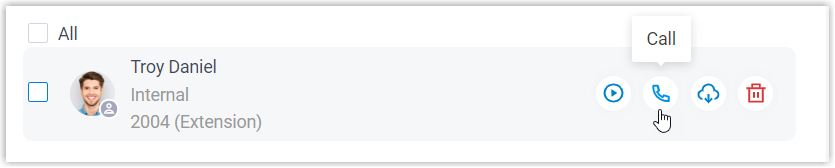
Section titled “Call someone back from a recording”You can dial the other party straight from a recording in one of two ways:
- Double-click the recording, or
- Point at the recording and select the call icon
 on the right.
Download a recording
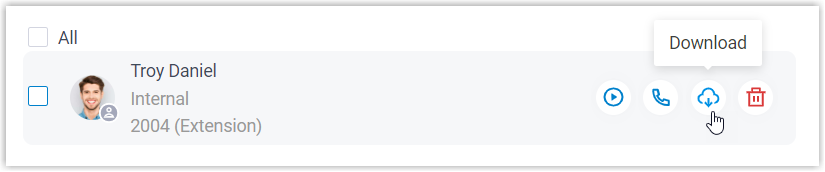
Section titled “Download a recording”- Point at the recording you want to save.
- On the right side of the row, select the download icon
 .
.
Delete recordings
Section titled “Delete recordings”To remove a single recording:
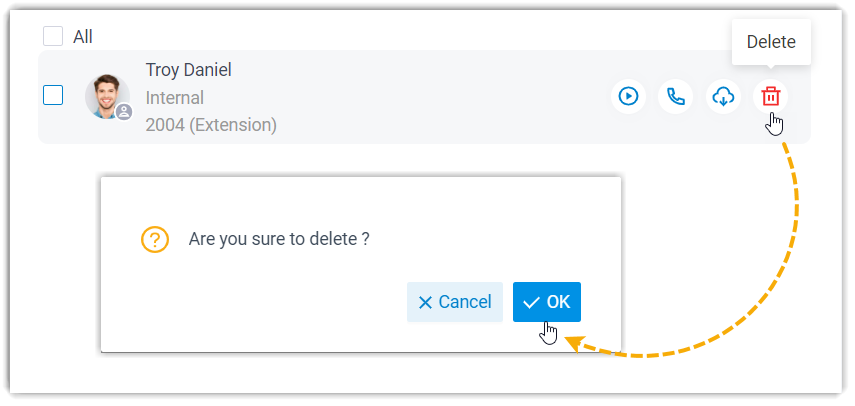
- Point at the recording you want to remove.
- On the right side of the row, select the delete icon
 .
. - Select OK in the confirmation window.
To remove several recordings at once:
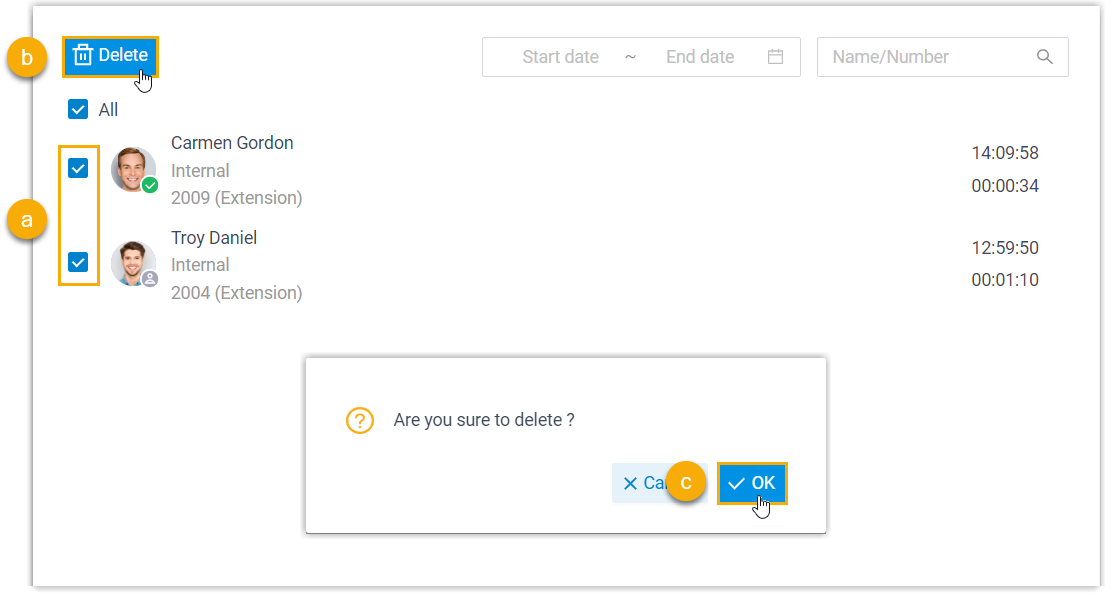
- Select the checkbox next to each recording you want to remove.
- Select Delete in the toolbar at the top.
- Select OK in the confirmation window.
Question about this page?
Ask the AI assistant. It starts from this page, then searches the rest of the docs.
Ask Cloud Voice AI
Answers are AI-generated from the docs and may contain mistakes. Verify with the linked pages.