
Send Faxes from the Desktop App
The Cloud Voice App Desktop lets you fax business contacts without leaving the app. Pick recipients from your directory, add a number by hand, or blast a document to an entire phonebook, then send the fax right away or schedule it for later.
Before you begin
Section titled “Before you begin”Your system administrator must grant your account permission to send faxes. If you don’t see the fax options described below, contact your administrator.
What you can send
Section titled “What you can send”Keep the following limits in mind when preparing a fax.
Fax document
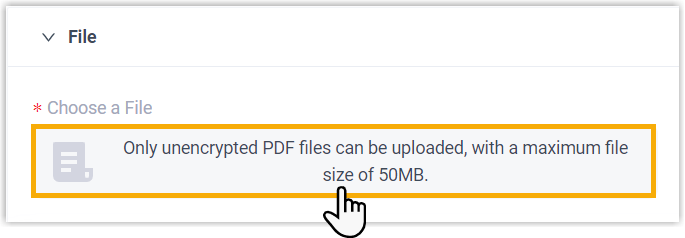
- Format: PDF (
.pdf) - Size: under 50 MB (a file of exactly 50 MB or larger is rejected)
Recipients
A single fax can be addressed to as many as 1,000 recipients.
Send a fax
Section titled “Send a fax”-
Sign in to the Cloud Voice App Desktop and open Fax Management > Fax.
-
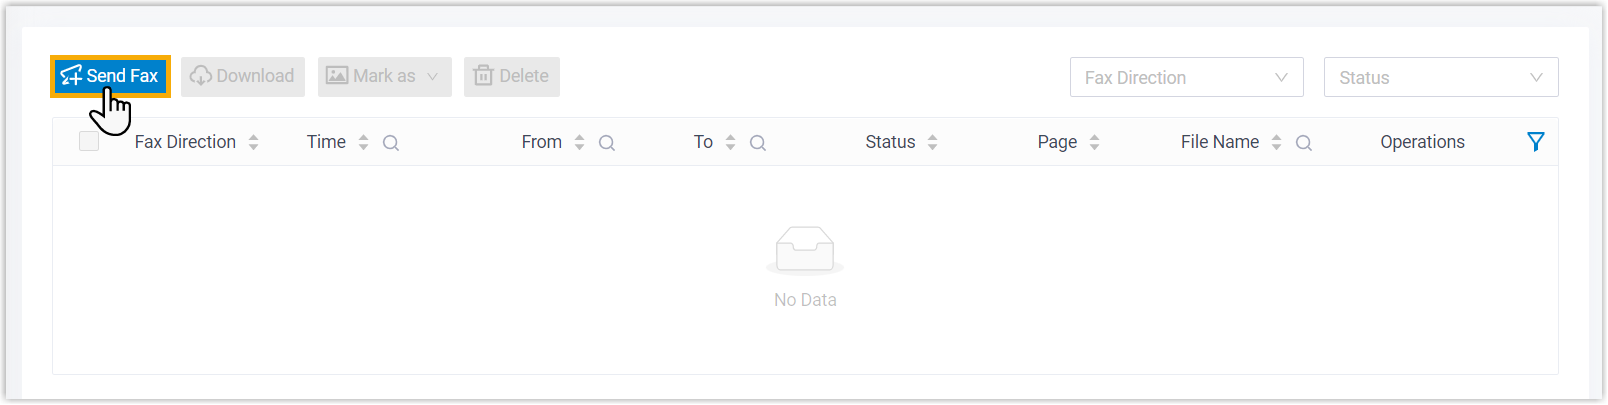
Above the fax list, click Send Fax.
-
Fill in the outbound fax details.
a. Under File, click the upload area and choose the PDF you want to fax.
b. Under To, add recipients using one of these methods:
Method What it does Input Add a single recipient by hand, or pick one of your existing external contacts. Click Add, enter the recipient’s details, and save. The Fax Number field is the destination the fax is delivered to. Phonebooks Pull in every matching contact from a phonebook at once. Choose a phonebook and the number type to use. If the selected number type has more than 1,000 contacts, only the first 1,000 receive the fax. 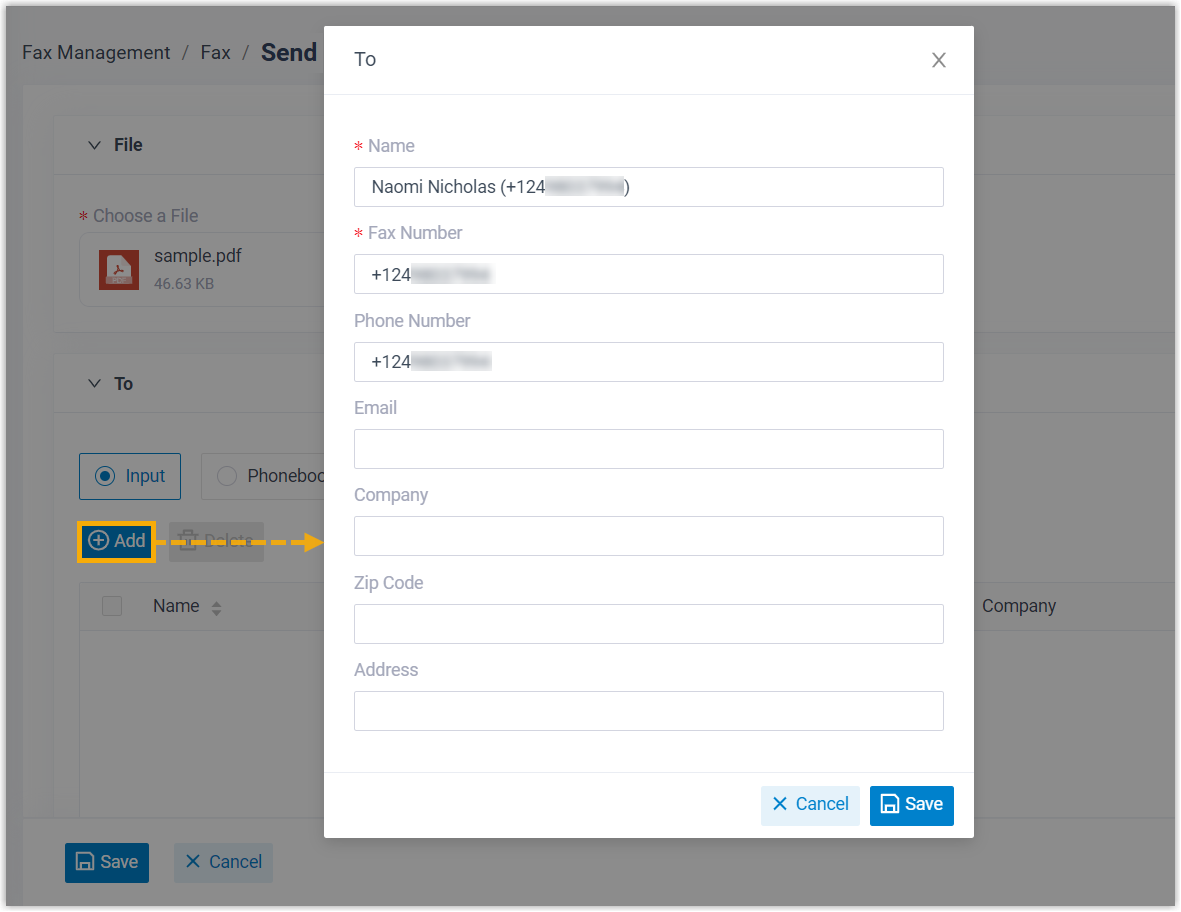

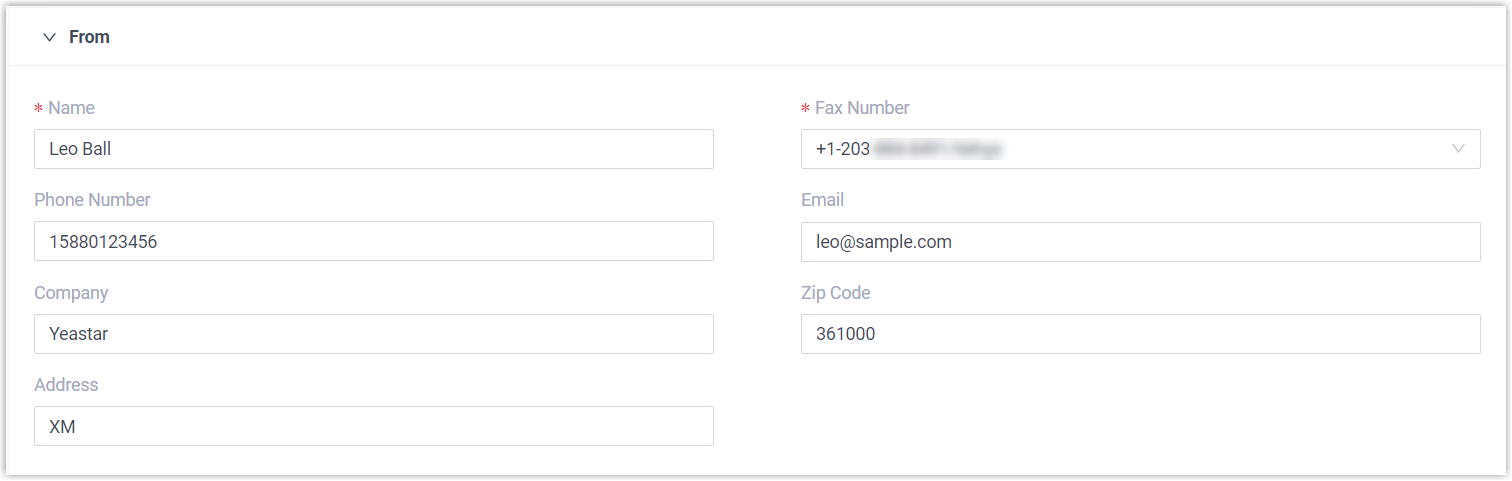
c. Under From, enter the sender information and choose the fax number the document is sent from.
d. Under Settings, adjust the following as needed:
-
Cover Pages (optional): Attach a cover page to the outbound fax. Click the preview icon (
 ) to see how a cover page looks before you choose it.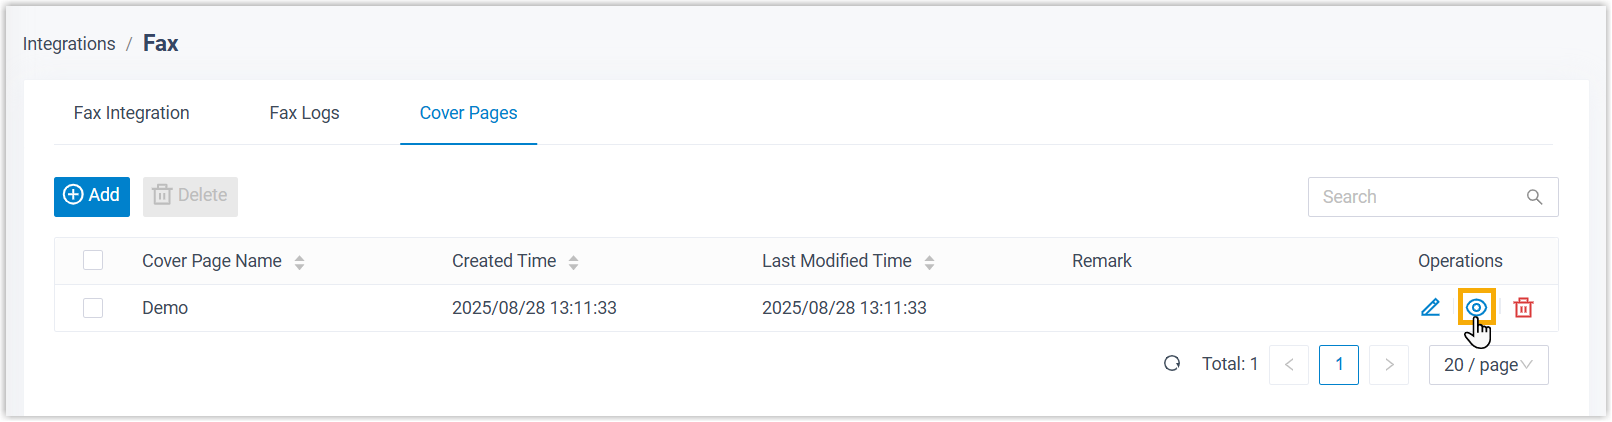
-
Send Time: Decide when the fax goes out.
- Send Now: Delivers the fax as soon as you save.
- Schedule Sending: Queues the fax for a later time you pick from the drop-down list.
-
Remark: Add a short note describing the fax.
-
-
Click Save.
Result
Section titled “Result”The fax appears in your list as an outbound task and is delivered to your recipients at the time you set.

Question about this page?
Ask the AI assistant. It starts from this page, then searches the rest of the docs.
Ask Cloud Voice AI
Answers are AI-generated from the docs and may contain mistakes. Verify with the linked pages.