
Upload or Record Voicemail Greetings
When a caller reaches your mailbox, they hear the voicemail greeting you have set. You can supply your own greeting in two ways: upload a prepared audio file, or record one directly through your extension. This page walks through both methods in the Cloud Voice App Desktop Client.
Greeting limit
Section titled “Greeting limit”Each mailbox holds up to 10 custom voicemail greetings.
Upload a voicemail greeting
Section titled “Upload a voicemail greeting”Before you begin, prepare an audio file that meets the specifications below. The values in the list are audio codec settings: PCM stands for Pulse-Code Modulation, G.711 is a standard codec used for phone-call audio, and kbps means kilobits per second (the file’s data rate).
- Format:
.wav,.mp3, or.gsm, encoded as one of the following:- PCM, 8K, 16-bit, 128 kbps
- A-law (G.711), 8K, 8-bit, 64 kbps
- u-law (G.711), 8K, 8-bit, 64 kbps
- Size: 8 MB or less
To upload the file:
-
Sign in to the Cloud Voice App Desktop Client and open Preferences > Voicemail.
-
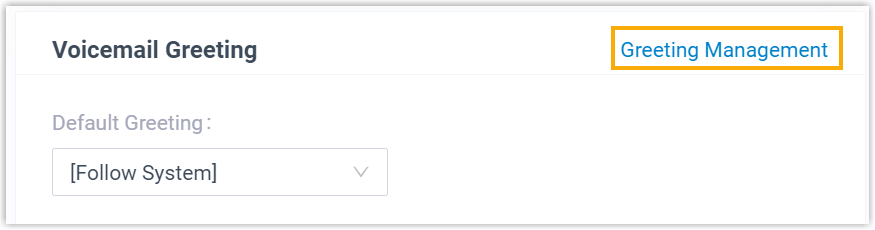
Under Voicemail Greeting, select Greeting Management.
-
In the window that opens, click Upload.
-
Choose the audio file you prepared.
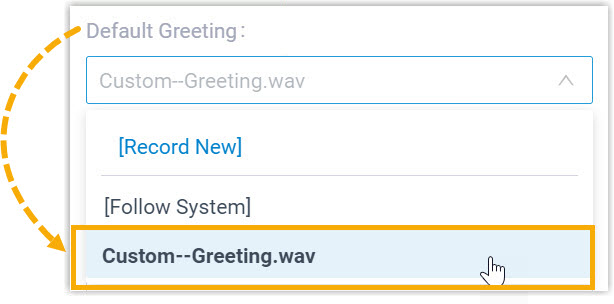
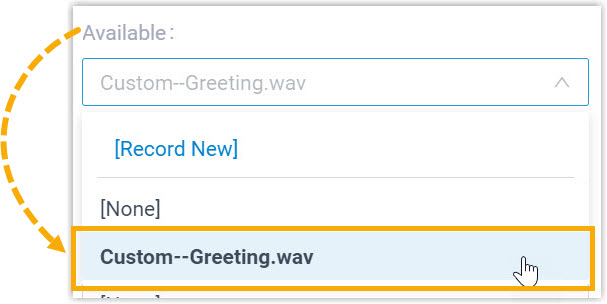
Once uploaded, the greeting appears on the Greeting Management tab. From there you can assign it as your default greeting or as a presence greeting by picking it from the matching drop-down list.
Record a voicemail greeting
Section titled “Record a voicemail greeting”If you would rather record over the phone, the system calls your extension and captures whatever you say.
-
Sign in to the Cloud Voice App Desktop Client and open Preferences > Voicemail.
-
Under Voicemail Greeting, select Greeting Management.
-
Open the Record New Greeting tab and fill in the settings:
- In Audio File Name, type a label that will help you recognize the greeting later.
- From the Extension drop-down list, choose the extension you want to record from.
- Click Confirm. The system rings the extension you selected.
-
Answer the call, speak your greeting, and hang up when you are done.
The new recording shows up on the Greeting Management tab. As with an uploaded file, you can set it as your default greeting or a presence greeting using the corresponding drop-down list.
Question about this page?
Ask the AI assistant. It starts from this page, then searches the rest of the docs.
Ask Cloud Voice AI
Answers are AI-generated from the docs and may contain mistakes. Verify with the linked pages.