
Integrate the Cloud Voice App Desktop Client with TAPI
TAPI (Telephony Application Programming Interface) lets Windows programs place calls through a phone system. Cloud Voice provides a TAPI driver you install on your PC and pair with the Cloud Voice App. Once it is in place, you can click a phone number in a TAPI-enabled application, such as your CRM, and the call is dialed for you through the Cloud Voice App, so there is no need to key numbers in by hand.
Before you begin
Section titled “Before you begin”Confirm the following are in place:
- Cloud Voice platform: Version
84.20.0.128or later. IZT keeps the hosted platform current, so most accounts already meet this. - Cloud Voice App (Windows Desktop): Version
1.16.4or later. - Windows operating system (all 64-bit): Windows 7, Windows 8, Windows 8.1, Windows 10, Windows 11, Windows Server 2008 R2, Windows Server 2012 R2, Windows Server 2016, or Windows Server 2019.
Install the TAPI driver
Section titled “Install the TAPI driver”First download the driver from the Cloud Voice App, then run its installer on your PC.
-
Sign in to the Cloud Voice App and open Preferences > Integration.
-
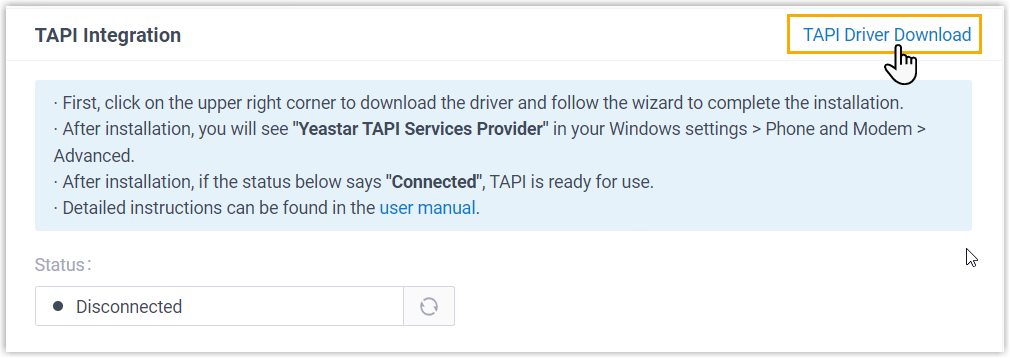
In the top-right corner of the TAPI Integration section, select TAPI Driver Download. The driver’s setup file is saved to your PC.
-
Open the setup file you downloaded and work through the installer:
-
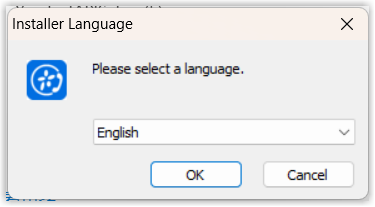
Choose your language.
-
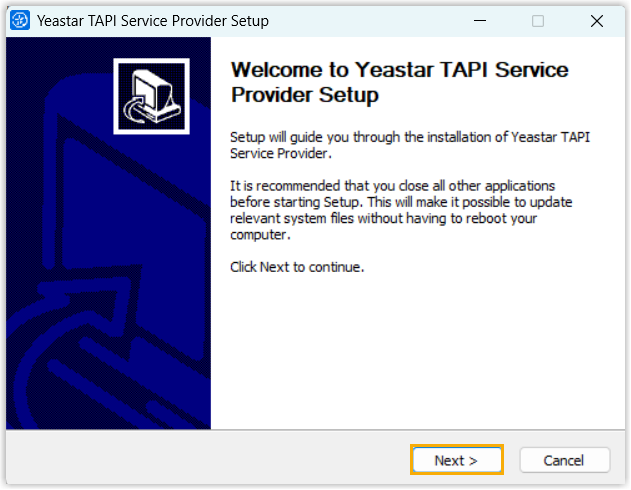
Select Next.
-
List one or more extensions that are allowed to use the TAPI integration, then select Install.
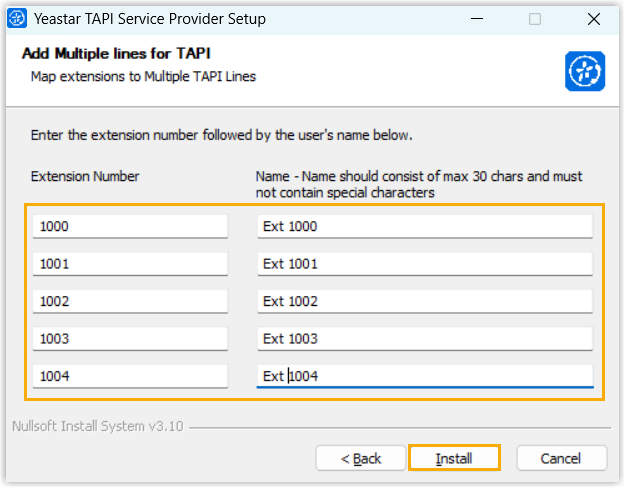
- Extension Number: Enter the extension number.
- Name: Enter a label that helps you recognize the extension. Only letters, numbers, and spaces are permitted.
-
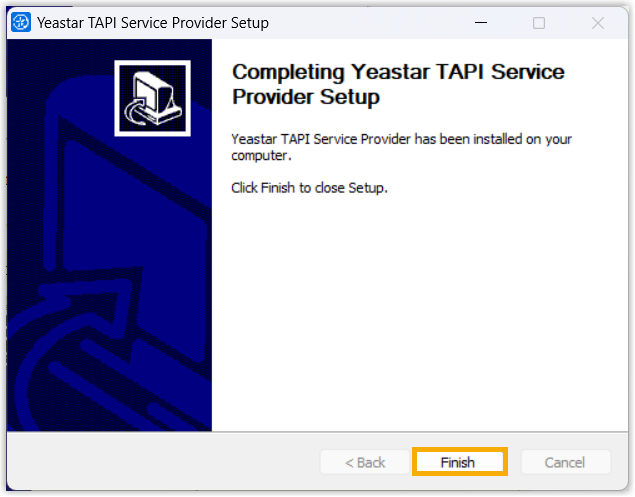
When the installer finishes, select Finish to close it.
-
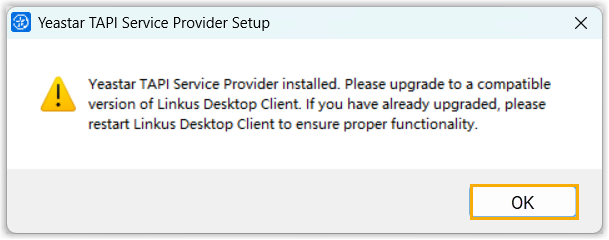
Select OK in the confirmation window.
-
-
Restart the Cloud Voice App.
Verify the installation
Section titled “Verify the installation”Use the Windows Phone and Modem settings to confirm the driver registered correctly.
-
Press Win + R to open the Run window.
-
Type
telephon.cpland press Enter to open the Phone and Modem window. On the Advanced tab, look at the Providers list. If Cloud Voice TAPI Service Provider appears there, the driver installed successfully.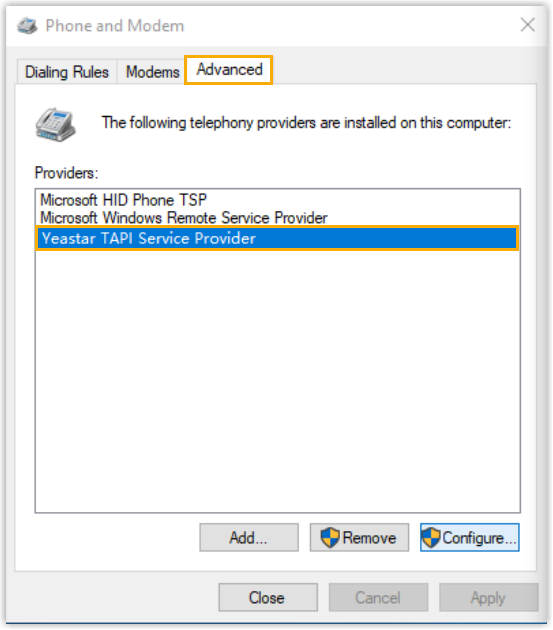
(Optional) Add more TAPI lines
Section titled “(Optional) Add more TAPI lines”To let additional extension users take advantage of the integration, add lines to the driver’s configuration file.
-
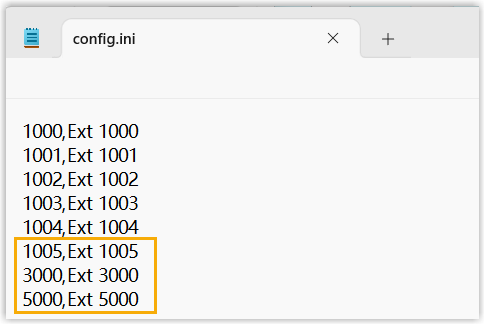
In the Phone and Modem window, select Cloud Voice TAPI Service Provider, then select Configure. The driver’s
config.inifile opens automatically.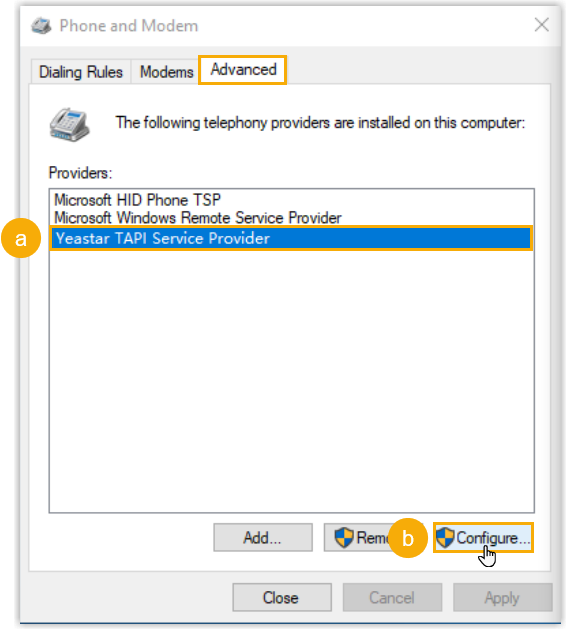
-
Copy the structure of the existing entries to add as many lines as you need, then save the file.
-
Restart the Telephony service so the changes take effect:
- Press Win + R to open the Run window.
- Type
services.mscand press Enter to open the Services window. - Right-click the Telephony service and select Restart.
Make a test call
Section titled “Make a test call”Place a test call to confirm the driver is working. The steps below use the built-in Windows Phone Dialer as the calling application.
Prerequisites
-
You are signed in to the Cloud Voice App.
-
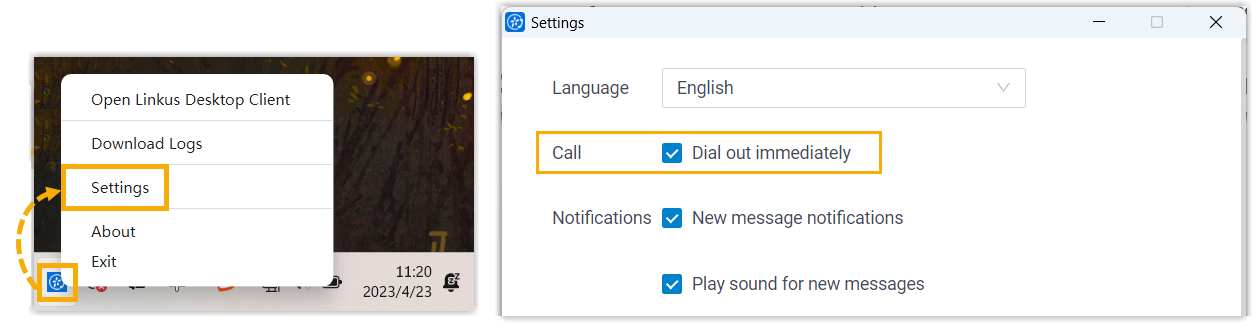
The Dial out immediately option is turned on in the Cloud Voice App.
-
If another driver or app is currently set as the default calling app on your PC, change it to the Cloud Voice App.
Procedure
-
Press Win + R to open the Run window.
-
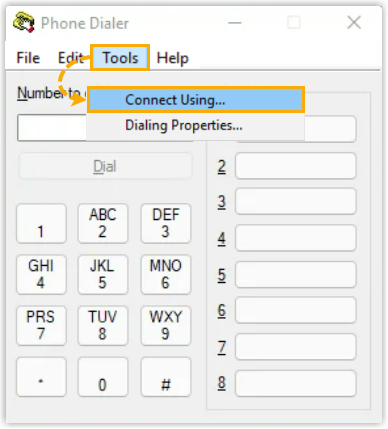
Type
dialer.exeand press Enter to open the Phone Dialer window. -
On the top menu, select Tools > Connect Using….
-
From the Line drop-down list, select the extension you want to use, then select OK.
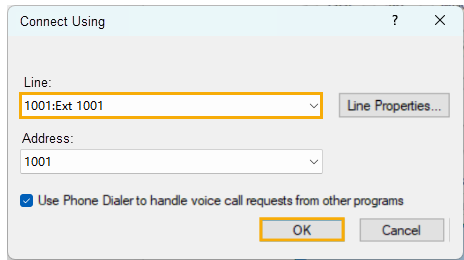
When that extension is signed in to the Cloud Voice App, the TAPI integration status shows Connected (in Preferences > Integration > TAPI Integration), and numbers entered in the Dialer are placed through this line.

-
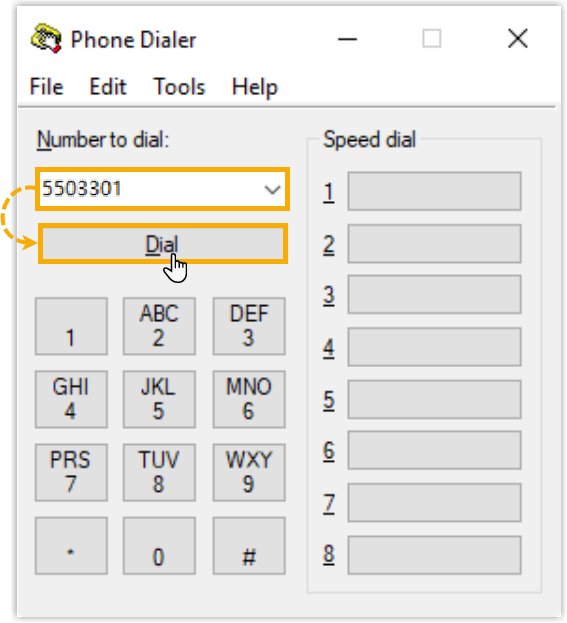
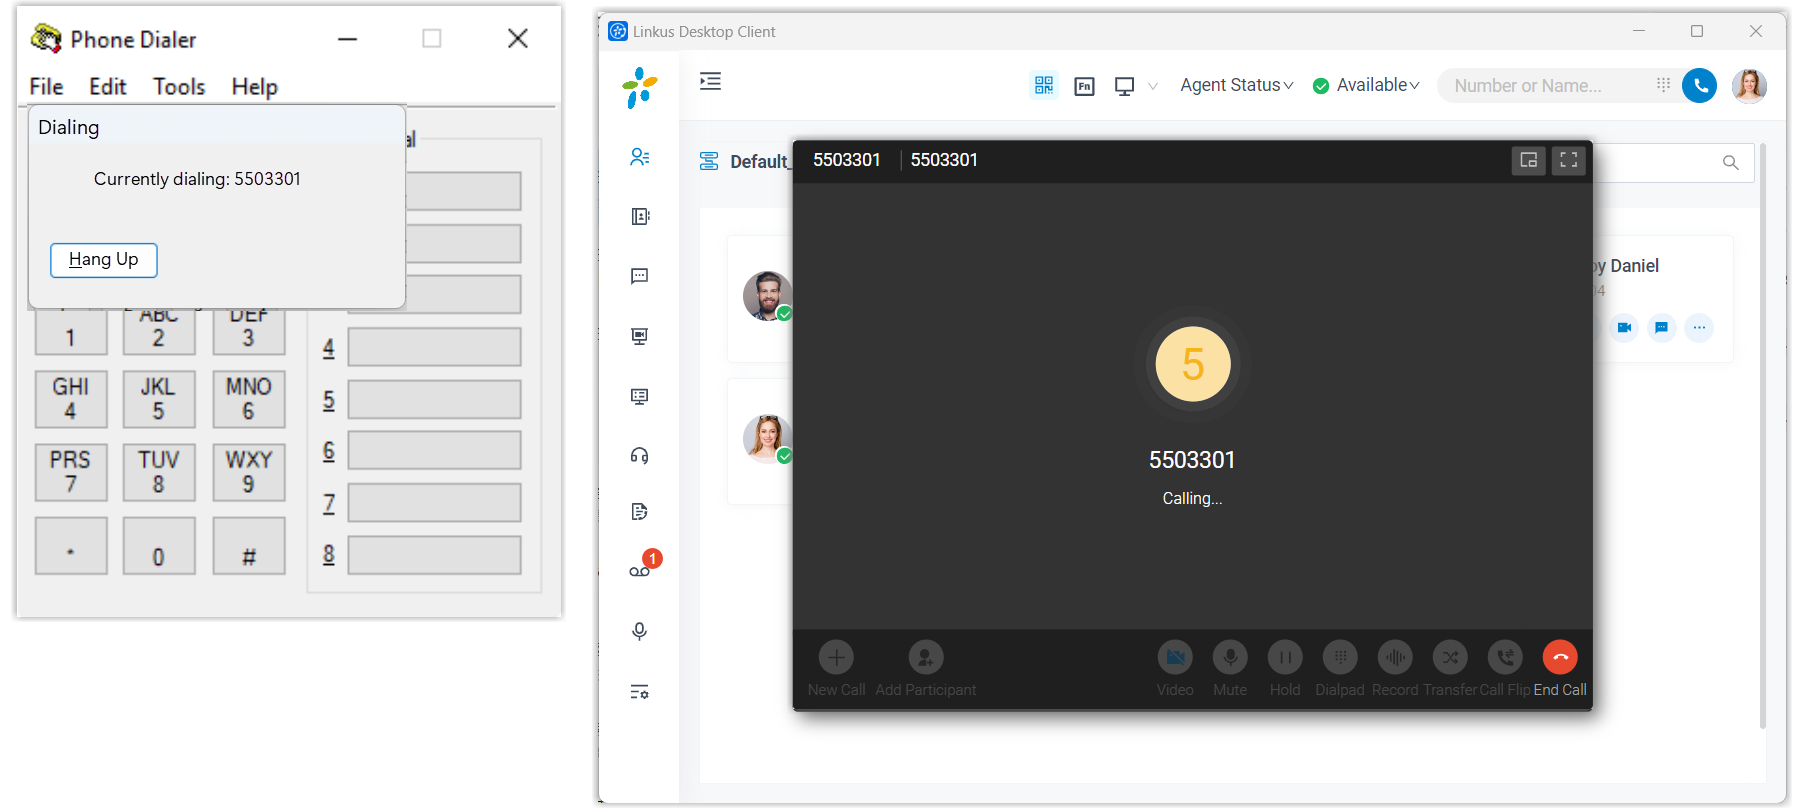
In the Number to dial field, enter a phone number and select Dial.
The Cloud Voice App opens and starts the outgoing call.
Question about this page?
Ask the AI assistant. It starts from this page, then searches the rest of the docs.
Ask Cloud Voice AI
Answers are AI-generated from the docs and may contain mistakes. Verify with the linked pages.