
Integrate a HID-Compliant Headset with the Desktop App
If you use a HID-compliant headset (HID stands for Human Interface Device, the same plug-and-play standard used by keyboards and mice), you can register it as the audio device for the Cloud Voice App desktop client and then manage your calls directly from the headset’s own buttons, without reaching for the app window.
Which headsets work
Section titled “Which headsets work”Any headset that supports the HID standard is compatible, whether it connects over USB or through a Bluetooth transmitter.
Set up the headset
Section titled “Set up the headset”- Confirm that the Cloud Voice App is running in Desktop Client mode. Headset integration is unavailable in any other mode.
-
Sign in to the Cloud Voice App on your computer.
-
Look at the toolbar and check whether the desktop client icon (
 ) is shown.
If it is not, open the drop-down list and choose Desktop Client.
-
- Plug the HID-compliant headset into a USB port on your computer.
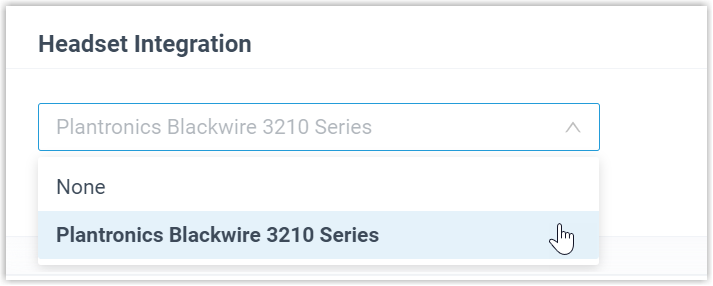
- Go to Preferences > Audio & Video > Headset Integration and assign the headset as your audio device.
-
From the drop-down list, choose the headset you connected.
-
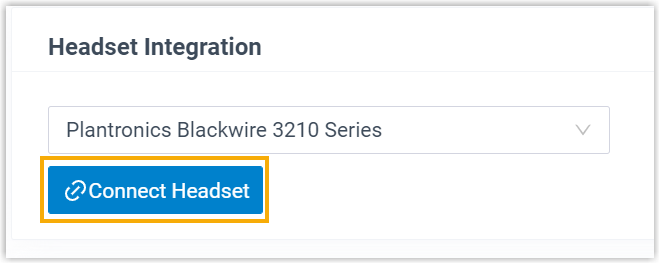
Click Connect Headset.
-
- Click Save.
What you can do next
Section titled “What you can do next”Once the headset is connected, you can run these call actions from the headset itself:
- Answer or reject an incoming call
- Answer or reject a second call
- End a call
- Hold or resume a call
- Mute or unmute a call
- Adjust the system volume
Question about this page?
Ask the AI assistant. It starts from this page, then searches the rest of the docs.
Ask Cloud Voice AI
Answers are AI-generated from the docs and may contain mistakes. Verify with the linked pages.