
Send Cloud Voice App Login Credentials to Users
Once you have enabled the Cloud Voice App for your users, they still need their sign-in details before they can start using it. You have two ways to hand those details over: send an automated welcome email for one-tap login, or share the account information so users can sign in manually.
Send welcome emails for quick login
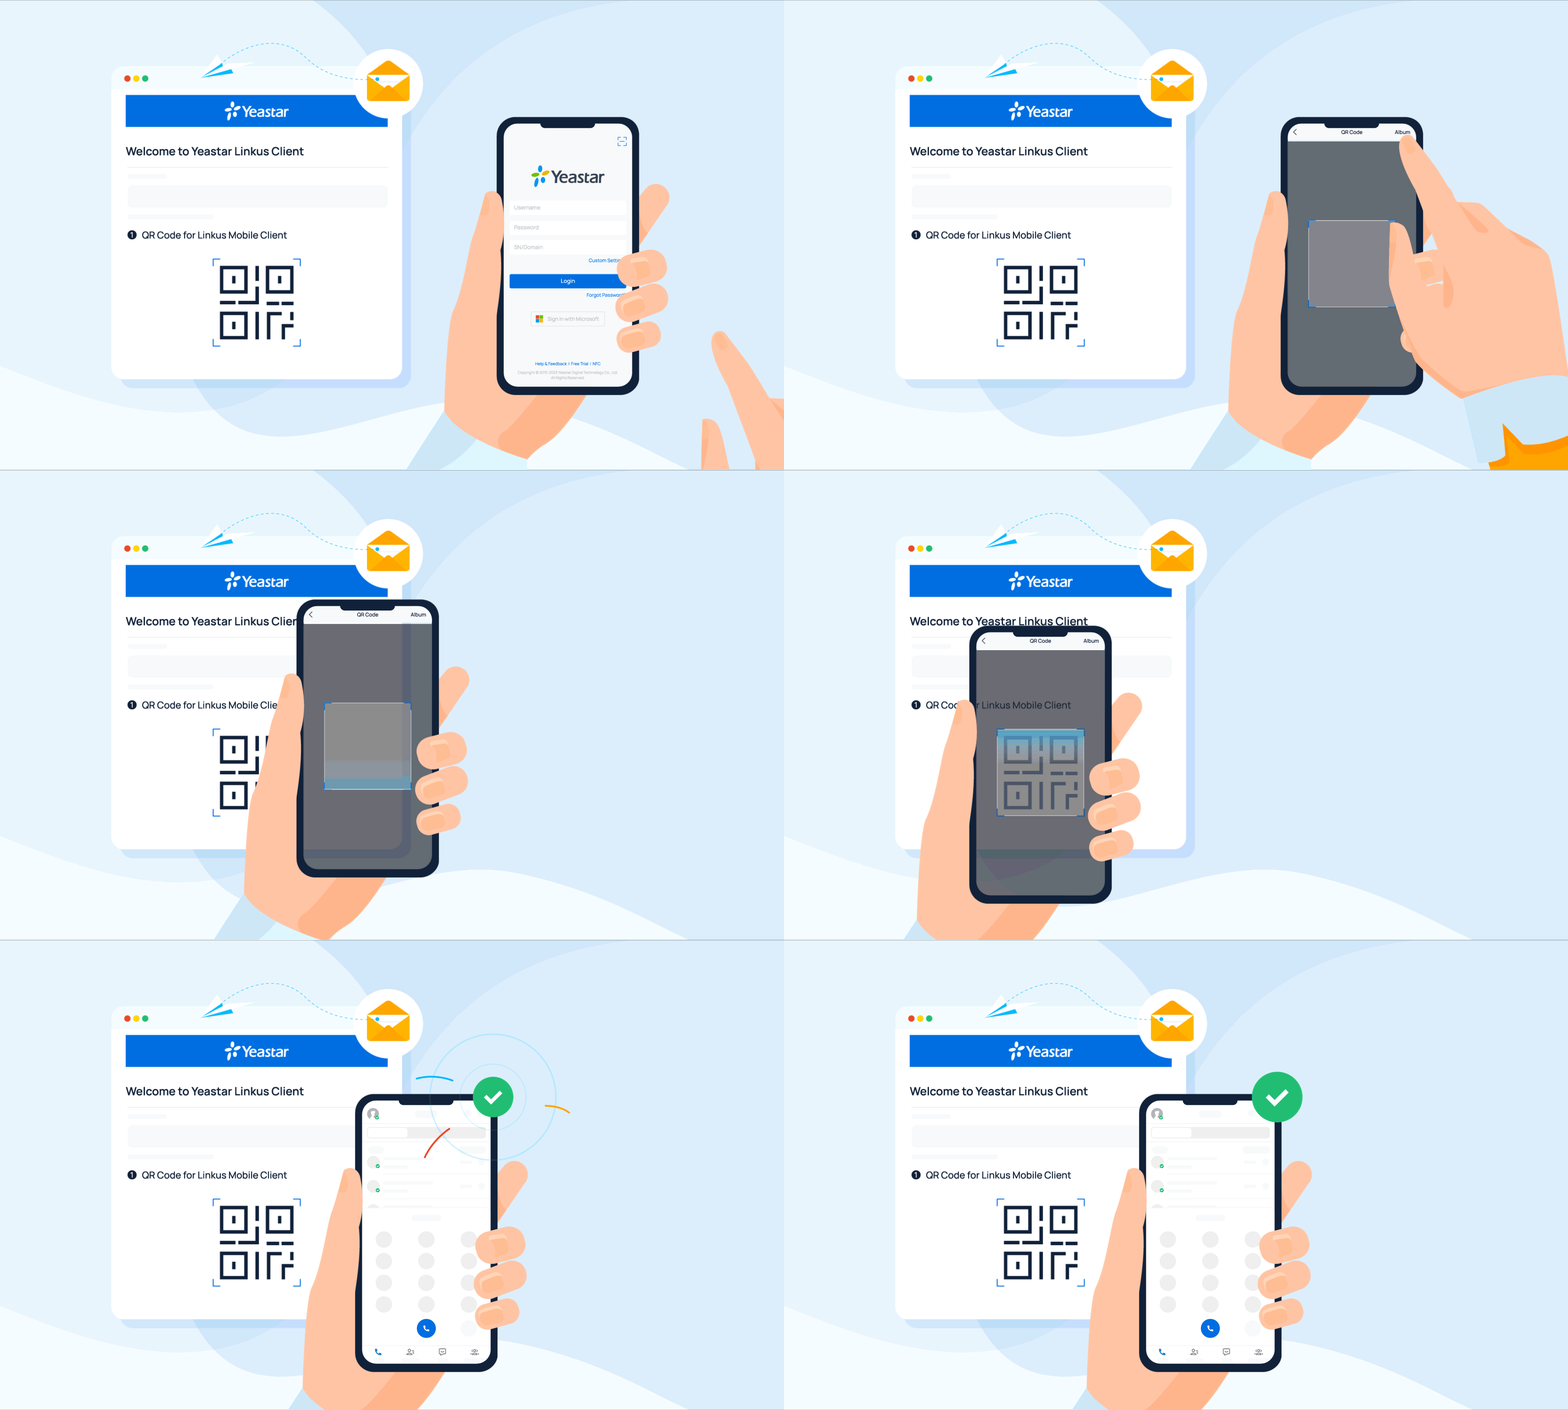
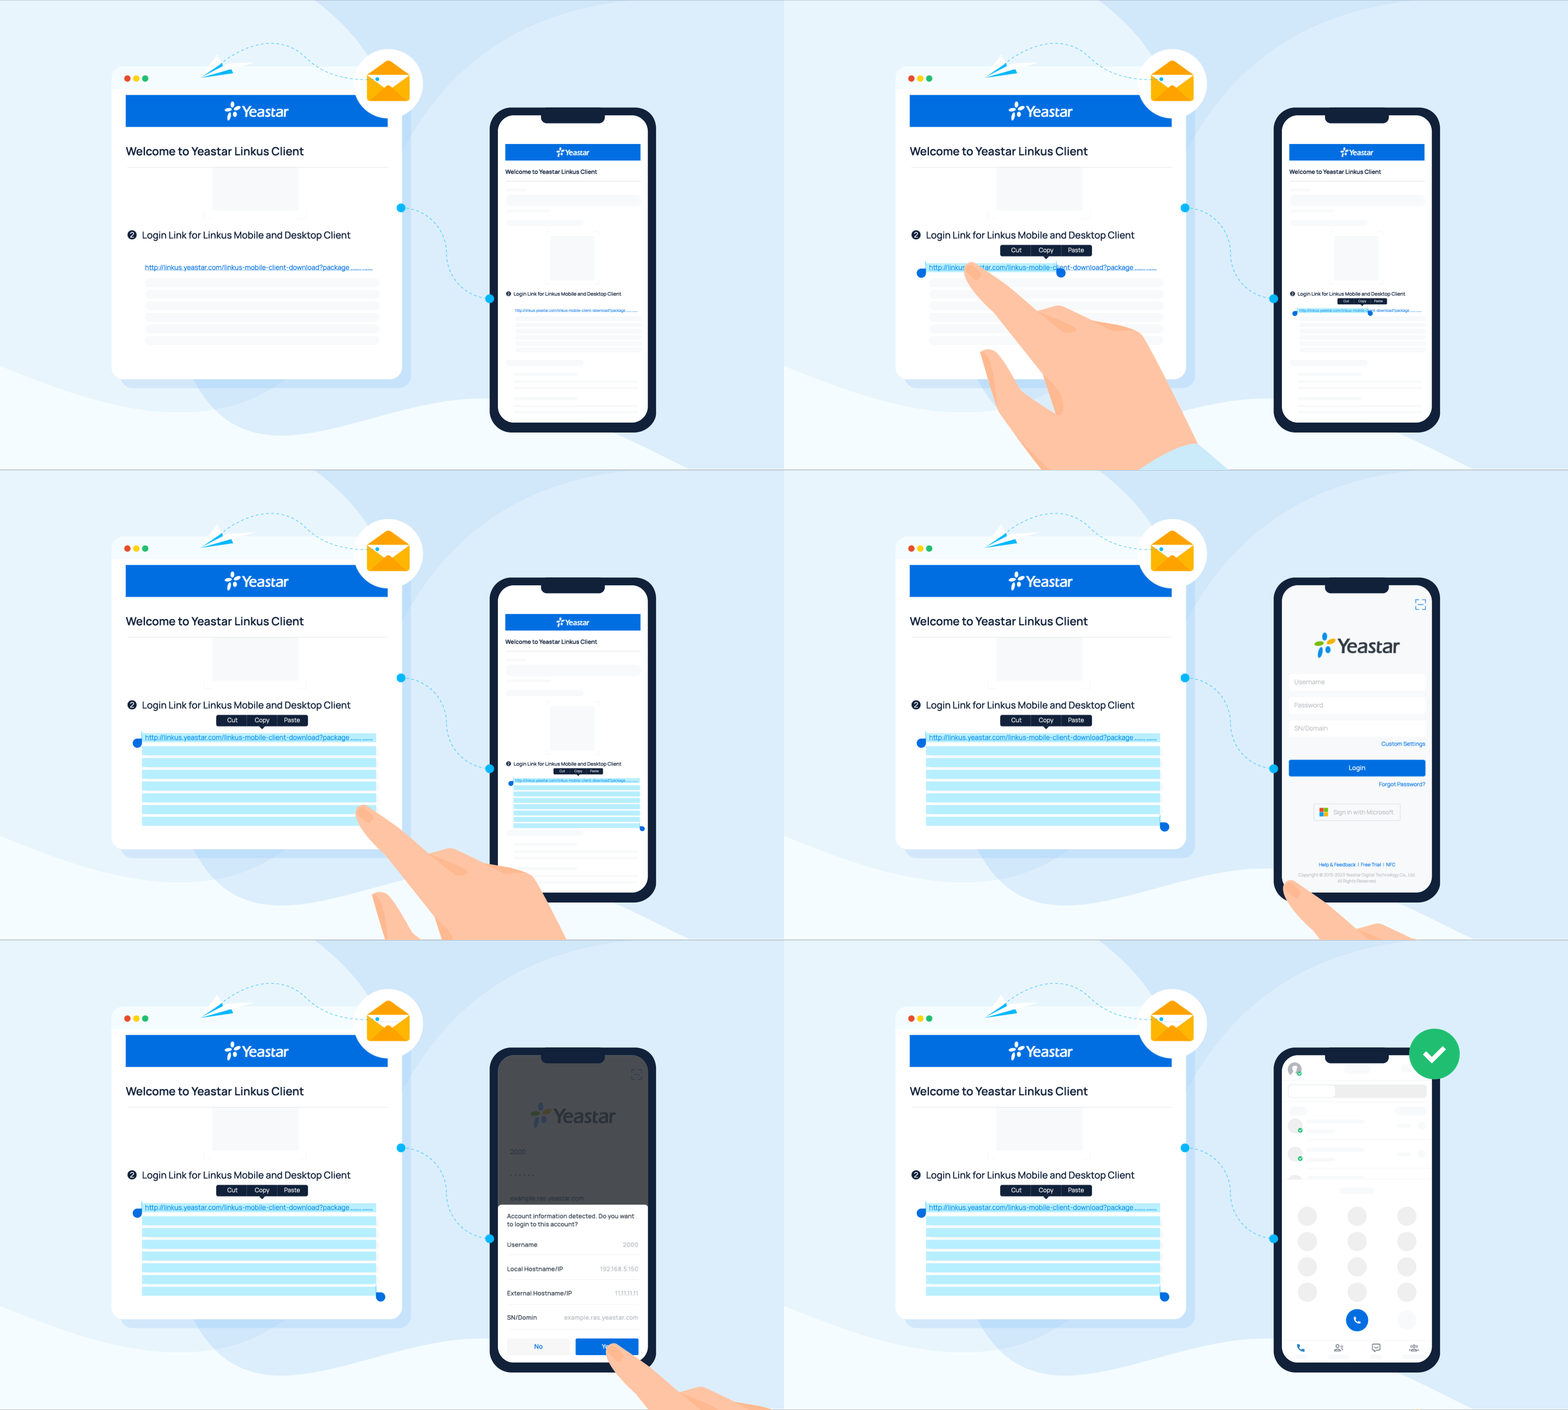
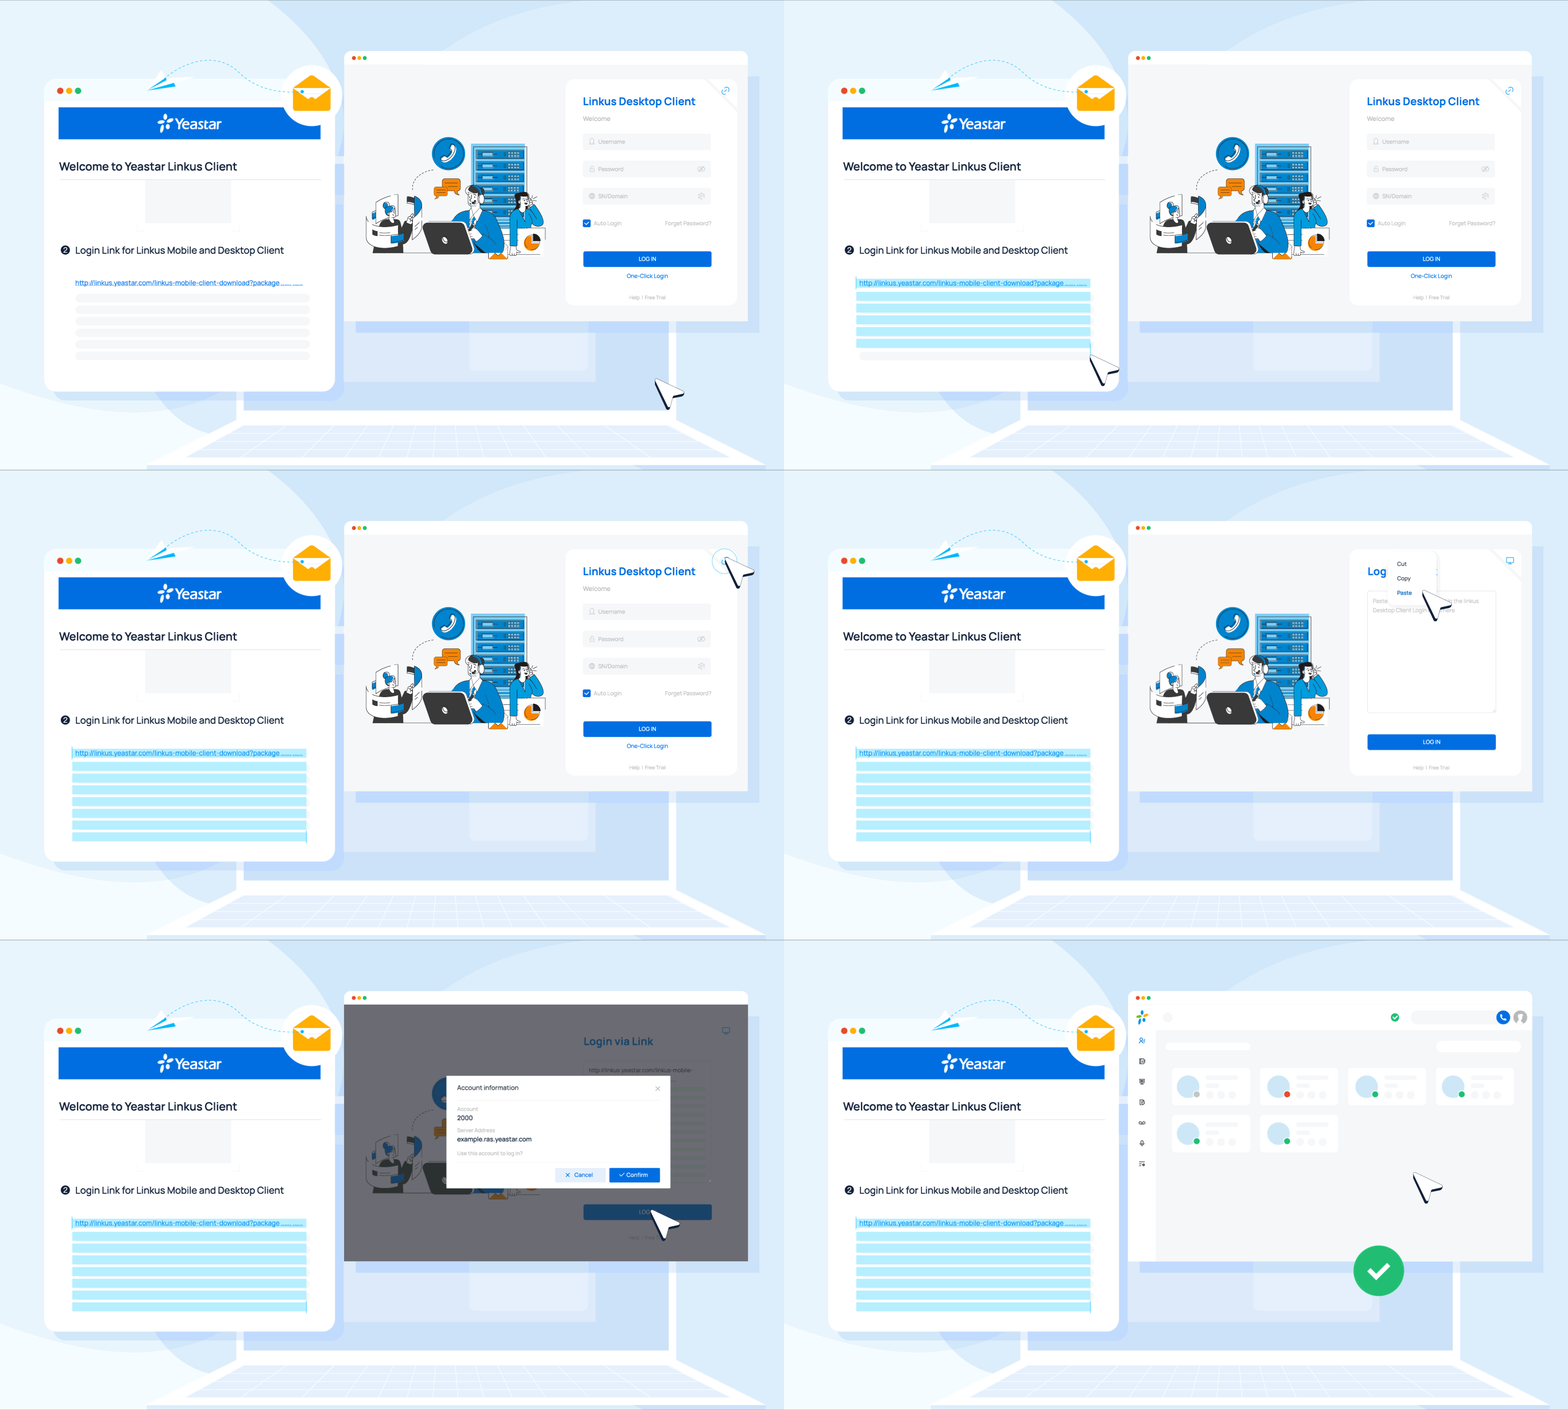
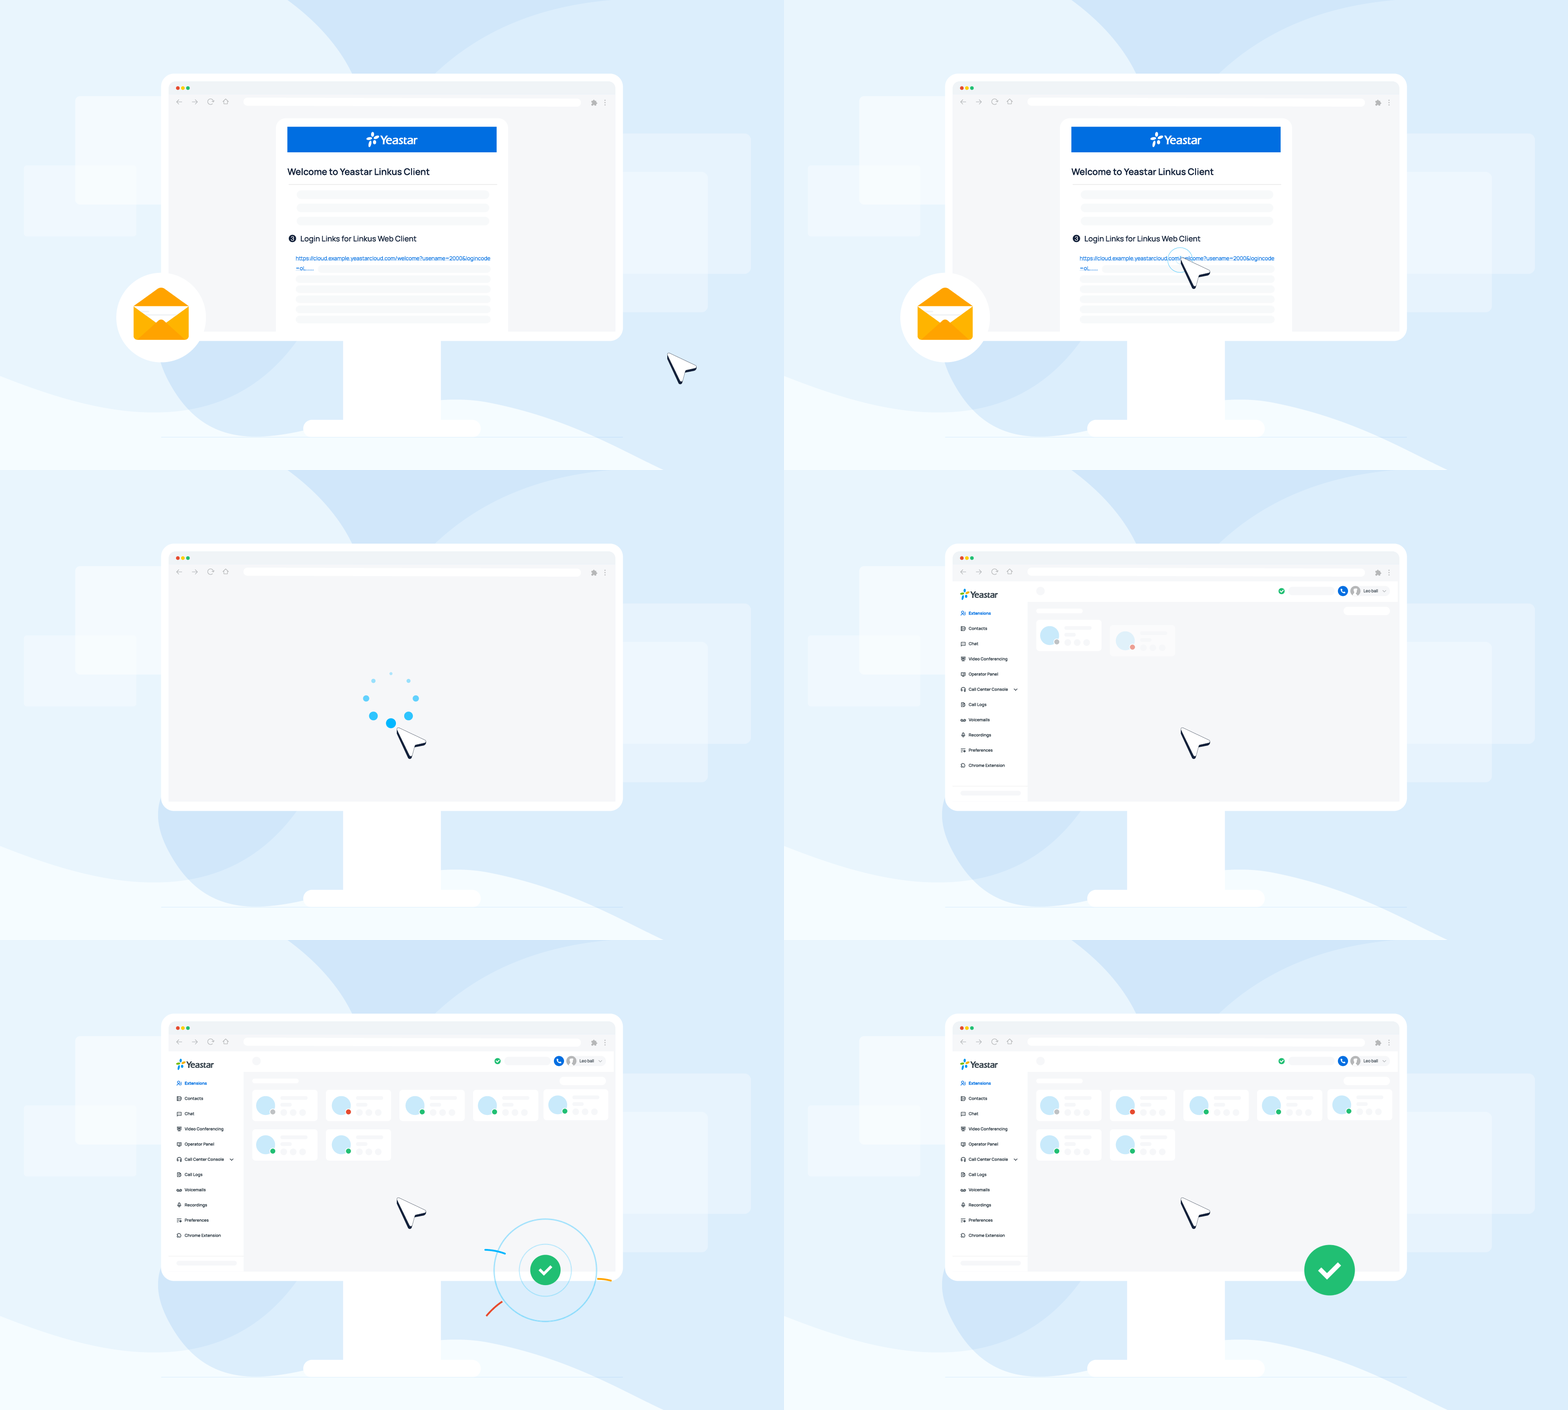
Section titled “Send welcome emails for quick login”For most users, a welcome email is the fastest route in. Each email carries a login QR code (QR stands for Quick Response, the square barcode you scan with a phone camera) and a login link that take the user straight into the Cloud Voice App with nothing to type.
Before you begin
Section titled “Before you begin”- Email delivery: Confirm that the system email server is configured and sending mail correctly.
- Extension setup:
- Each target extension has an email address on file.
- Each target extension has at least one Cloud Voice App client enabled.
Send the emails
Section titled “Send the emails”- Sign in to the PBX (Private Branch Exchange, your phone system’s admin portal) web portal and open Extension and Trunk > Extension.
- Select the checkbox for each extension you want to notify, then click Welcome Email above the extension list.
Every selected user receives a welcome email. They can scan the QR code or tap the login link to open the Cloud Voice App already signed in.
Share login details for manual sign-in
Section titled “Share login details for manual sign-in”If a welcome email never reaches a user, or they cannot get to their inbox, give them the details to sign in by hand instead.
Provide the following:
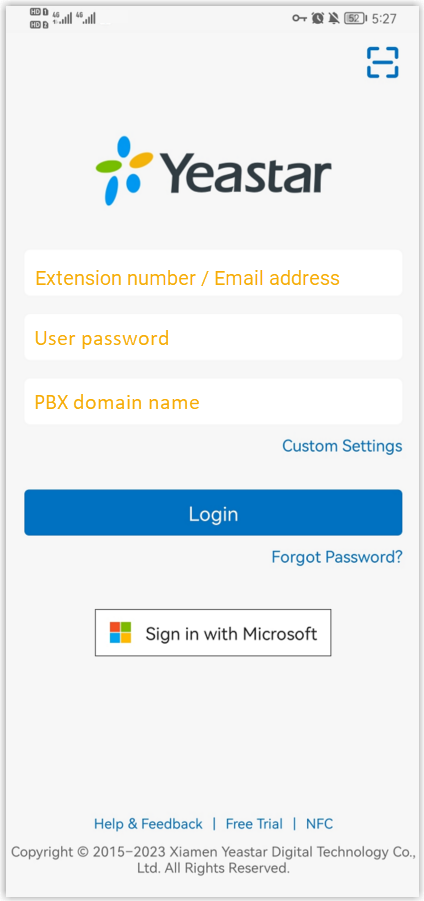
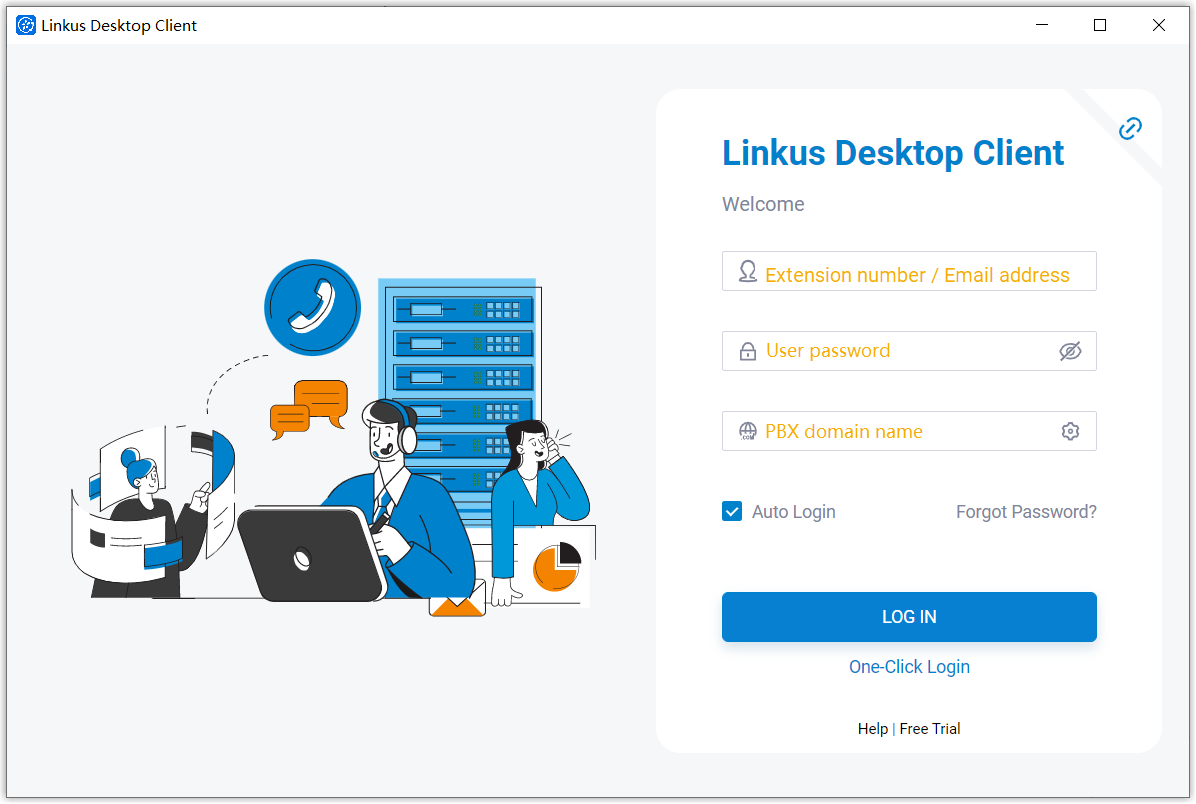
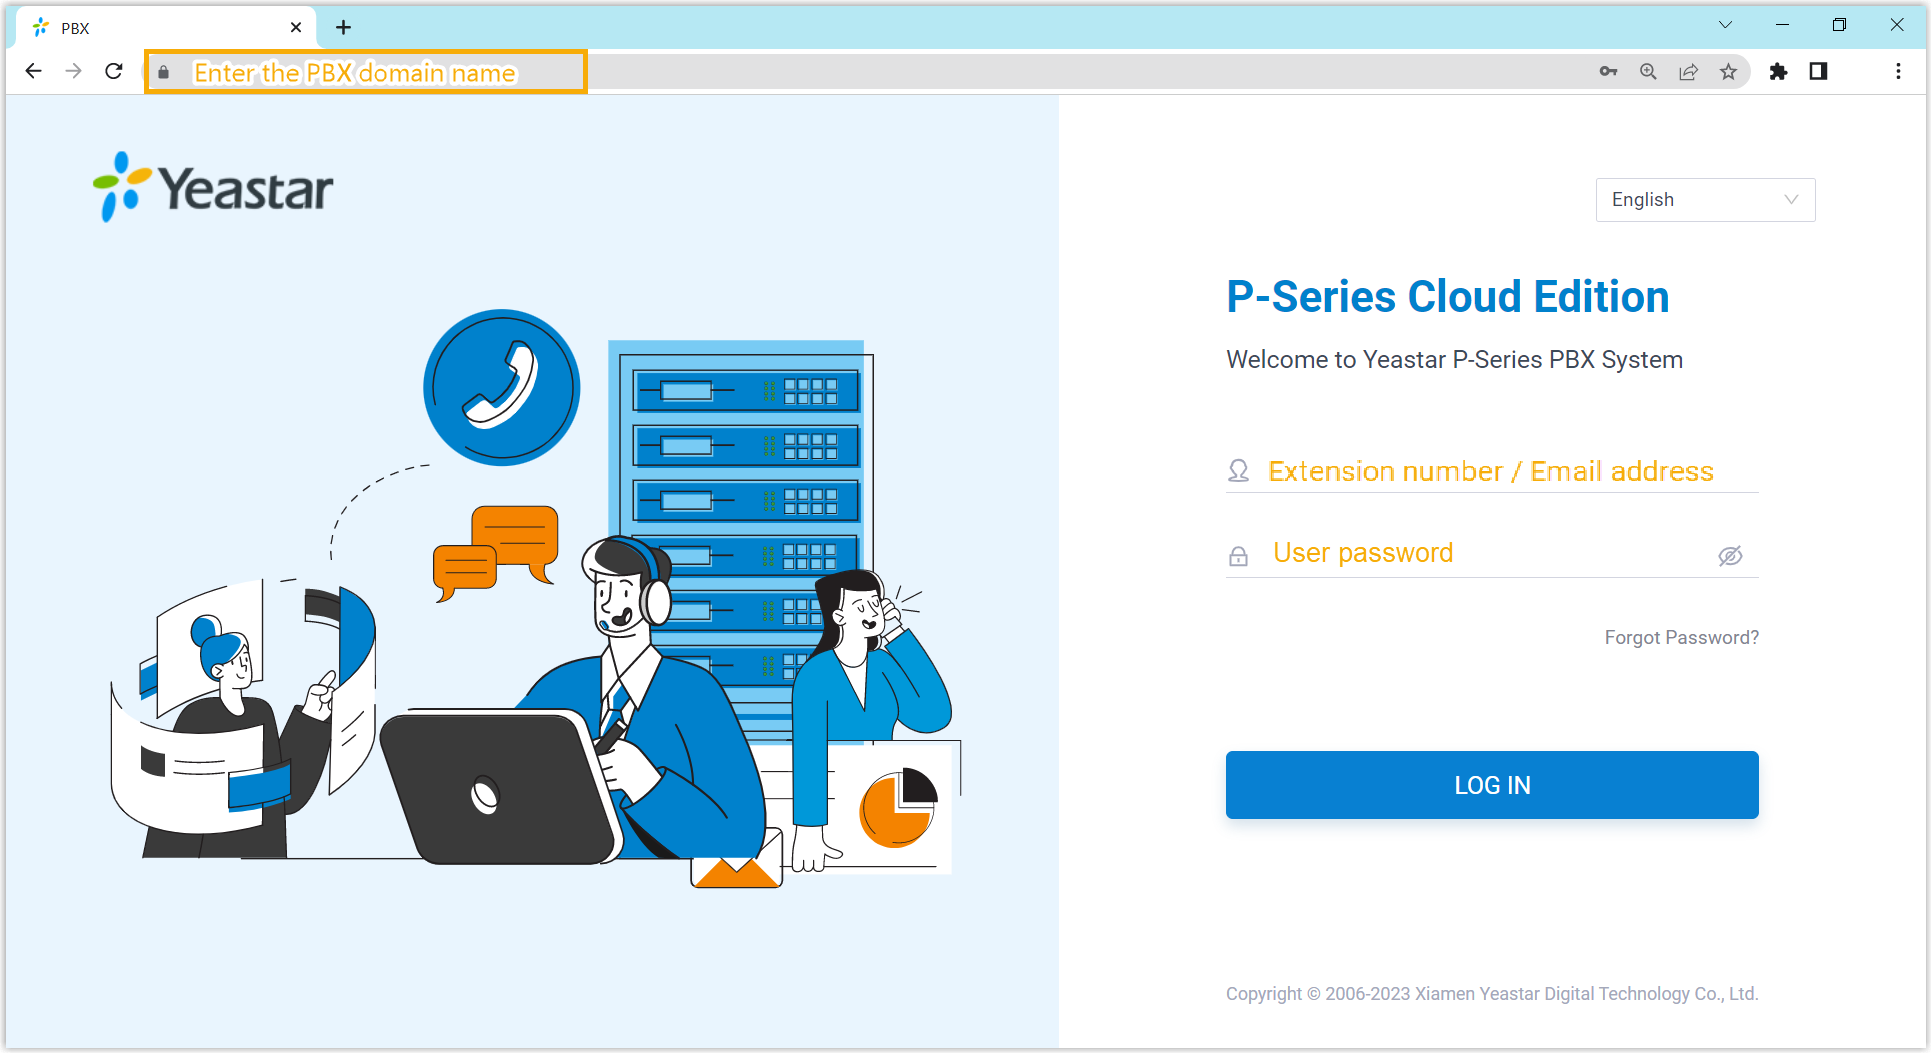
- The PBX domain name (this is the network address of your Cloud Voice App server that the client connects to)
- Their username, either the extension number or the email address, depending on the login mode you have set
- The extension’s user password
With these in hand, users can type the details directly into the Cloud Voice App to sign in.
Question about this page?
Ask the AI assistant. It starts from this page, then searches the rest of the docs.
Ask Cloud Voice AI
Answers are AI-generated from the docs and may contain mistakes. Verify with the linked pages.