
Add an Onsite Proxy Instance
An Onsite Proxy links IP phones on a local network back to your Cloud Voice PBX (Private Branch Exchange, the system that routes your calls). Before you can install and connect a proxy in the field, you first register an instance on the PBX itself. Doing so generates the connection details you’ll enter later when you set the proxy up.
Before you begin
Section titled “Before you begin”Your Cloud Voice PBX must be running firmware 84.23.0.24 or later.
Instance limit
Section titled “Instance limit”A PBX accepts up to 100 Onsite Proxy instances by default.
Add the instance
Section titled “Add the instance”-
Sign in to the PBX web portal and go to System > Onsite Proxy, then click Add.
-
Fill in the Basic section:

-
In Name, type a label that will help you recognize this instance later.
-
From the Platform drop-down, choose Linux (the operating system of the host where the proxy software will run).
-
-
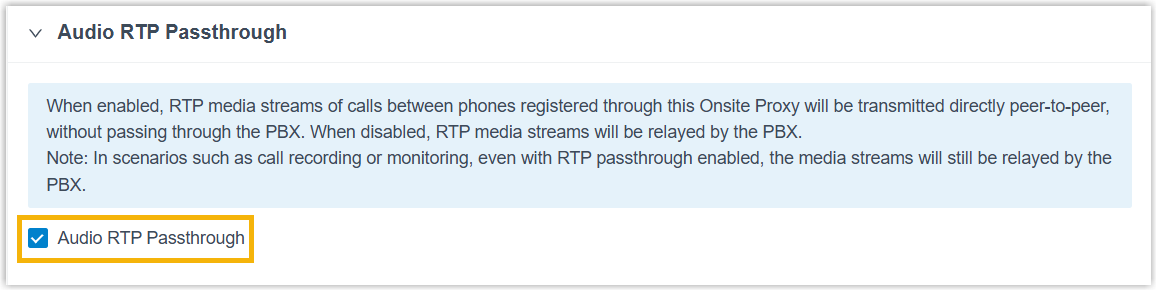
In the Audio RTP Passthrough section, turn the feature on or off to suit your deployment. RTP (Real-time Transport Protocol) is what carries the live voice of a call, so this setting decides which path that audio takes.
-
Enabled: Calls between phones registered through the same Onsite Proxy carry their RTP audio directly, peer to peer, without routing through the PBX or the proxy.
-
Disabled: RTP audio for those same calls is relayed through the PBX instead.
-
-
Click Save, then Apply.
Result
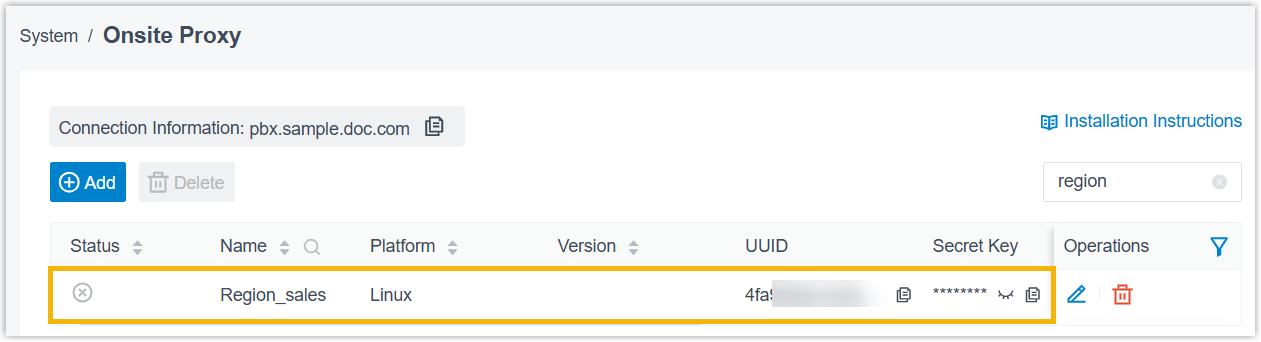
Section titled “Result”The new instance appears in the Onsite Proxy list with its connection details filled in automatically: a connection address, a UUID (Universally Unique Identifier, the ID that identifies this proxy), and a secret key.
What’s next
Section titled “What’s next”Question about this page?
Ask the AI assistant. It starts from this page, then searches the rest of the docs.
Ask Cloud Voice AI
Answers are AI-generated from the docs and may contain mistakes. Verify with the linked pages.