
Set up a Hot Desking Phone
Hot desking lets a single physical phone be shared by many people: each person signs in with their own extension when they need the phone, then signs out so the next person can use theirs. This page walks through provisioning an IP phone as a hot desking device through auto provisioning, where the system pushes the phone’s configuration to the device automatically instead of you setting up the handset by hand.
Supported devices
Section titled “Supported devices”Only certain IP phone models can be used for hot desking. Confirm your device appears on the Auto Provisioning supported devices list before continuing.
Before you start
Section titled “Before you start”Have the following details for the phone ready:
- Vendor
- Model
- Media Access Control (MAC) address: the unique hardware identifier assigned to the phone’s network port
Add the phone
Section titled “Add the phone”-
Sign in to the Cloud Voice management portal and open Auto Provisioning > Phones.
-
Click +Add > Add.
-
Under IP Phone, identify the device:
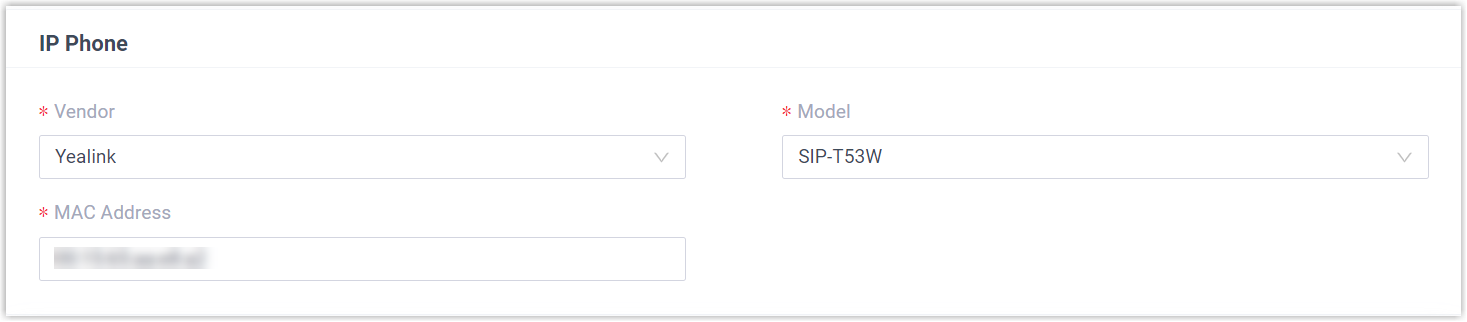
- Vendor: Choose the phone’s manufacturer.
- Model: Choose the phone’s model.
- MAC Address: Type the phone’s MAC address.
-
Under Options, set up provisioning and enable hot desking:

-
Template: Pick a provisioning template from the drop-down. A matching provisioning server URL is created and shown in the Provisioning Link field.
-
Hot Desking Phone: Turn this on to make the device a hot desking phone. The system assigns it to a virtual extension named
HostExt{virtual_num}.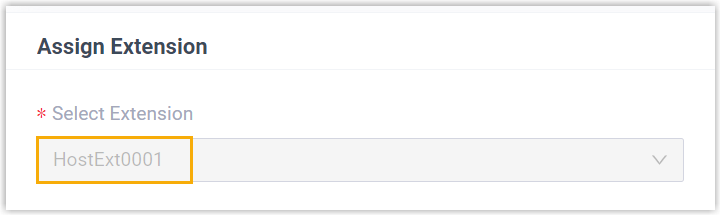
-
-
Click Save.
-
If the device is a Grandstream or Alcatel-Lucent Enterprise phone, sign in to the phone’s web interface and enter the provisioning link manually.
-
Reboot the phone by hand.
Result
Section titled “Result”The phone registers with the system using its virtual extension and is now a hot desking device. You can verify its registration state in the phone list. A Guest In key is added to the phone automatically.

What to do next
Section titled “What to do next”Question about this page?
Ask the AI assistant. It starts from this page, then searches the rest of the docs.
Ask Cloud Voice AI
Answers are AI-generated from the docs and may contain mistakes. Verify with the linked pages.