
Set Multiple Time Zones
Cloud Voice lets you define more than one time zone on the same system, so teams in different regions can run their calls and schedules against their own local clock. This page walks through adding the time zones your organization needs.
Why use multiple time zones
Section titled “Why use multiple time zones”A single system-wide time zone works only when everyone shares the same working day. Companies with offices in more than one region, or with staff spread across the world, need schedules that reflect each location.
Say you have offices in the United States, the United Kingdom, and China. You can keep US Pacific as the default time zone, add separate time zones for the UK and China, and then build business hours and holidays for each one. Every team then works and answers calls against its own local hours, and customers reach the right people at the right time of day.
Before you begin
Section titled “Before you begin”- Your system firmware must be 84.18.0.59 or later.
- You can define up to 24 time zones in total, and that count includes the default time zone.
Add a time zone
Section titled “Add a time zone”-
Sign in to the PBX (Private Branch Exchange) web portal and open Call Control > Business Hours and Holidays.
-
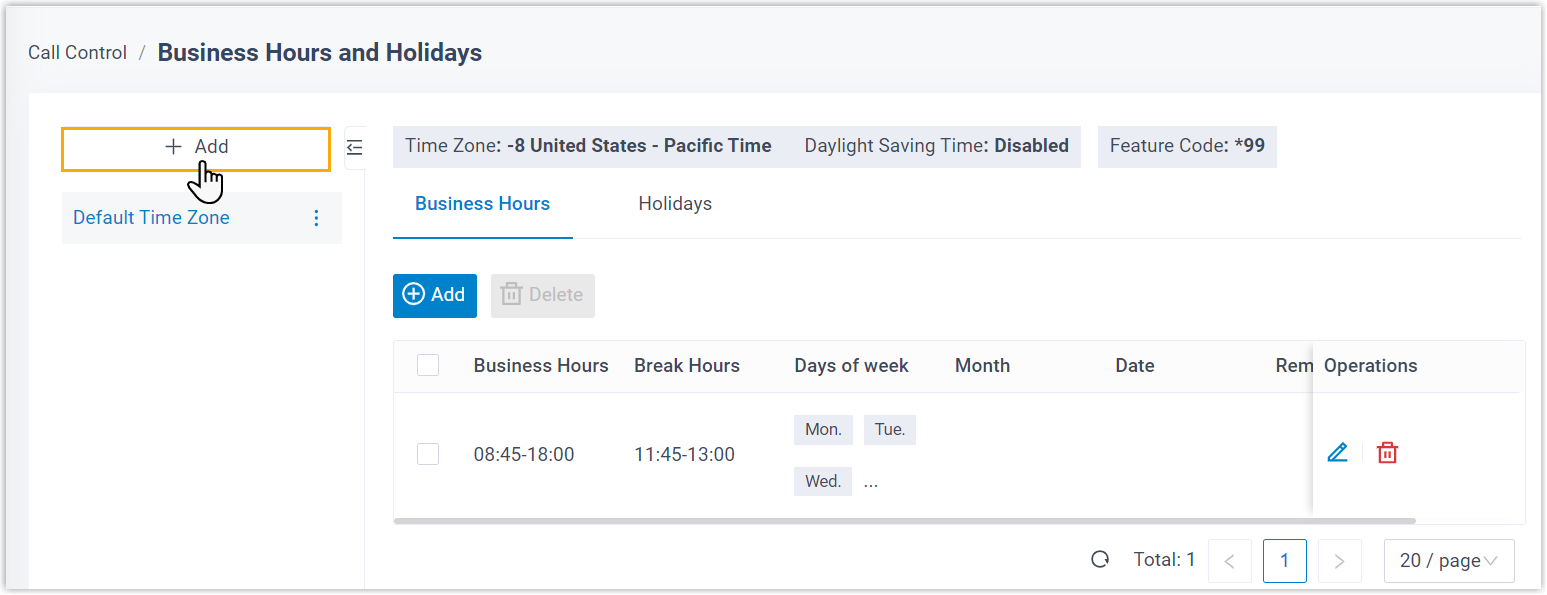
In the side panel, select Add.
-
Fill in the time zone details in the dialog that opens.
Setting Description Name A label that makes the time zone easy to recognize. Time Zone The region whose local time you want to apply. Daylight Saving Time Turn Daylight Saving Time (DST) on or off to match the region. Feature Code Filled in automatically with a system-generated code. Use it to switch or subscribe to the Business Hours and Holidays status for this particular time zone. Assign to Extension Optional. Apply this time zone to a group of extensions at once. Once assigned, those extensions inherit the business hours and holidays you set for the time zone. -
Select Save.
-
Repeat steps 2 through 4 for each additional time zone you need.
-
Reboot the PBX to apply the changes.
Result
Section titled “Result”The new time zones are now available on the system.
Next steps
Section titled “Next steps”With your time zones in place, Set Business Hours and Create a Holiday for each one.
Question about this page?
Ask the AI assistant. It starts from this page, then searches the rest of the docs.
Ask Cloud Voice AI
Answers are AI-generated from the docs and may contain mistakes. Verify with the linked pages.