
Access the System via SSH
SSH (Secure Shell) gives you an encrypted command-line connection to your Cloud Voice phone system, which you use for debugging and low-level diagnostics. Access is turned off by default. You enable it from the web portal, note the connection details, then sign in with any SSH client. The steps below use PuTTY (a free SSH client for Windows) as the example, but the same details work with any SSH tool, including the built-in ssh command on macOS and Linux.
Enable SSH access
Section titled “Enable SSH access”-
Sign in to the web portal and go to Security > Security Settings > Console/SSH Access.
-
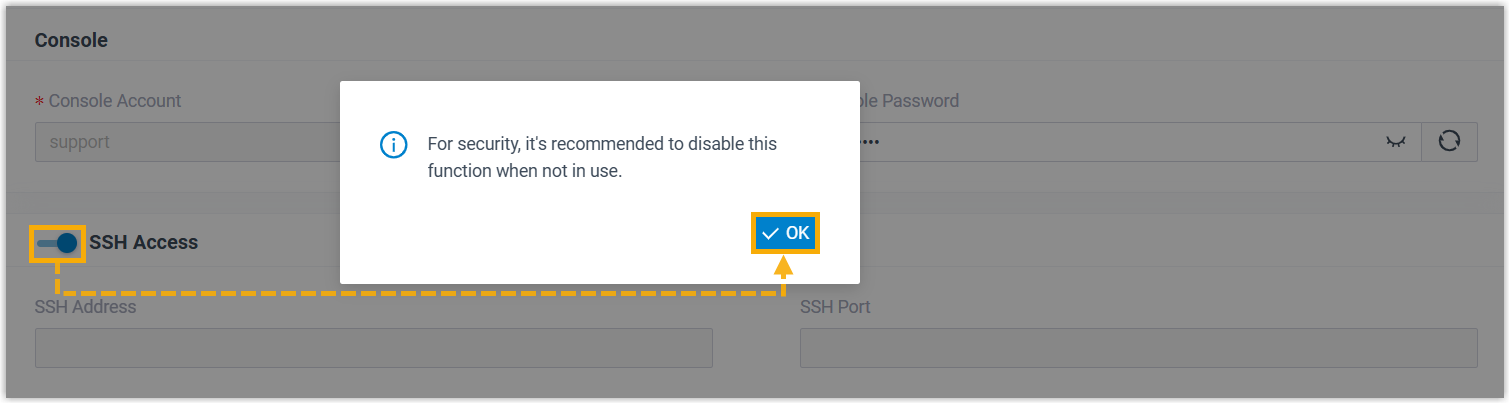
Switch SSH Access on, then click OK.
-
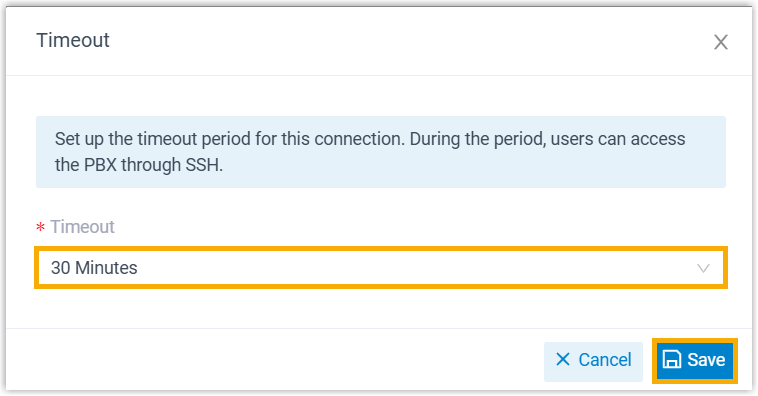
Choose a session length from the Timeout drop-down list, then click Save. SSH access is now active, and the remaining connection time counts down on the page.
-
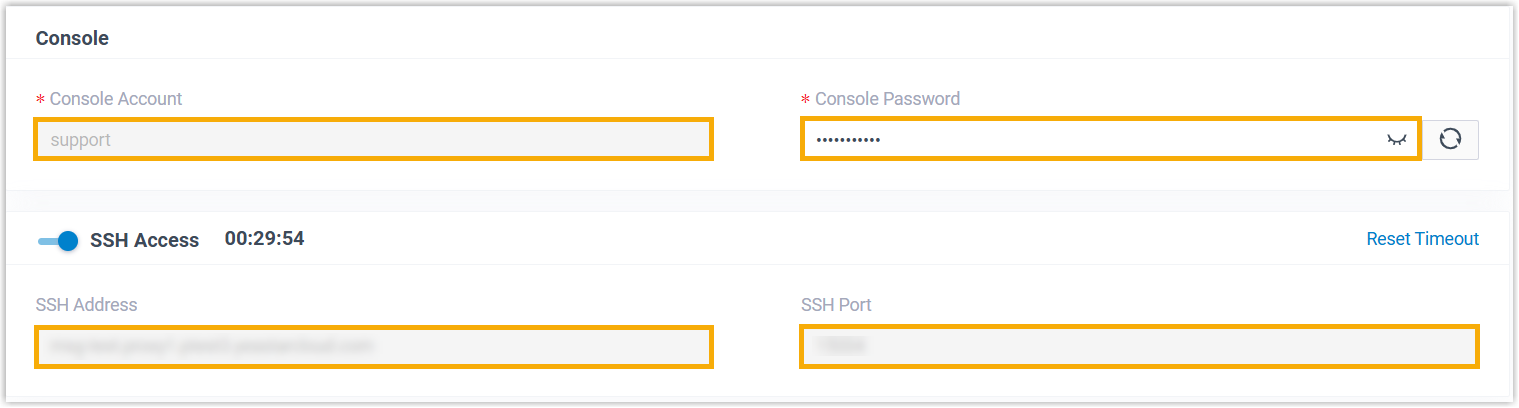
Note down the SSH credentials shown on the page. You need the SSH address and port to connect, plus the password for signing in.
Configure the SSH client
Section titled “Configure the SSH client”-
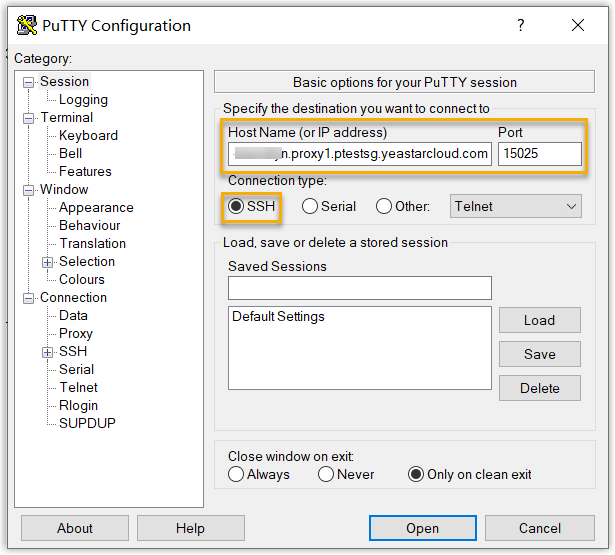
Set Connection type to SSH.
-
In Host Name (or IP address), enter the system’s SSH address.
-
In Port, enter the system’s SSH port.
-
Optional: open Window > Lines of scrollback in the left navigation and raise the scrollback line count.
-
Click Open.
Sign in
Section titled “Sign in”-
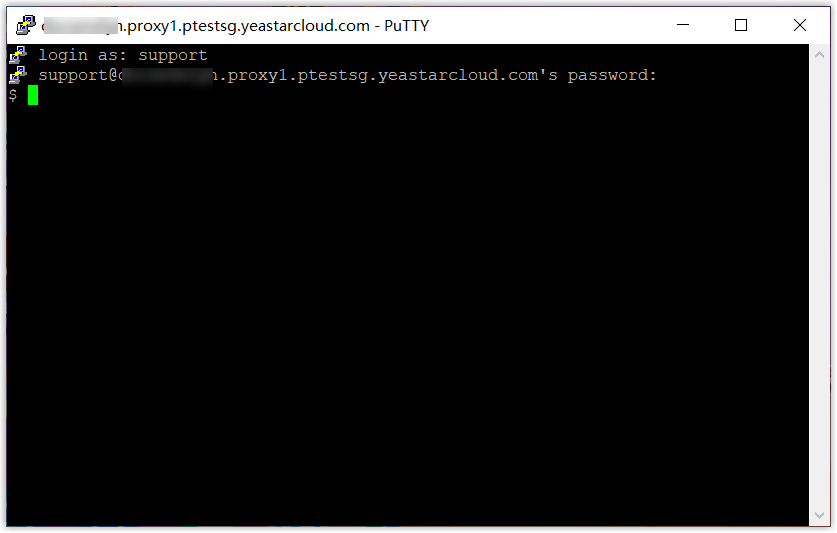
At the login as prompt, enter
support. -
At the password prompt, enter the password from the credentials page (step 4 above).
Result
Section titled “Result”Once you are signed in, the terminal is ready for you to run diagnostics and debug the system.
Question about this page?
Ask the AI assistant. It starts from this page, then searches the rest of the docs.
Ask Cloud Voice AI
Answers are AI-generated from the docs and may contain mistakes. Verify with the linked pages.