
Route Inbound Calls to Original Extensions via AutoCLIP Route
AutoCLIP (short for Automatic Calling Line Identification Presentation) keeps track of the outbound calls your team makes and, when one of those contacts calls back, sends the call directly to the extension that reached out to them. Because the caller lands with the colleague who already knows the conversation, there is no re-routing through a menu or receptionist, which saves time and gives customers a smoother experience. This page walks through configuring an AutoCLIP route.
Before you begin
Section titled “Before you begin”The trunk you plan to use with AutoCLIP must support Caller ID. A trunk is the connection between Cloud Voice and your phone-service provider, and Caller ID is the feature that tells Cloud Voice the number an inbound call is coming from.
Configure the AutoCLIP route
Section titled “Configure the AutoCLIP route”-
Sign in to the Cloud Voice management portal and open Call Control > AutoCLIP Route.
-
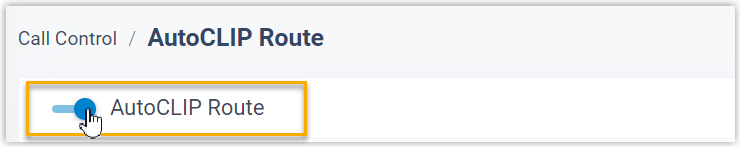
At the top of the page, turn on AutoCLIP Route.
-
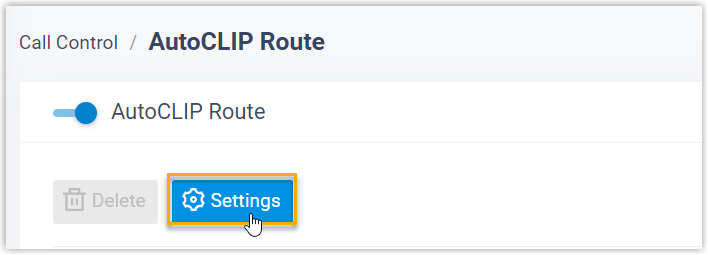
Click Settings to define the matching rules.
-
Adjust the AutoCLIP options to suit how your team works.
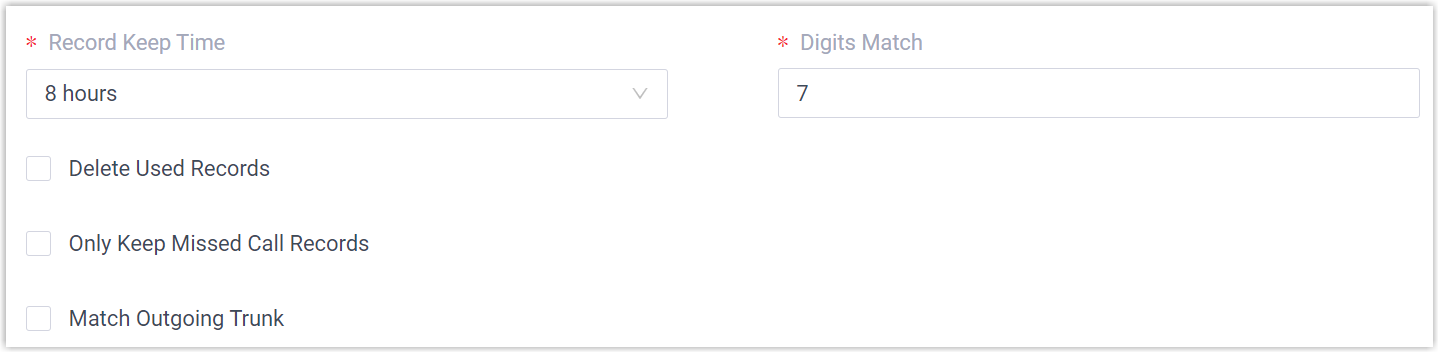
Setting Description Record Keep Time Sets how long a record stays in the AutoCLIP list. Once a record reaches this age, Cloud Voice removes it automatically. The list shows each record’s expiration time, so you can see when it will drop off. Digits Match Sets how many digits, counted from the end of the incoming Caller ID, are compared against the AutoCLIP list. If a number is shorter than this value, the full number is matched. Delete Used Records When on, a matched record is cleared from the list automatically after the original extension answers the returning call. Only Keep Missed Call Records When on, an outbound call is added to the AutoCLIP list only if it went unanswered. Match Outgoing Trunk When on, the call is sent to the original extension only if the trunk number the caller dialed matches the trunk that placed the earlier call. This is useful when you run more than one trunk and want callbacks to stay on the same one; leave it off if a single trunk carries all calls. -
In the Trunk section, choose which trunks the AutoCLIP route applies to.
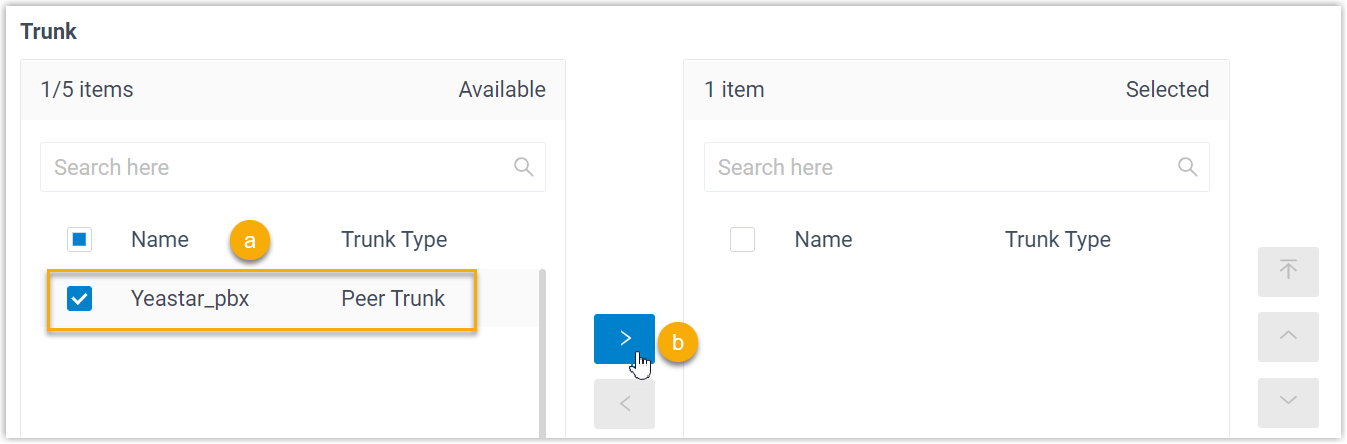
a. Pick the trunk or trunks you want. b. Move them from the Available box to the Selected box.
-
In the Extensions/Extension Groups section, choose which extensions can use the AutoCLIP route.
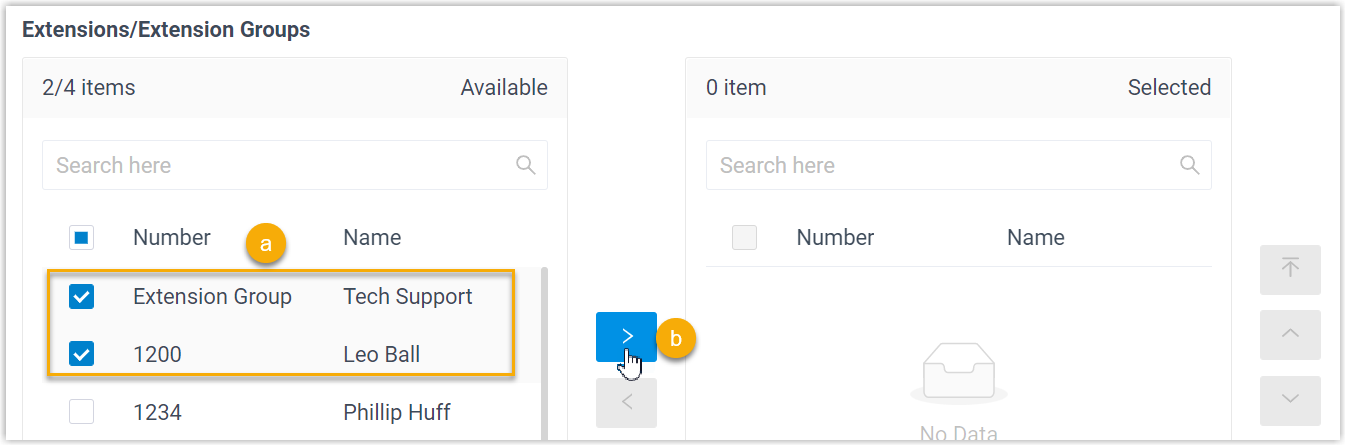
a. Pick the extensions or extension groups you want. b. Move them from the Available box to the Selected box.
-
Click Save.
Result
Section titled “Result”Whenever an included extension places an outbound call over an AutoCLIP trunk, Cloud Voice logs a record that captures the extension, the number dialed, and the trunk used. You can review these entries under Call Control > AutoCLIP Route.

Question about this page?
Ask the AI assistant. It starts from this page, then searches the rest of the docs.
Ask Cloud Voice AI
Answers are AI-generated from the docs and may contain mistakes. Verify with the linked pages.