
Configure Connection Information
Use this procedure to point the Onsite Proxy at your Cloud Voice PBX (Private Branch Exchange, the hosted phone system). It applies whenever you need to establish a fresh link, including the first connection after you skipped the setup wizard while installing the proxy. The connection details are entered through a terminal-based wizard that runs directly on the proxy host.
Prerequisites
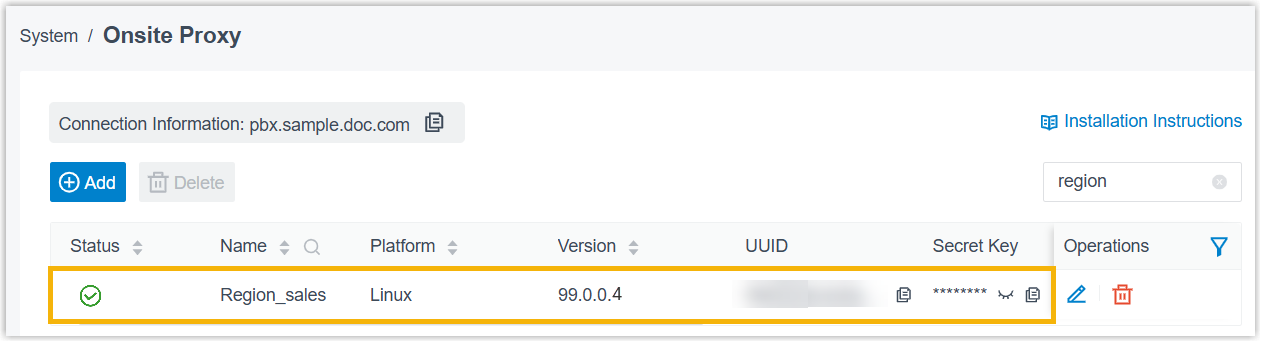
Section titled “Prerequisites”Before you begin, add an Onsite Proxy instance on your Cloud Voice PBX so that the PBX generates the credentials this wizard needs: the connection address, UUID (Universally Unique Identifier, the unique ID for this proxy instance), and secret key. You can view them in the PBX portal at System > Onsite Proxy > Edit > Connection information.
Step 1. Run the configuration wizard on the Onsite Proxy
Section titled “Step 1. Run the configuration wizard on the Onsite Proxy”-
Open a terminal session on the Onsite Proxy host.
-
Switch to the root account:
Terminal window sudo -i -
Launch the wizard:
Terminal window onsite-proxy-configureThe Onsite Proxy Configuration Wizard opens in a prompt window.
-
Press
Enterat the opening prompt to start.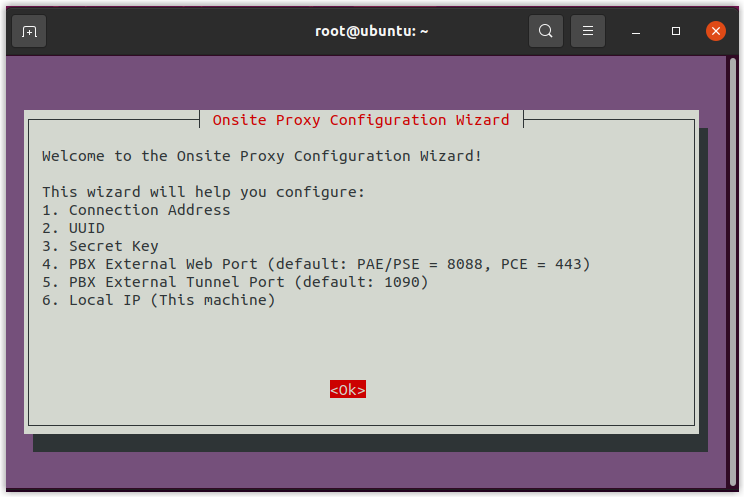
-
Work through each connection setting in turn, using the values you copied from the PBX.
PBX connection address
-
In the Configure PBX Connection Address window, paste the connection address you obtained from the PBX, then select
<Ok>and pressEnter.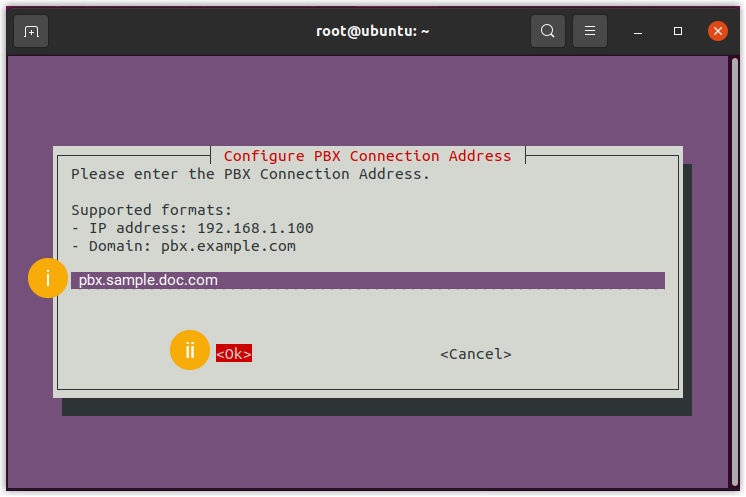
-
In the Confirm Connection Address window, select
<Yes>and pressEnter.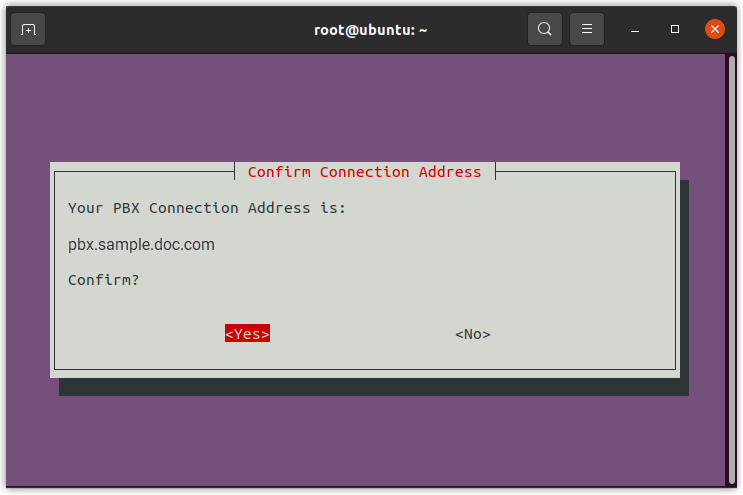
UUID
-
In the Configure UUID window, paste the UUID from the PBX, then select
<Ok>and pressEnter.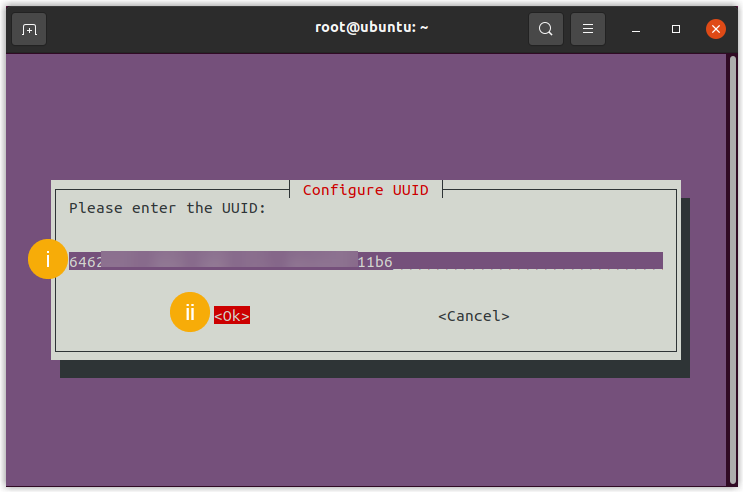
-
In the Confirm UUID window, select
<Yes>and pressEnter.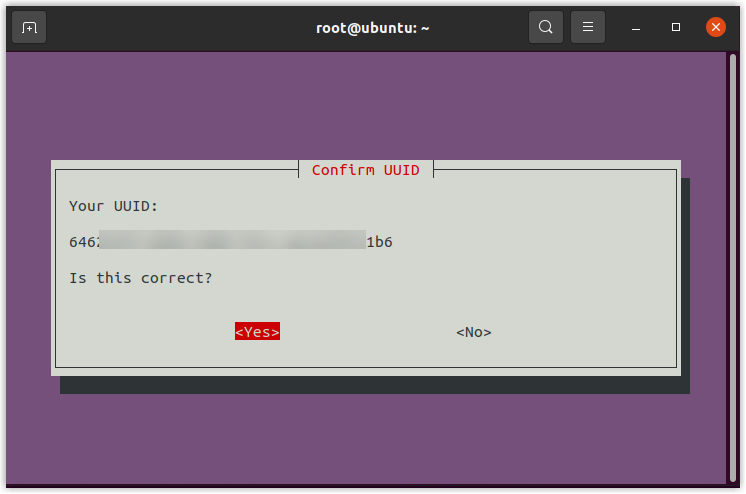
Secret key
-
In the Configure Secret Key window, paste the secret key from the PBX, then select
<Ok>and pressEnter.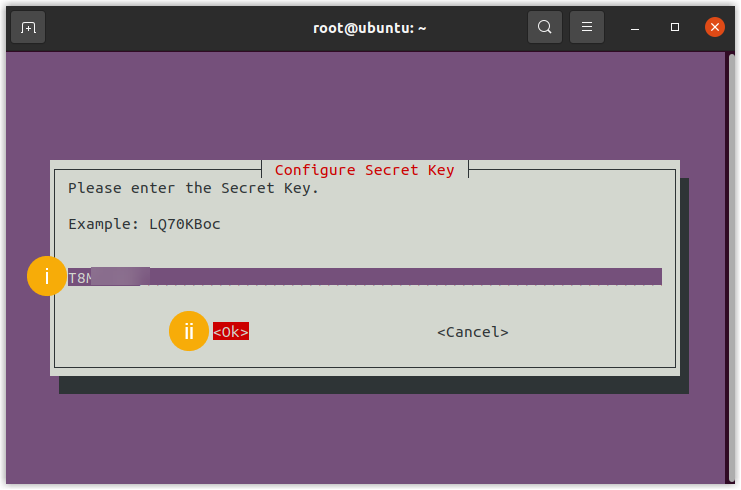
-
In the Confirm Secret Key window, select
<Yes>and pressEnter.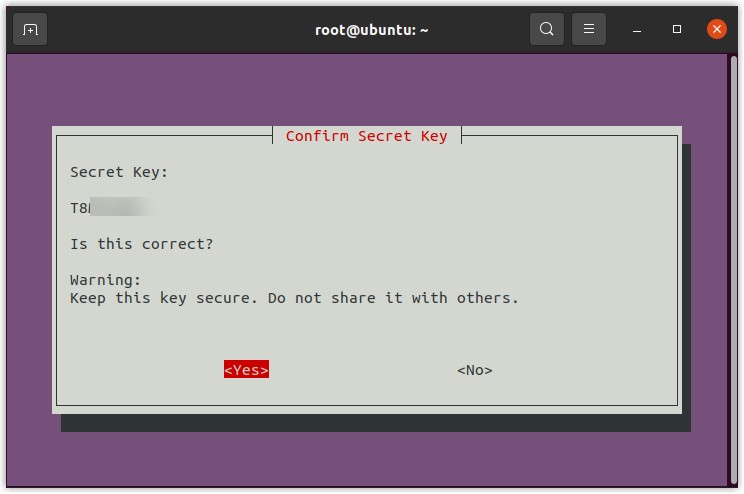
PBX external web server port
-
In the Configure PBX External Web Server Port window, select
<Ok>and pressEnter.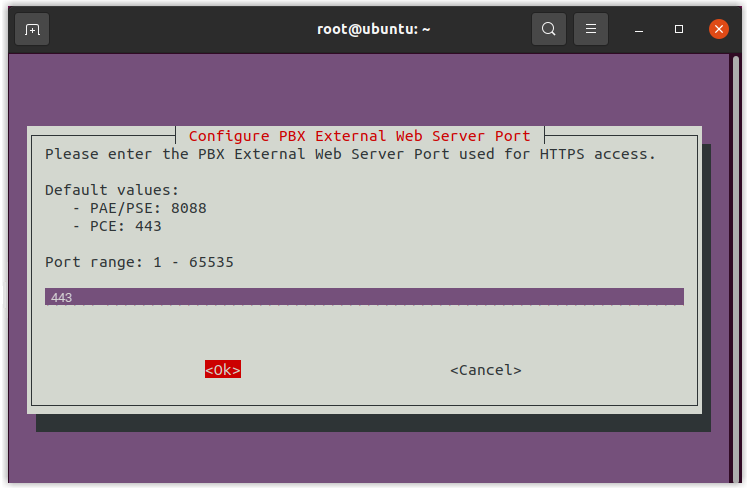
-
In the Confirm PBX External Web Server Port window, select
<Yes>and pressEnter.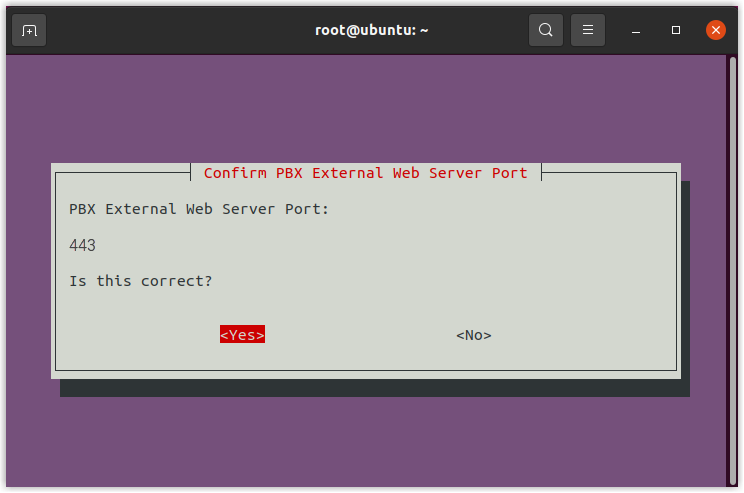
PBX external tunnel port
-
In the Configure PBX External Tunnel Port window, select
<Ok>and pressEnter.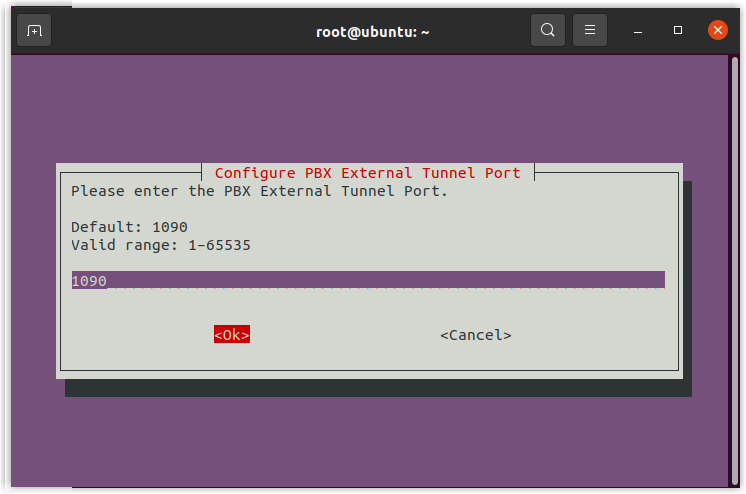
-
In the Confirm PBX External Tunnel Port window, select
<Yes>and pressEnter.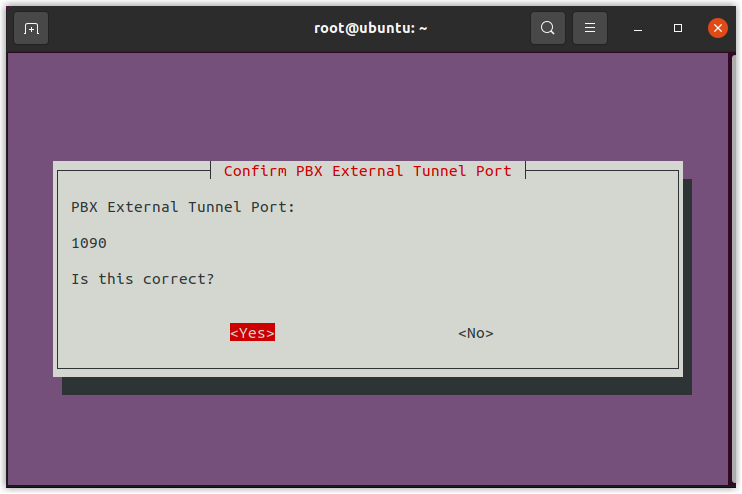
Local IP
-
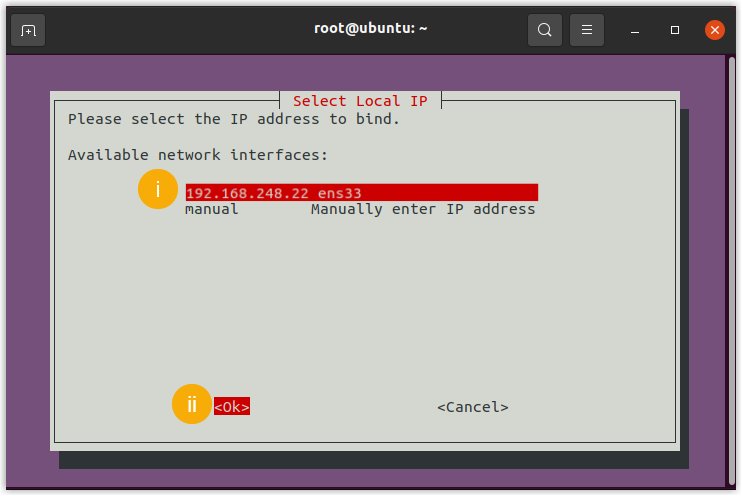
In the Select Local IP window, choose the static IP (Internet Protocol) address assigned to the host.
-
Select
<Ok>and pressEnter. -
In the Confirm Local IP window, select
<Yes>and pressEnter.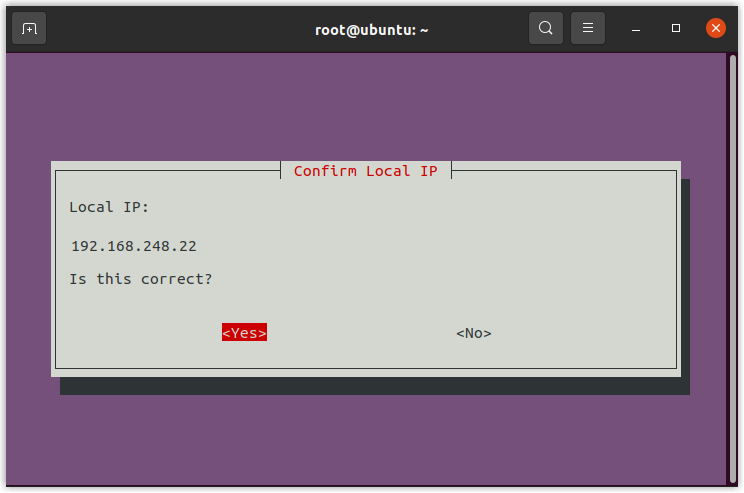
-
-
Review everything in the Configuration Summary window. When the details are correct, select
<Yes>and pressEnter.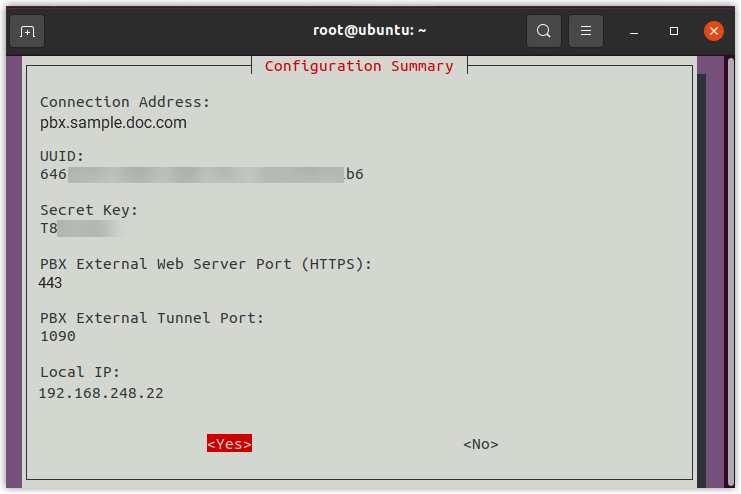
-
At the Verification Successful prompt, press
Enter.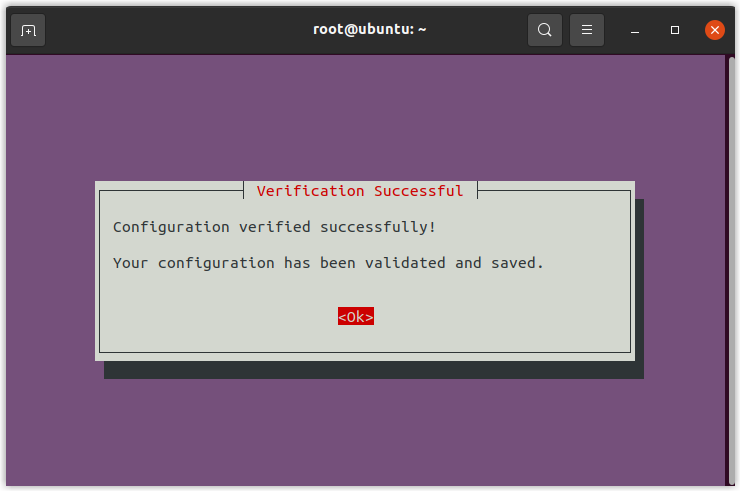
-
At the Configuration Complete prompt, press
Enter.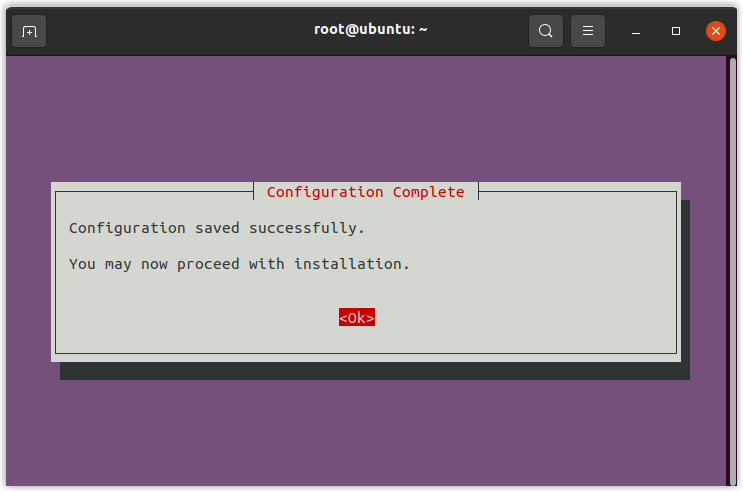
Step 2. Restart the proxy services
Section titled “Step 2. Restart the proxy services”Apply the new configuration by restarting both services:
-
Restart the tunnel forwarding service:
Terminal window systemctl restart proxycore.service -
Restart the tunnel status reporting service:
Terminal window systemctl restart proxycron.service
Result
Section titled “Result”The Onsite Proxy is now connected to your Cloud Voice PBX. Confirm the link in either of these ways:
-
On the Onsite Proxy host, run
onsiteproxy-cli status. For details on reading the output, see Query client status. -
In the PBX portal, review the status under System > Onsite Proxy.
Question about this page?
Ask the AI assistant. It starts from this page, then searches the rest of the docs.
Ask Cloud Voice AI
Answers are AI-generated from the docs and may contain mistakes. Verify with the linked pages.