
Enable Stereo-separated Recording
Cloud Voice can capture the incoming (RX) and outgoing (TX) audio of a one-on-one call as two distinct tracks and write them to the left and right channels of a single stereo file. Because each party lands on its own channel, the recording is far easier to review, transcribe, or feed into downstream processing tools. This page walks through turning the feature on.
Before you begin
Section titled “Before you begin”Your Cloud Voice system must be running firmware 84.20.0.74 or later.
Turn on stereo-separated recording
Section titled “Turn on stereo-separated recording”-
Sign in to the PBX web portal and open Call Features > Recording.
-
Enable Support generating stereo-separated recording files (left/right channel).

-
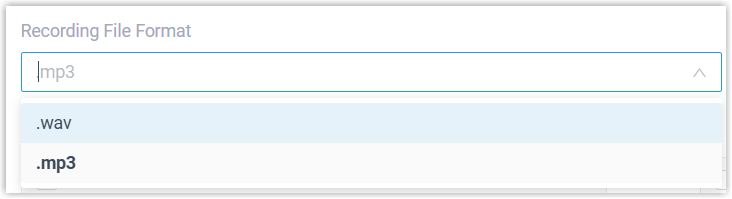
From the Recording File Format drop-down, choose the format used when recordings are downloaded.
-
Click Save, then Apply.
What happens next
Section titled “What happens next”Recordings of one-on-one calls are now saved in stereo, with the audio split across the two channels: the caller is placed on the left channel, while the callee’s audio and any system prompts are placed on the right.
Question about this page?
Ask the AI assistant. It starts from this page, then searches the rest of the docs.
Ask Cloud Voice AI
Answers are AI-generated from the docs and may contain mistakes. Verify with the linked pages.