
Install Onsite Proxy
The Onsite Proxy runs on a host that shares a subnet (the same local network segment) with your IP phones and relays their call signaling to your Cloud Voice PBX (Private Branch Exchange, the system that routes your phone calls). This page walks through installing the proxy and connecting it to the PBX, using Ubuntu as the example. The same steps apply to every supported operating system.
Before you begin
Section titled “Before you begin”On the PBX
Section titled “On the PBX”Make sure you have already added an Onsite Proxy instance on your Cloud Voice PBX and have its connection credentials on hand: the connection address, UUID (Universally Unique Identifier, the unique ID for this proxy), and secret key. You will find them under System > Onsite Proxy > Edit > Connection information.
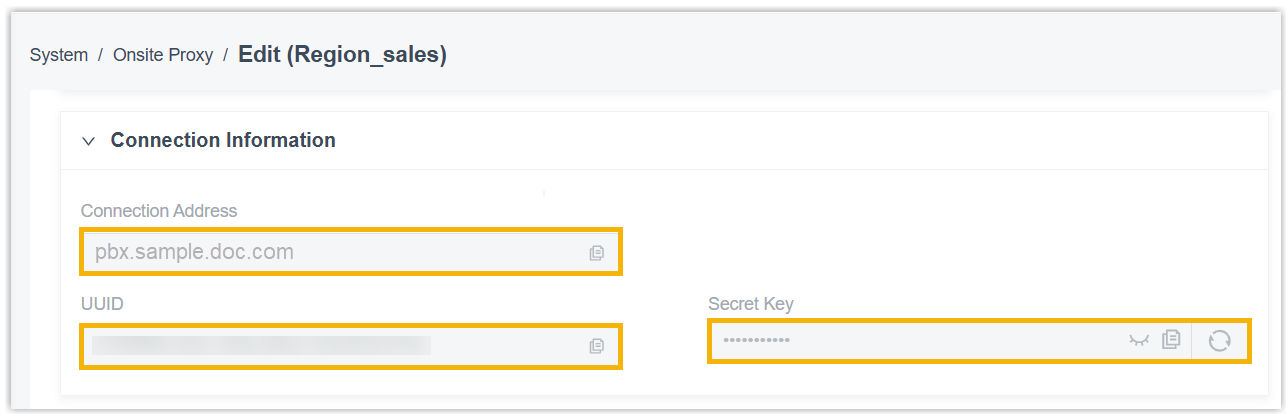
On the proxy host
Section titled “On the proxy host”Confirm the host meets the following before you install.
| Item | Requirement |
|---|---|
| Network | The host sits on the same subnet as the IP phones, and that subnet can reach the PBX server. |
| Operating system | The host runs a supported operating system. |
| Hardware | The host meets the minimum specifications. |
| Ports | UDP (User Datagram Protocol) port 5060 is free on the host. This is the standard port the proxy uses for SIP (Session Initiation Protocol) call signaling. |
| IP address | The host has a static IP address assigned. |
Step 1: Download and unpack the installation package
Section titled “Step 1: Download and unpack the installation package”-
Open a command line on the proxy host.
-
Switch to the root user:
Terminal window sudo -i -
Download the latest installation package into a directory of your choice. Use the command that matches the host’s CPU architecture, replacing
<desired_directory>with the path where you want the file saved.For an x86_64 host:
Terminal window wget <package-url>/onsiteproxy-x86_64.tar.gz -O <desired_directory>/onsiteproxy.tar.gzFor an ARM64 host:
Terminal window wget <package-url>/onsiteproxy-aarch64.tar.gz -O <desired_directory>/onsiteproxy.tar.gzFor example, to save the x86_64 package to the desktop:
Terminal window wget <package-url>/onsiteproxy-x86_64.tar.gz -O /home/user/Desktop/onsiteproxy.tar.gz -
Extract the package to the root directory, replacing
<your_package_path>with the actual path to the file you downloaded:Terminal window tar -xzf <your_package_path>/onsiteproxy.tar.gz -C /Following the example above:
Terminal window tar -xzf /home/user/Desktop/onsiteproxy.tar.gz -C /
Step 2: Install the proxy and connect it to the PBX
Section titled “Step 2: Install the proxy and connect it to the PBX”-
Start the installer:
Terminal window onsite-proxy-install -
In the Onsite Proxy Installation window, review the proxy version and operating system details, then select Yes and press
Enter. Give it about a minute for the requirements prompt to appear.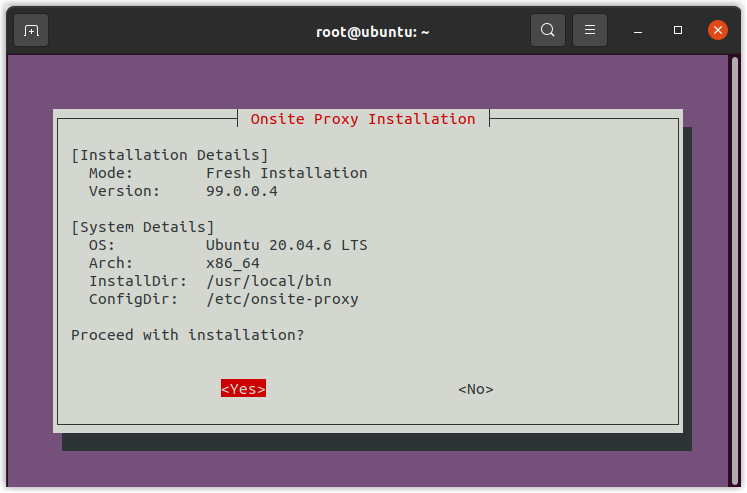
-
At the Important Requirements prompt, press
Enter.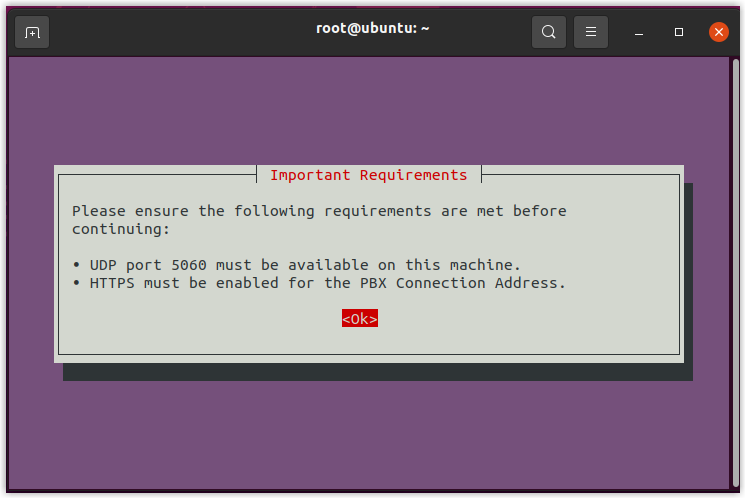
-
At the Onsite Proxy Configuration Wizard prompt, press
Enterto begin configuration.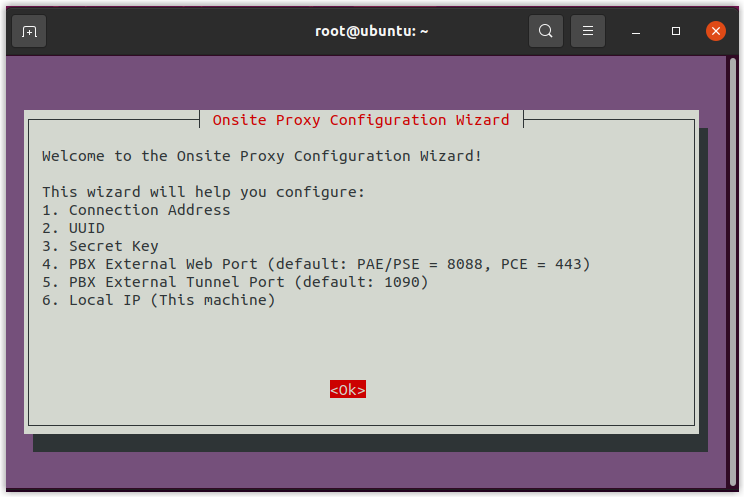
-
Work through the wizard, supplying each value when its window appears. Paste the credentials you copied from the PBX exactly, and confirm your entry on the follow-up window for each setting.
a. PBX connection address: In the Configure PBX Connection Address window, paste the connection address from the PBX, select <Ok>, and press
Enter.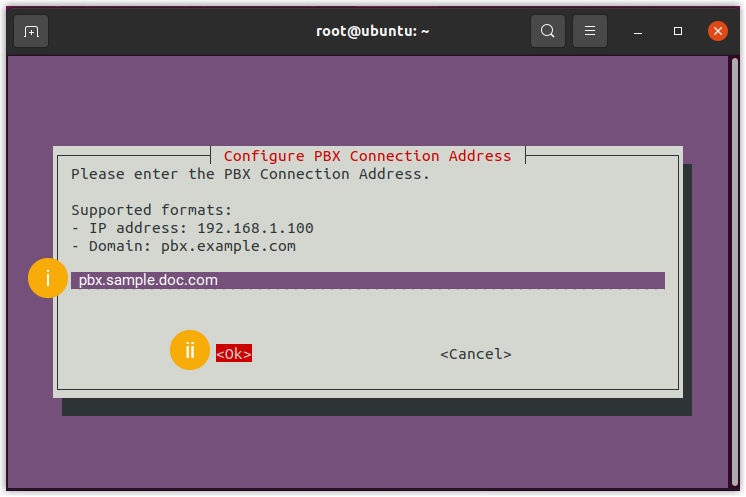
In the Confirm Connection Address window, select <Yes> and press
Enter.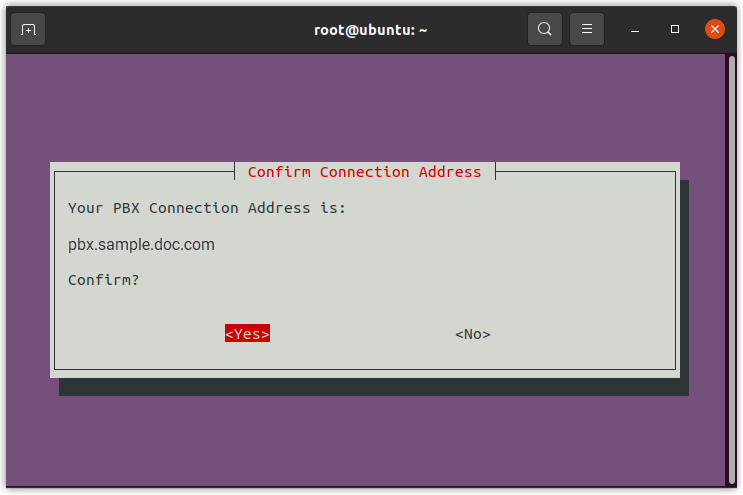
b. UUID: In the Configure UUID window, paste the UUID from the PBX, select <Ok>, and press
Enter.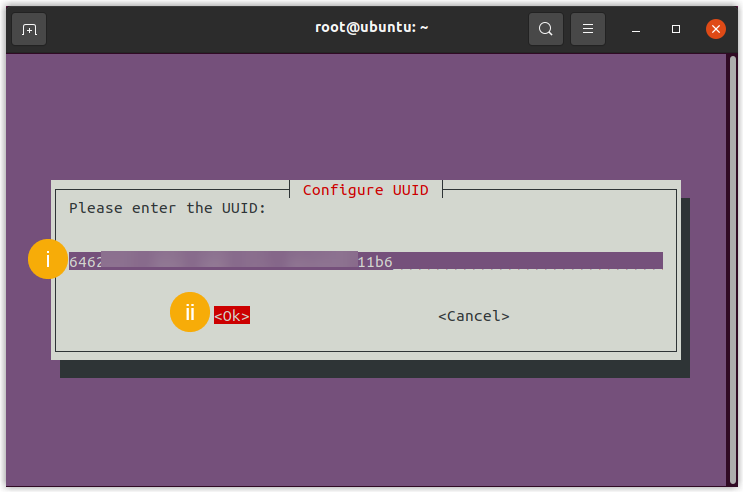
In the Confirm UUID window, select <Yes> and press
Enter.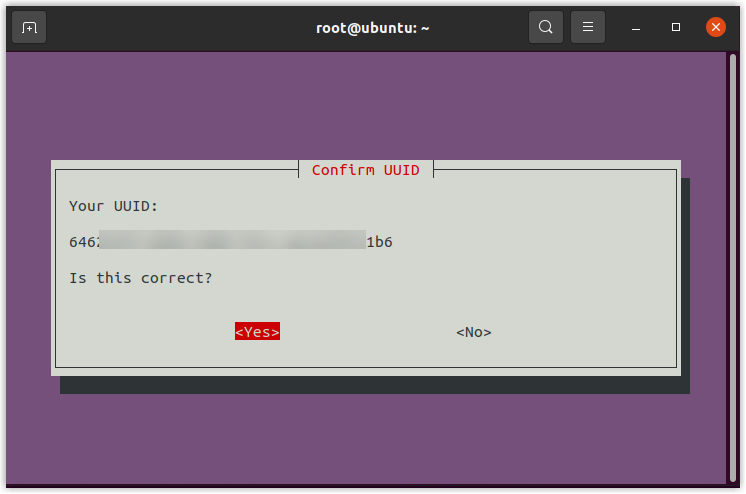
c. Secret key: In the Configure Secret Key window, paste the secret key from the PBX, select <Ok>, and press
Enter.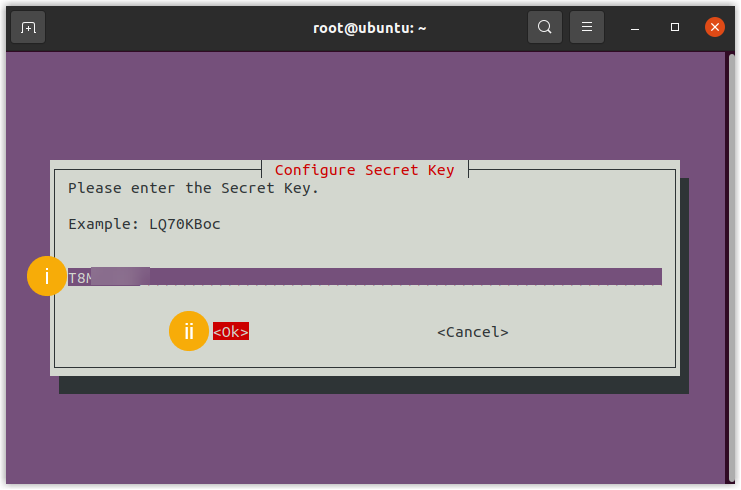
In the Confirm Secret Key window, select <Yes> and press
Enter.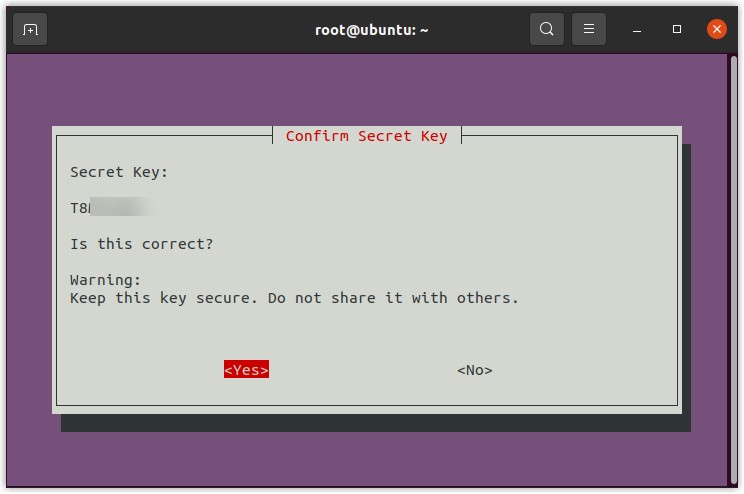
d. PBX external web server port: In the Configure PBX External Web Server Port window, select <Ok> and press
Enter.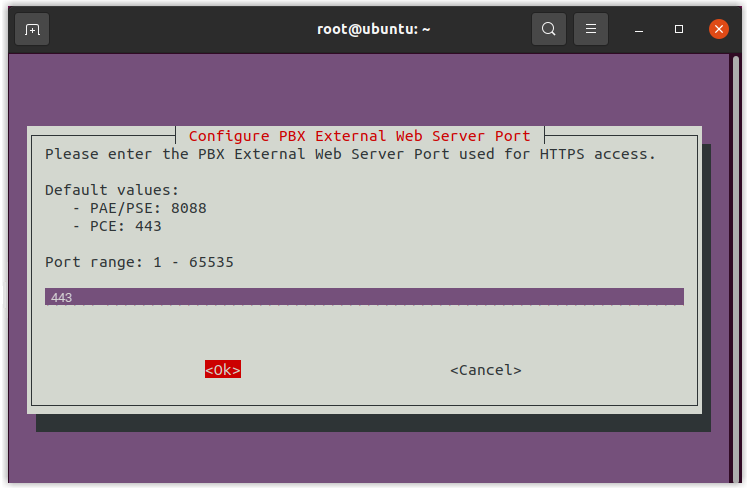
In the Confirm PBX External Web Server Port window, select <Yes> and press
Enter.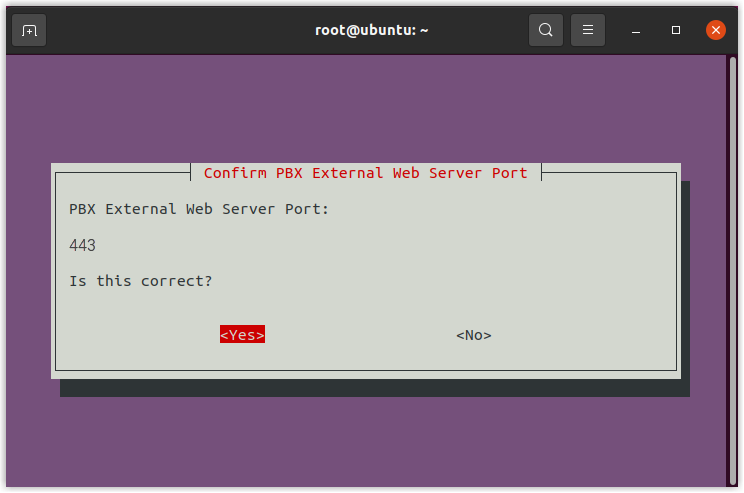
e. PBX external tunnel port: In the Configure PBX External Tunnel Port window, select <Ok> and press
Enter.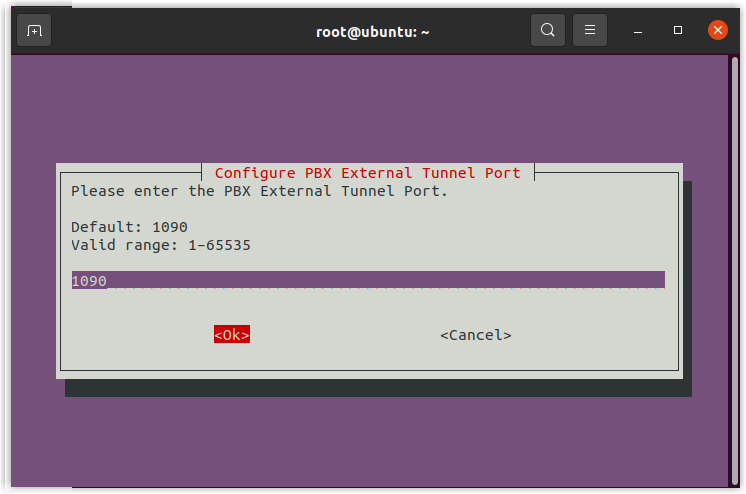
In the Confirm PBX External Tunnel Port window, select <Yes> and press
Enter.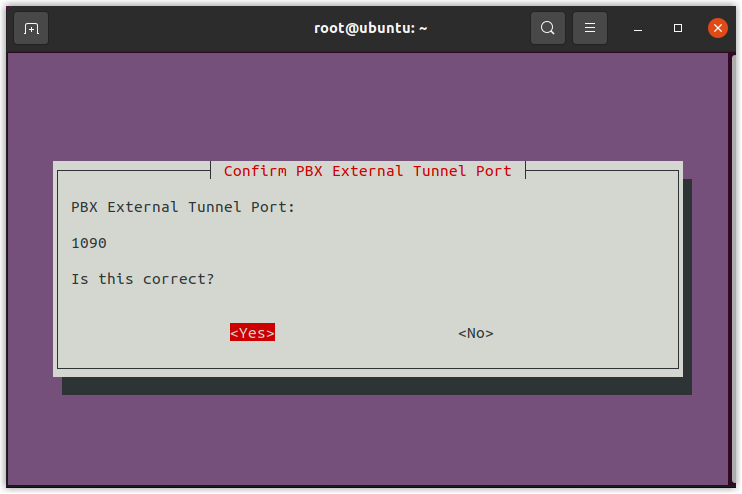
f. Local IP: In the Select Local IP window, choose the static IP address assigned to the host, select <Ok>, and press
Enter.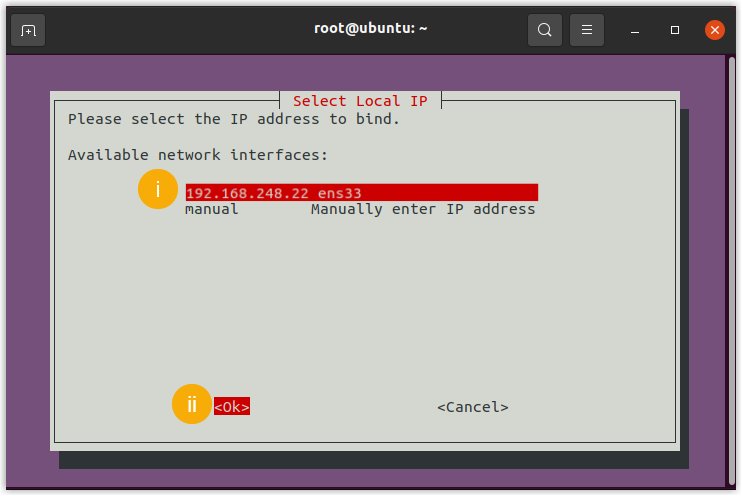
In the Confirm Local IP window, select <Yes> and press
Enter.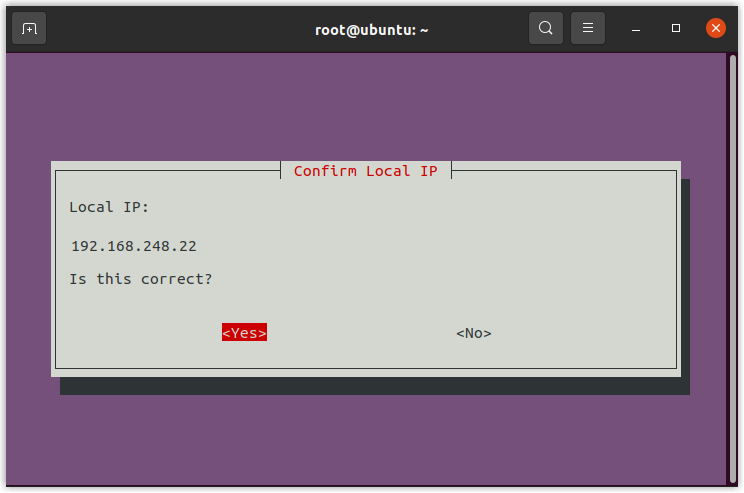
-
In the Configuration Summary window, check that every value is correct, then select <Yes> and press
Enter.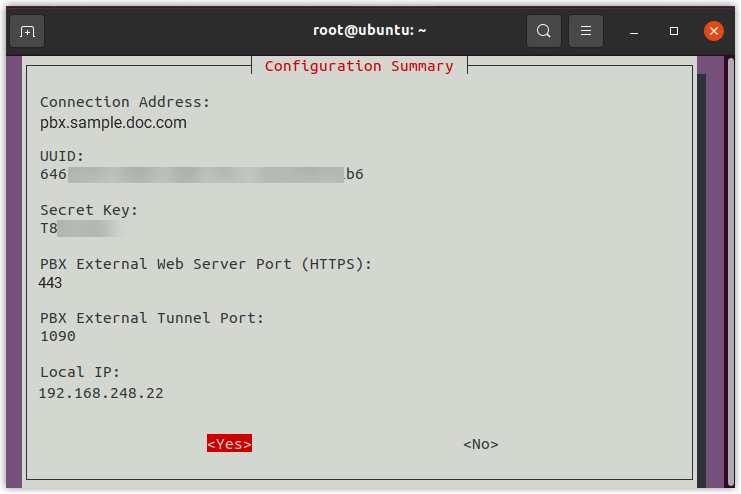
-
At the Verification Successful prompt, press
Enter.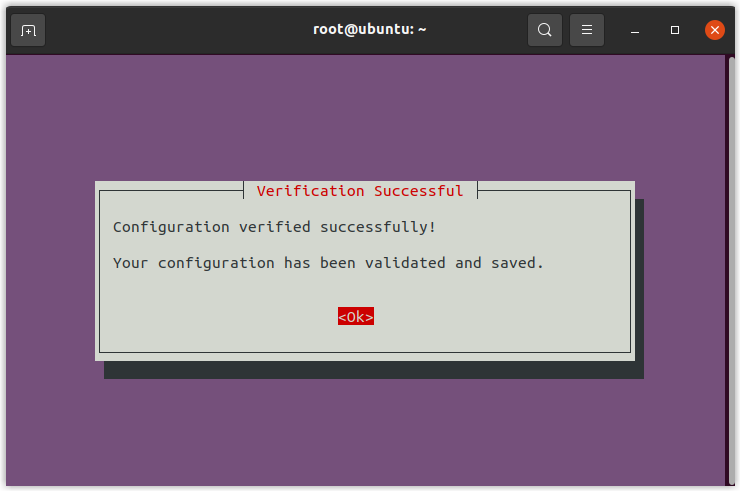
-
At the Configuration Complete prompt, press
Enter.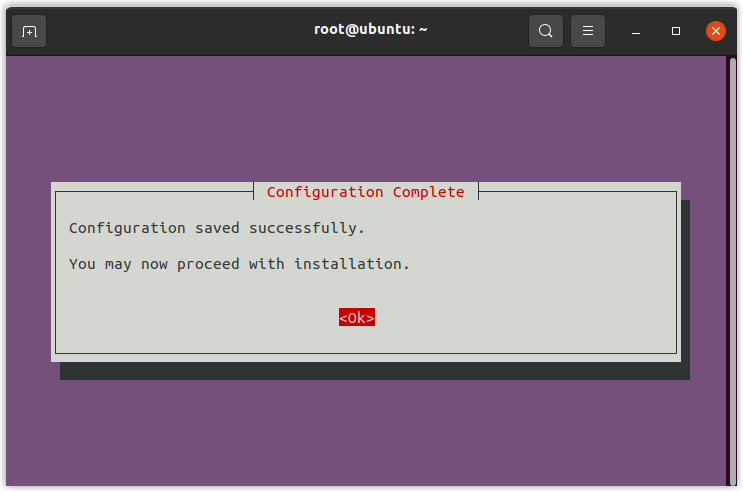
-
At the Installation Complete prompt, press
Enter.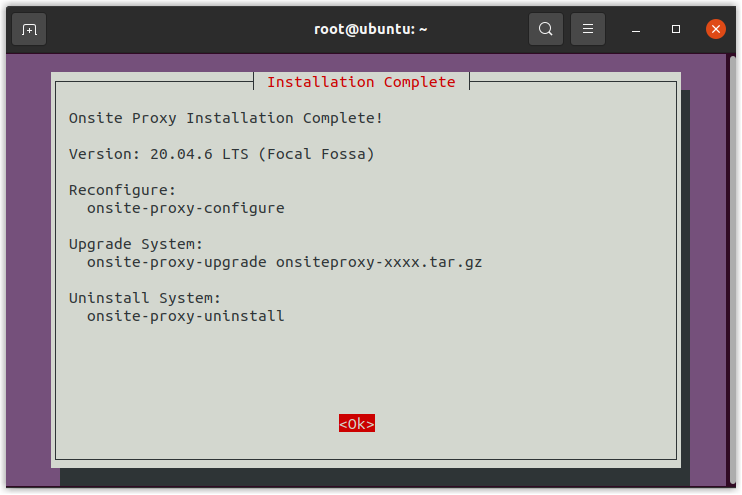
Result
Section titled “Result”The Onsite Proxy is installed and connected to the PBX.
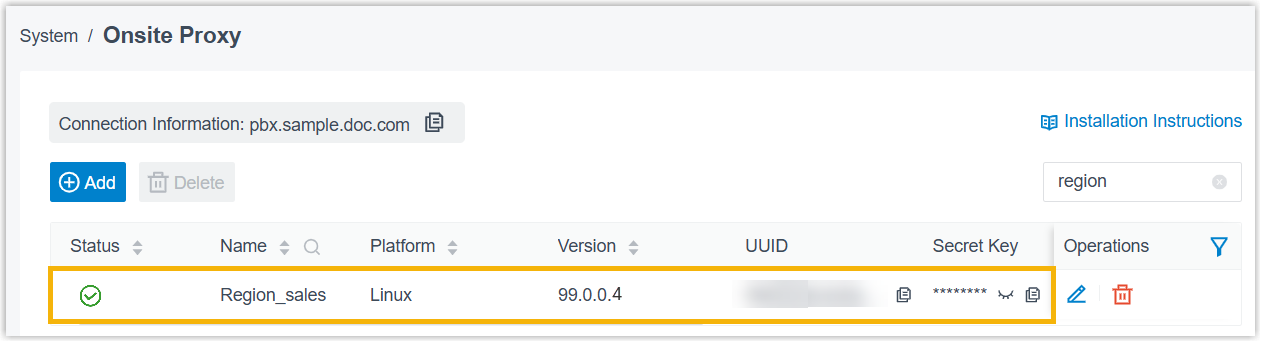
On the PBX, the Onsite Proxy instance now shows a connected status along with the proxy’s details, such as its version, internal IP address, and public IP address.
Question about this page?
Ask the AI assistant. It starts from this page, then searches the rest of the docs.
Ask Cloud Voice AI
Answers are AI-generated from the docs and may contain mistakes. Verify with the linked pages.