
Create an Extension Group
An extension group lets you organize a set of extensions under a single name and hand out management permissions to the people in it. This page shows how to build a group, add its members, and decide what each member is allowed to do.
How many groups you can have
Section titled “How many groups you can have”Cloud Voice supports a maximum of 63 extension groups.
Build the group
Section titled “Build the group”-
Sign in to the Cloud Voice management portal and go to Extension and Trunk > Extension Group, then click Add.
-
Give the group a Name that makes it easy to recognize later.
-
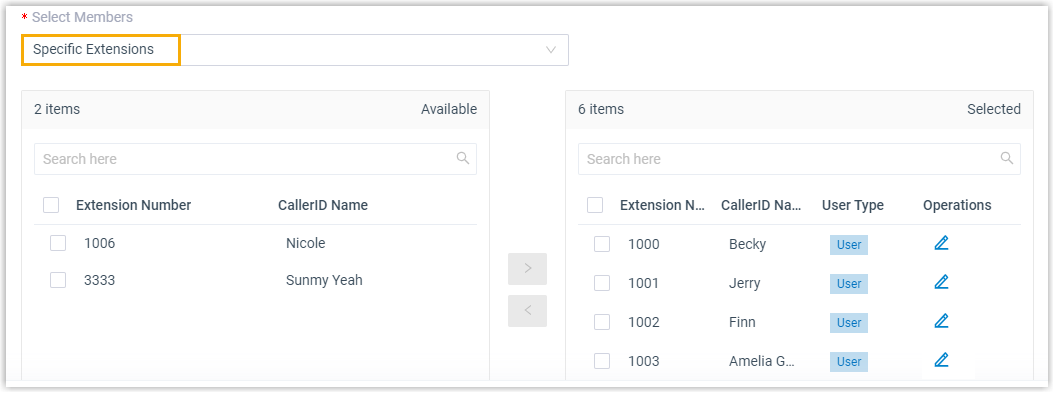
Open the Select Members drop-down list and choose who belongs in the group:
-
All Extensions moves every extension into the Selected box at once.
-
Specific extensions lets you pick individuals. Move each extension you want from the Available box into the Selected box.
-
-
Set the user type for each member. A member’s user type controls the permissions they receive, see User types in an extension group for how the types differ.
a. In the Selected box, click the edit icon
 next to the member you want to configure.
b. In the window that opens, choose a User Type and set its permissions:
-
Manager or User grants the member every permission that belongs to that type.
-
Custom lets you turn on only the specific permissions you select with the checkboxes.
c. Click Save.
-
-
Click Save.
Result
Section titled “Result”- The new group appears in the Extension Group list.
- The group stays hidden in the Cloud Voice App for everyone. To let specific people see it, use Set up Extension Visibility.
Question about this page?
Ask the AI assistant. It starts from this page, then searches the rest of the docs.
Ask Cloud Voice AI
Answers are AI-generated from the docs and may contain mistakes. Verify with the linked pages.