
Restrict Access to Administrator Portal by IP Addresses
As an administrator, you can tie administrator portal access to a list of trusted IP (Internet Protocol) addresses. Once the restriction is active, administrator logins are accepted only when they originate from an address you have approved.
Set up the IP restriction
Section titled “Set up the IP restriction”-
Log in to the Cloud Voice Dashboard at https://portal.voice.izt.cloud and click Login to open your phone system’s management portal with full administrator access, then open Security > Security Settings > Security Options.
-
Enable Enable IP Restriction for Administrator Login.
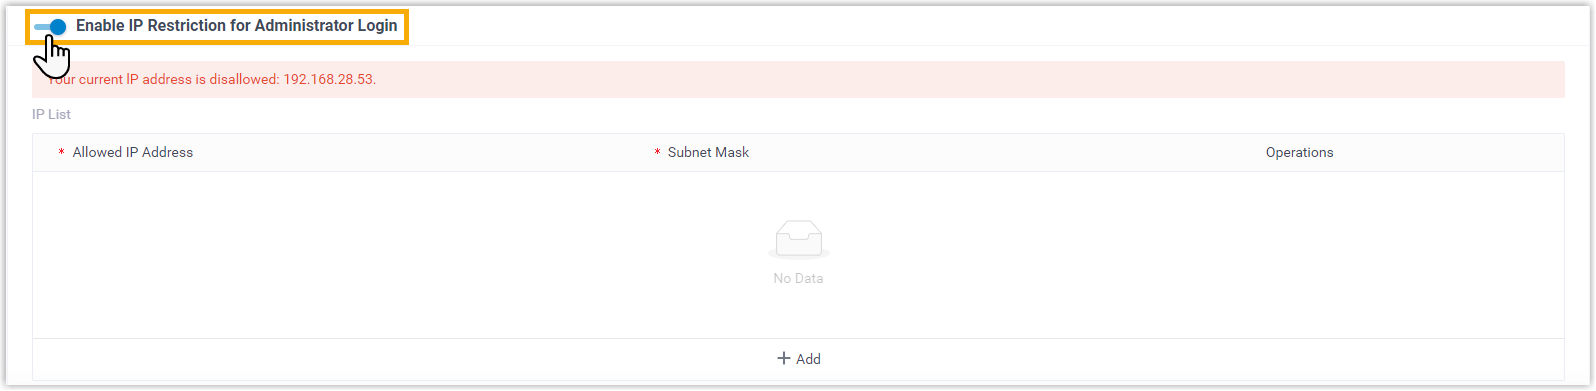
The portal warns you that your current IP address is not yet on the allowed list.
-
Add the addresses that should be permitted:

- Click Add.
- Enter the allowed IP address along with its subnet mask. The subnet mask sets how wide the rule is: use
255.255.255.255to allow a single address, or a broader mask to allow a whole range.
-
Click Save.
What happens after you save
Section titled “What happens after you save”Only the IP addresses on your list can reach the administrator portal, and the change applies the next time an administrator signs in. Anyone who is already signed in keeps their current session until they log out.
An administrator who tries to connect from an address that isn’t allowed sees a different message depending on the URL used:
-
Signing in at
PBX domain name/admin/loginreturns a page-not-found error.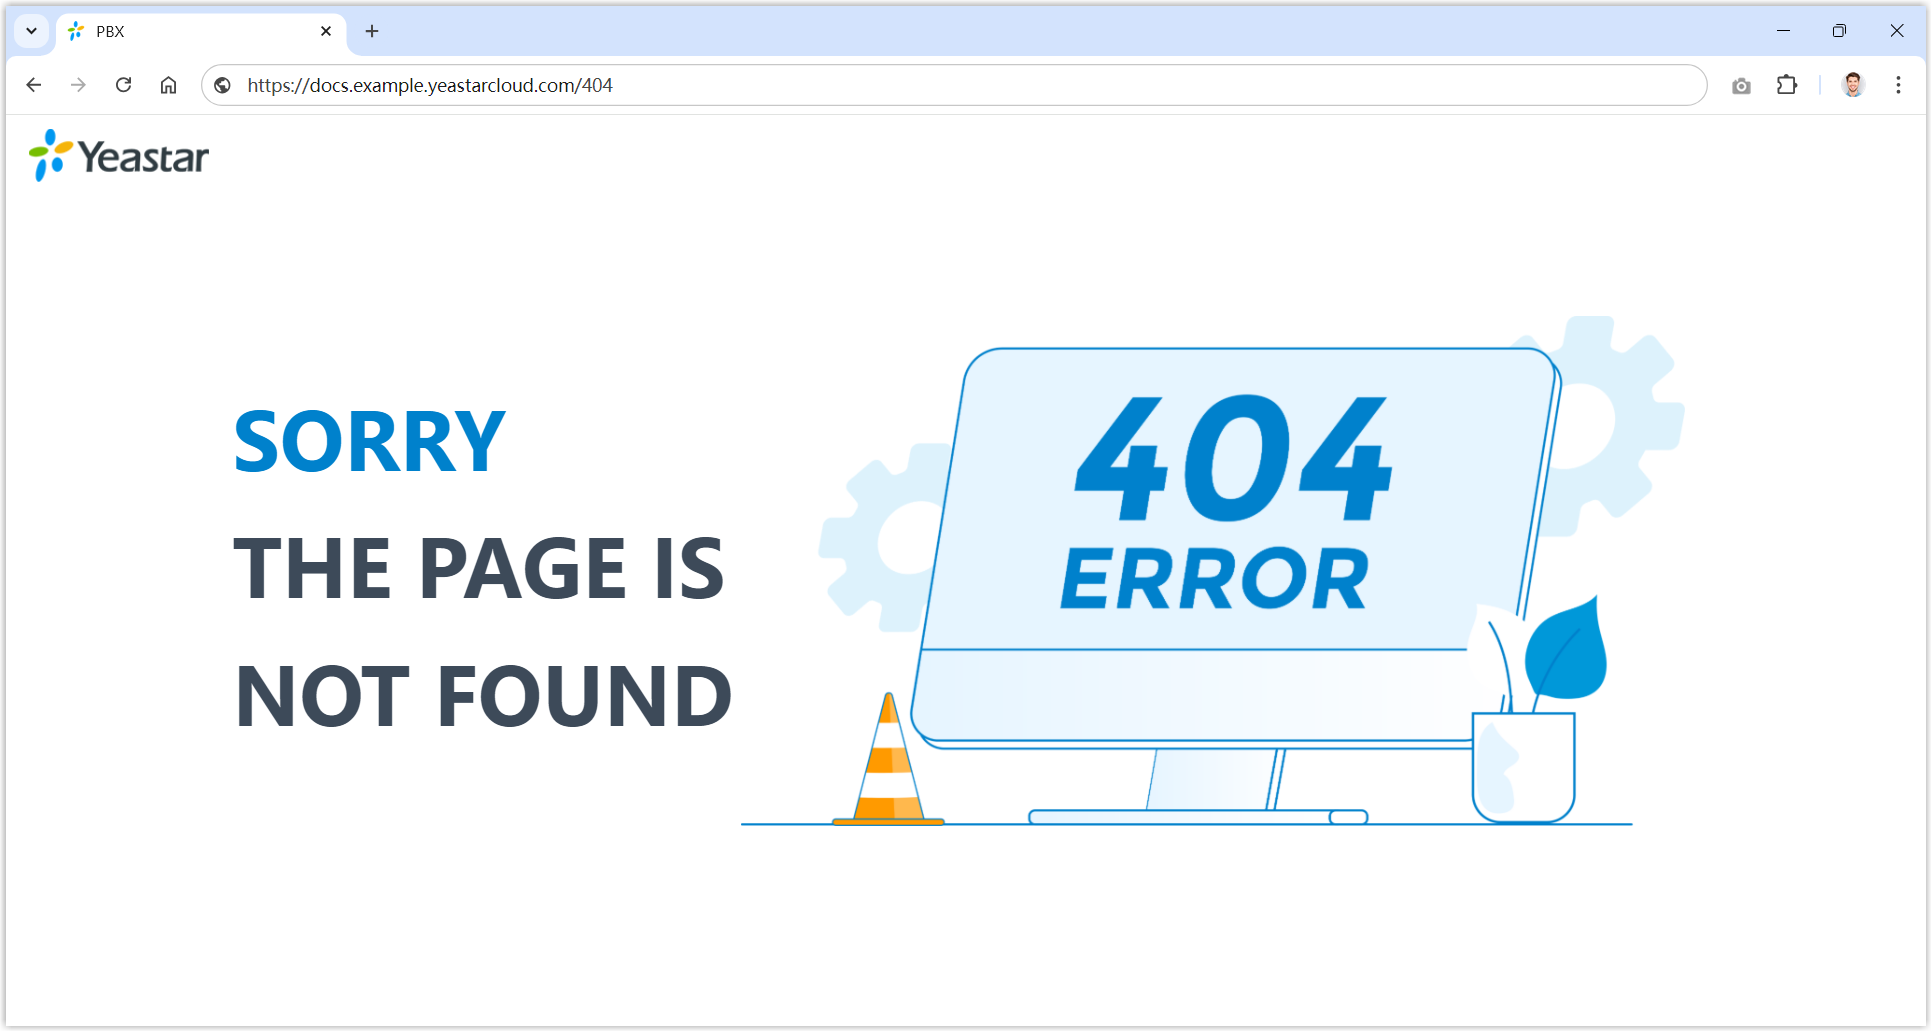
-
Signing in at
PBX domain name/loginreturns the message “Your current IP address is restricted”.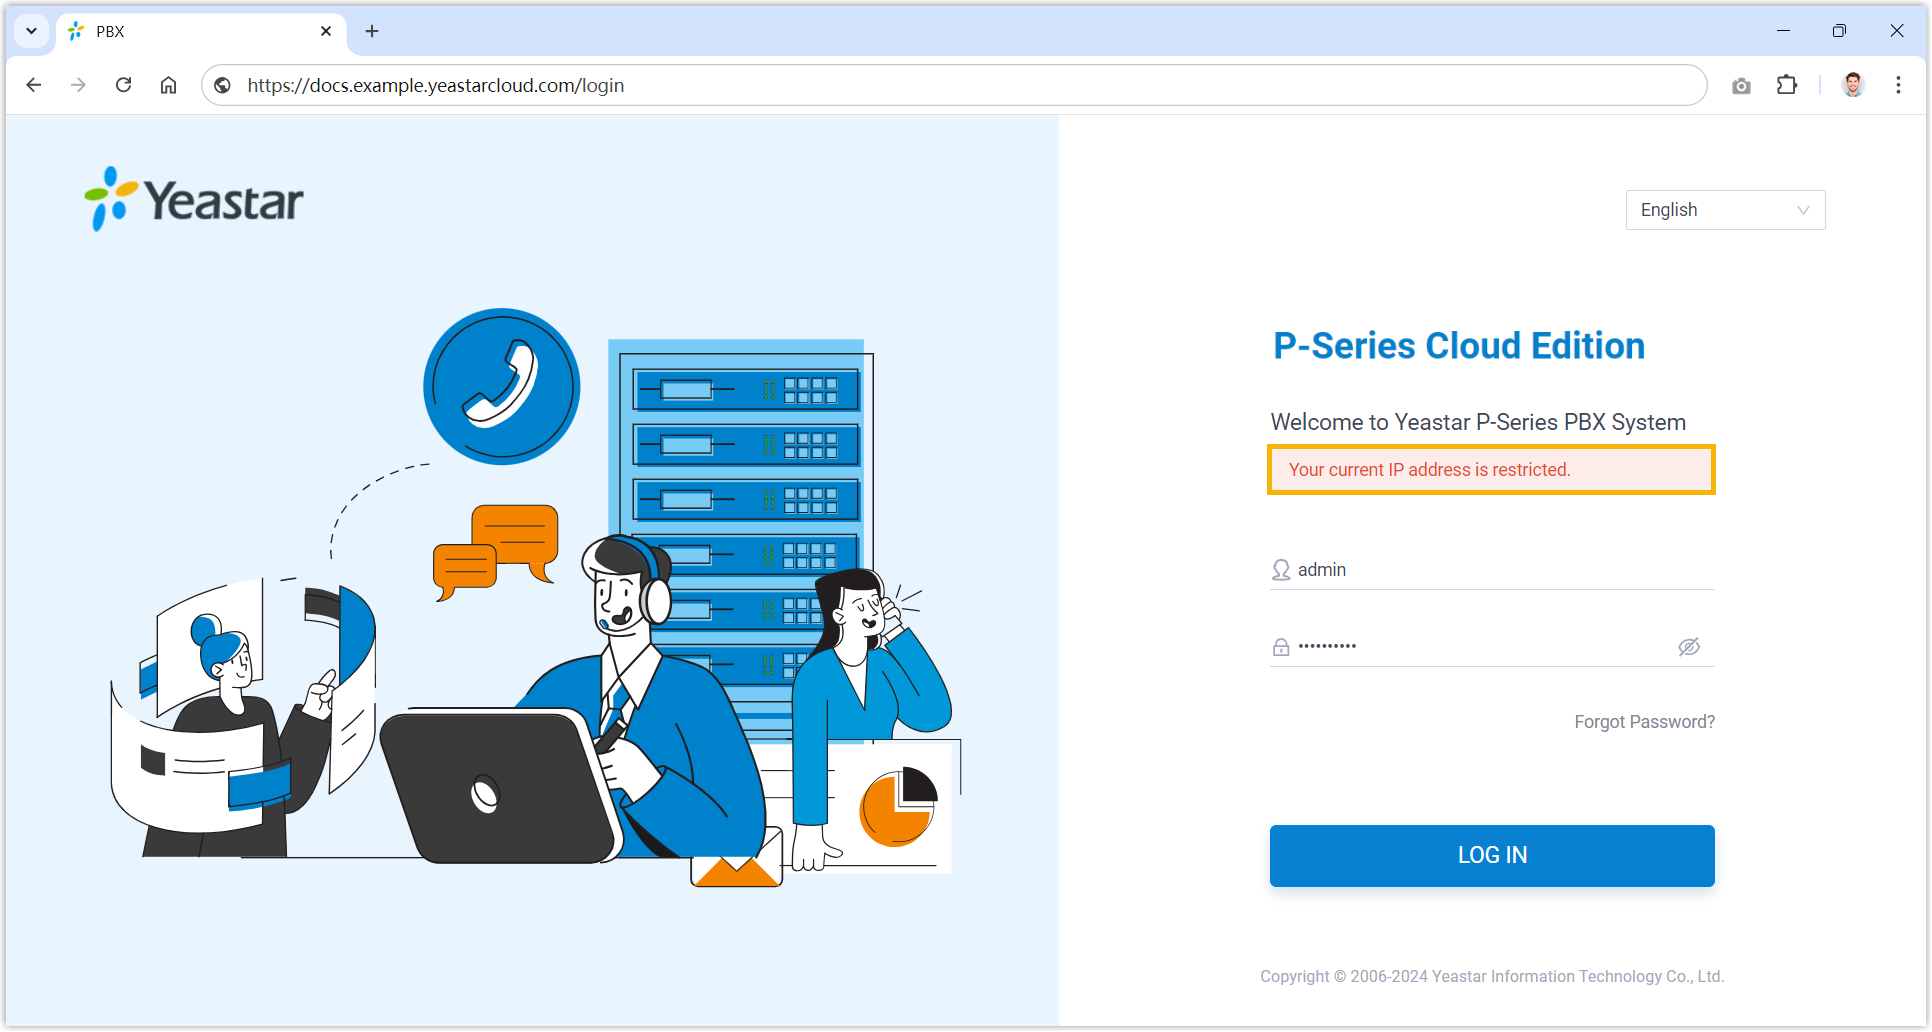
Question about this page?
Ask the AI assistant. It starts from this page, then searches the rest of the docs.
Ask Cloud Voice AI
Answers are AI-generated from the docs and may contain mistakes. Verify with the linked pages.