
Integrate Cloud Voice with an LDAP Server
Once Cloud Voice is tied to an LDAP (Lightweight Directory Access Protocol) server, every inbound call triggers a lookup against your directory. If the caller’s number matches a stored contact, Cloud Voice returns that record and shows the person’s name in place of an unidentified number.
Requirements
Section titled “Requirements”| Item | Requirement |
|---|---|
| Cloud Voice PBX | Plan: Enterprise Plan (EP) or Ultimate Plan (UP) Firmware: Version 84.18.0.102 or later |
| Third-party LDAP server | No specific requirement |
Step 1. Enable LDAP integration
Section titled “Step 1. Enable LDAP integration”-
Go to the LDAP configuration page.
-
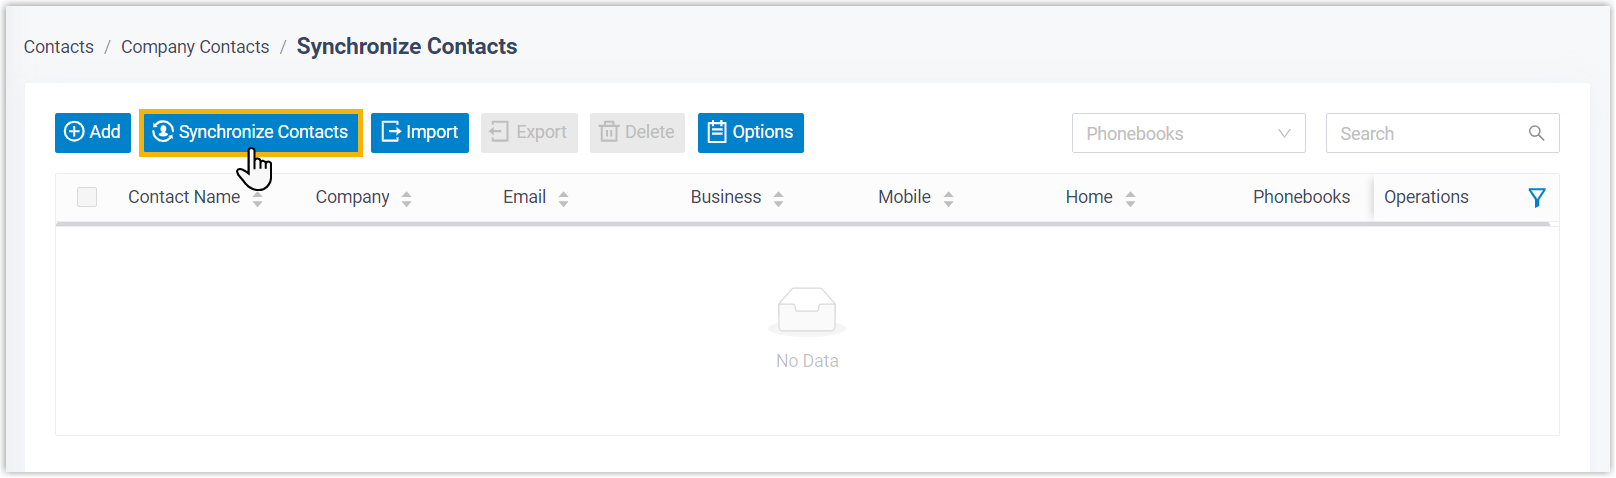
Log in to the PBX web portal and open Contacts > Company Contacts.
-
Near the top of the page, click Synchronize Contacts.
-
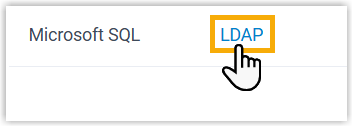
Open the LDAP tab.
-
-
Switch on Enable LDAP Integration and complete the settings below.
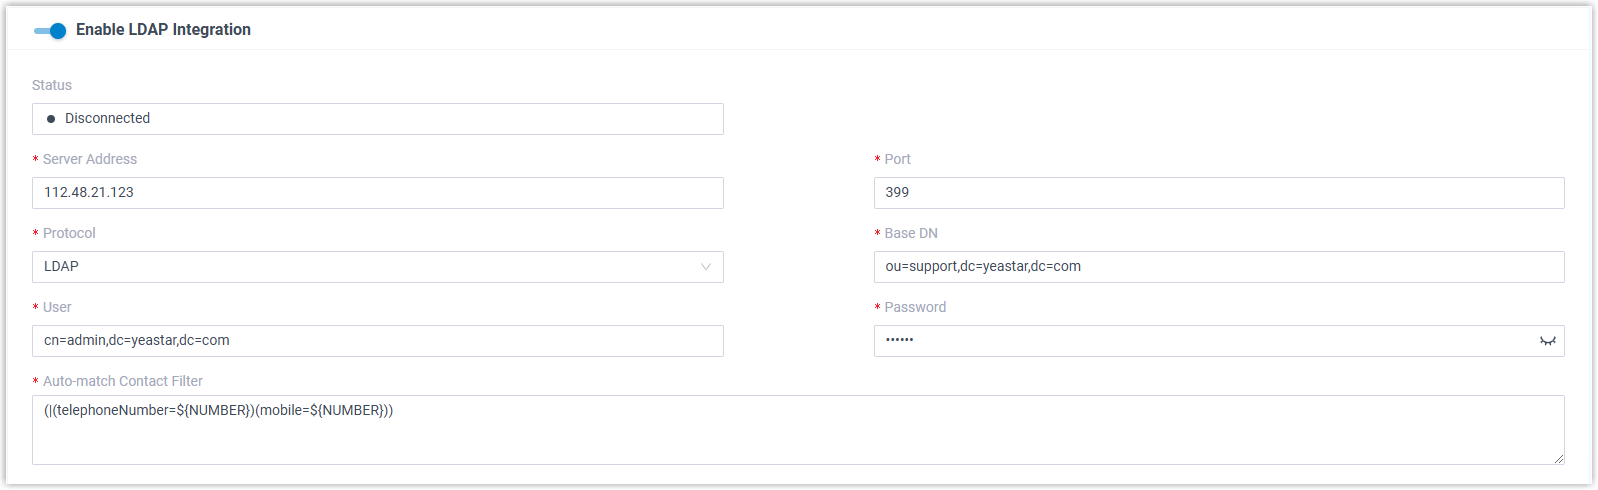
Setting Description Server Address The address of your LDAP server. Port The port the LDAP server is listening on. Protocol Choose how the connection is carried:
LDAP transmits data in plain text.
LDAPS applies SSL or TLS to encrypt and authenticate the data exchanged between the LDAP client and server.Base DN The Distinguished Name (DN) used as the starting point for contact searches, both for caller ID matching and for synchronization. It has to carry a Domain Component (DC) attribute that marks the root node of the directory tree, in the form dc={domain_prefix},dc={domain_suffix}. You can append one or more Relative Distinguished Names (RDNs) to limit how far the search reaches. See the examples that follow.User The account name Cloud Voice uses to connect to the LDAP server. Password The password that goes with that account. Auto-match Contact Filter The filter expression that drives caller ID matching. It has to include the ${NUMBER}variable, which stands in for the caller’s number, plus at least one number attribute to search on. See the example that follows.Base DN examples
dc=example,dc=com, searches fromexample.com, the root entry of the directory tree.ou=support,dc=example,dc=com, narrows the search to thesupportorganizational unit insideexample.com.
Auto-match Contact Filter example
(|(telephoneNumber=${NUMBER})(mobile=${NUMBER}))Here, an incoming call prompts Cloud Voice to check the caller’s number against the
telephoneNumberandmobileattributes. When one of them matches${NUMBER}, Cloud Voice pulls the matching contact and displays the caller’s name.
Step 2. Map contact fields between Cloud Voice and the LDAP server
Section titled “Step 2. Map contact fields between Cloud Voice and the LDAP server”-
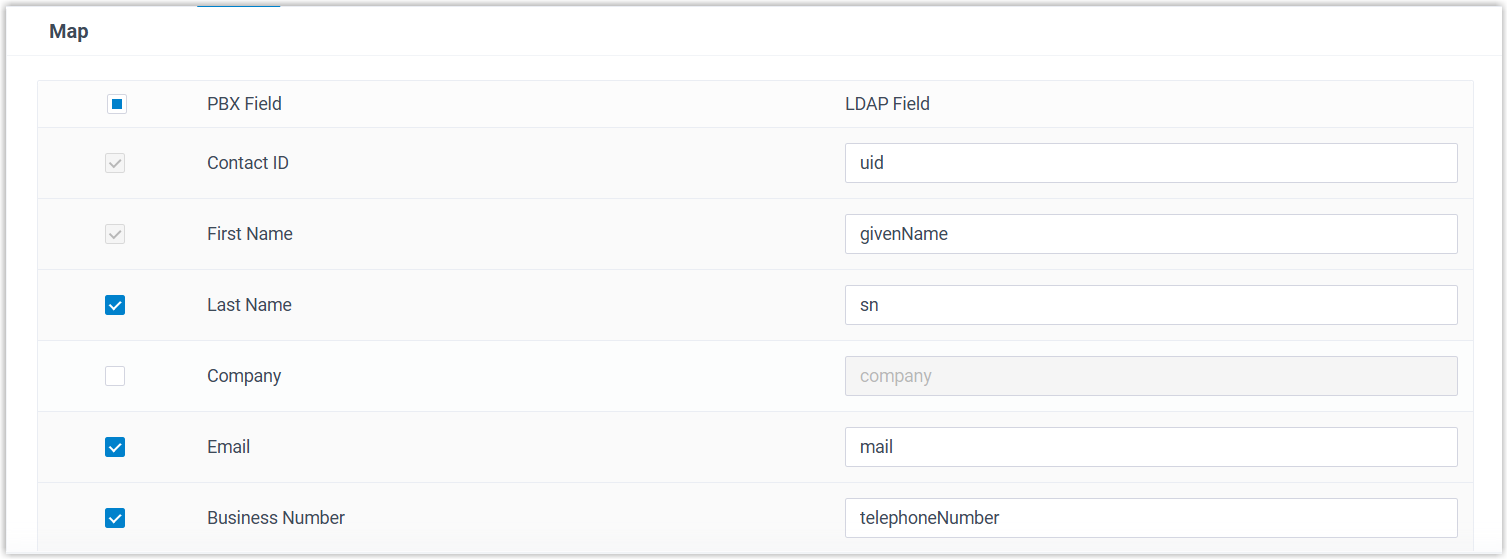
Scroll down to the Map section.
-
Map the fields required to display a caller’s name.

-
Enter the corresponding LDAP attribute name for Contact ID, First Name, Business Number, and Mobile Number. After mapping, a matched inbound call shows the contact’s first name.
-
Optional: to display the last name too, tick the Last Name checkbox and enter its LDAP attribute name.
-
-
To bring LDAP contacts into the PBX, enable and map the additional fields you want to synchronize.
-
Click Save.
Result
Section titled “Result”-
Cloud Voice is connected to your LDAP server.
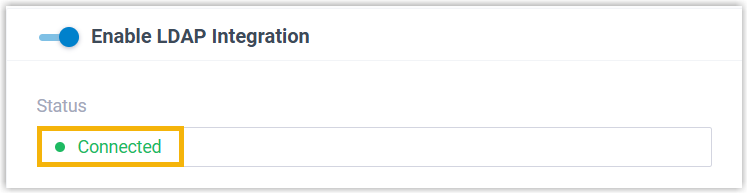
-
When an inbound call matches an LDAP contact, the caller’s name is shown.
What to do next
Section titled “What to do next”To let extension users dial LDAP contacts straight from the Cloud Voice App, configure contact synchronization so those records are copied into the PBX. For details, see Set up Contact Synchronization from LDAP Server.
Question about this page?
Ask the AI assistant. It starts from this page, then searches the rest of the docs.
Ask Cloud Voice AI
Answers are AI-generated from the docs and may contain mistakes. Verify with the linked pages.