
Integrate Cloud Voice with Zoho Desk
Linking Cloud Voice to Zoho Desk lets your helpdesk agents handle calls directly from their assigned extensions. Setting up the connection takes four stages: collect the authentication details from your phone system, register an application in Zoho, authorize the two systems to talk to each other, and finally map your Zoho Desk agents to Cloud Voice extensions.
What you need
Section titled “What you need”Zoho Desk
- Any edition works: Free, Standard, Professional, or Enterprise.
Cloud Voice
- An Enterprise Plan (EP) or Ultimate Plan (UP) subscription.
- Firmware 84.23.0.83 or later.
Before you start
Section titled “Before you start”Make sure the Zoho account you plan to use has administrator rights in Zoho Desk.
Step 1: Collect authentication details from Cloud Voice
Section titled “Step 1: Collect authentication details from Cloud Voice”-
Sign in to the Cloud Voice web portal and open Integrations > Helpdesk.
-
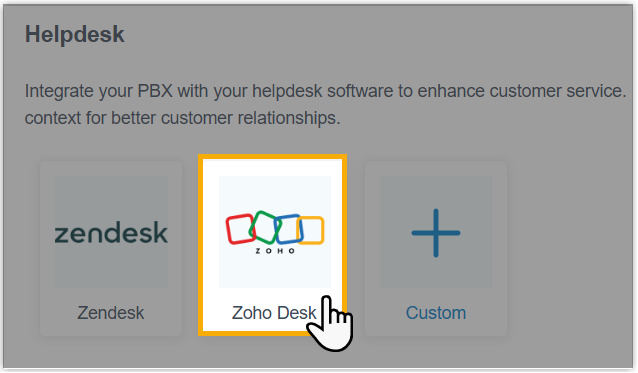
Find Zoho Desk in the list and click Integrate on the right.
-
In the Network section, use the copy icon to save the two values below. You will paste them into Zoho when you register your application.

- Homepage URL: Your phone system’s domain name. Zoho uses it to associate the application with your system.
- Authorized Redirect URI: The endpoint Zoho sends you back to once authentication succeeds.
Step 2: Register an application with Zoho
Section titled “Step 2: Register an application with Zoho”-
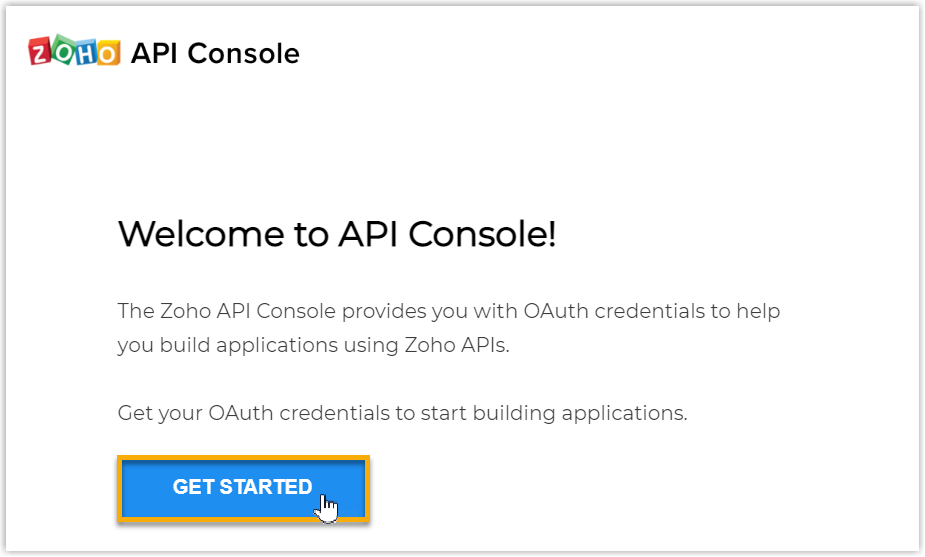
Sign in to the Zoho API Console and click GET STARTED to begin adding an application.
-
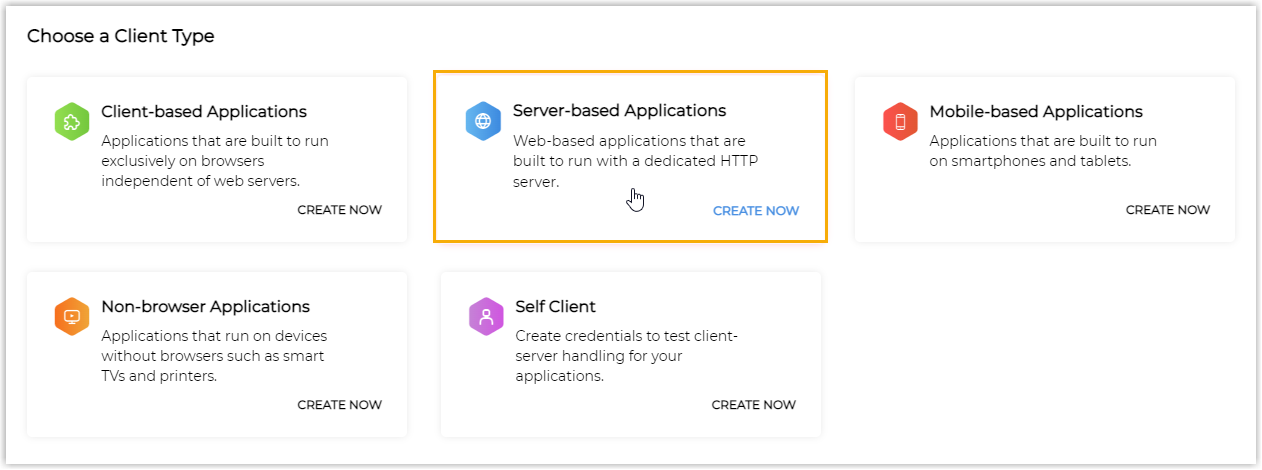
On the Choose a Client Type page, pick Server-based Applications.
-
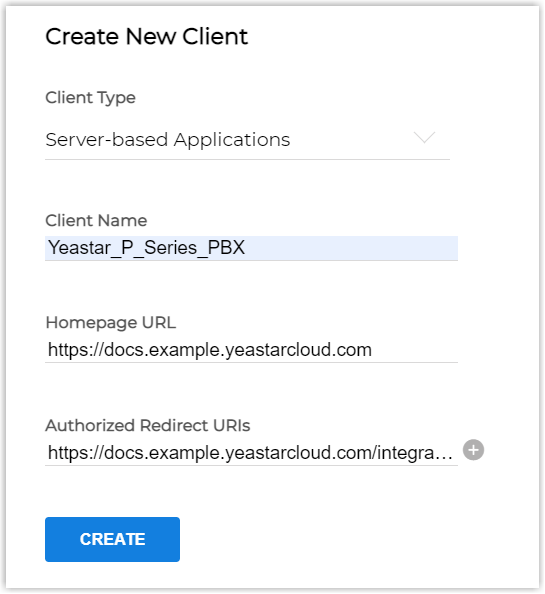
On the Create New Client page, fill in the client details.
-
Enter the following:
-
Client Name: A name for the application.
-
Homepage URL: The Homepage URL you copied from Cloud Voice in Step 1.
-
Authorized Redirect URIs: The Authorized Redirect URI you copied from Cloud Voice in Step 1.
-
-
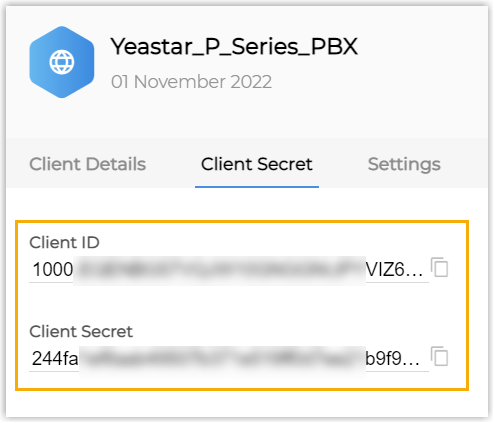
Click CREATE. Zoho generates a Client ID and Client Secret. Record both values, as you will need them in the next step.
-
Step 3: Authorize the connection
Section titled “Step 3: Authorize the connection”-
In the Cloud Voice web portal, go to Integrations > Helpdesk.
-
Click Integrate to the right of Zoho Desk.
-
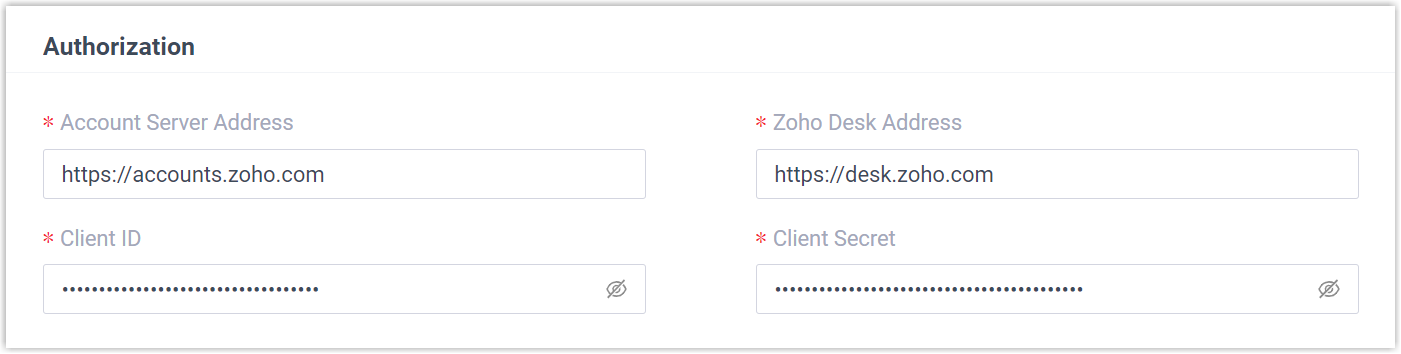
In the Authorization section, complete these fields:
-
Account Server Address: Your Zoho account server URL.
-
Zoho Desk Address: Your Zoho Desk URL.
-
Client ID: The Client ID from your Zoho application.
-
Client Secret: The Client Secret from your Zoho application.
-
-
Click Save. A new browser tab opens, asking you to grant the Zoho application access to your Zoho account data.
-
Tick the disclaimer checkbox and click Accept.
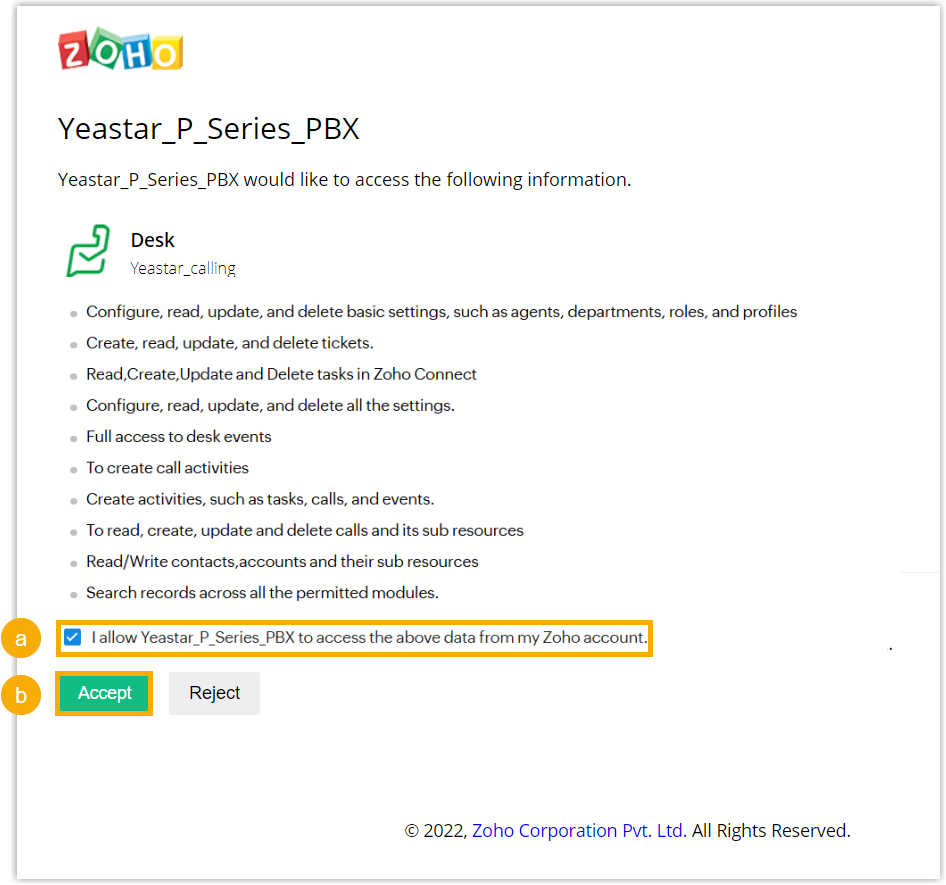
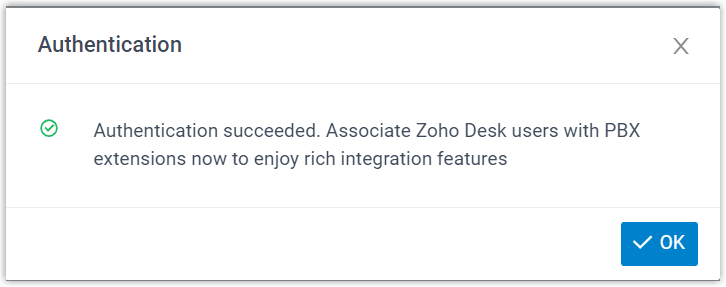
You are returned to the Cloud Voice configuration page, where a pop-up reports the result of the authentication.
-
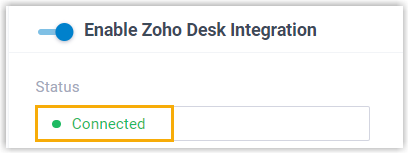
Click OK. The Status field now reads Connected, confirming Cloud Voice is linked to Zoho Desk.
Step 4: Map Zoho Desk users to extensions
Section titled “Step 4: Map Zoho Desk users to extensions”-
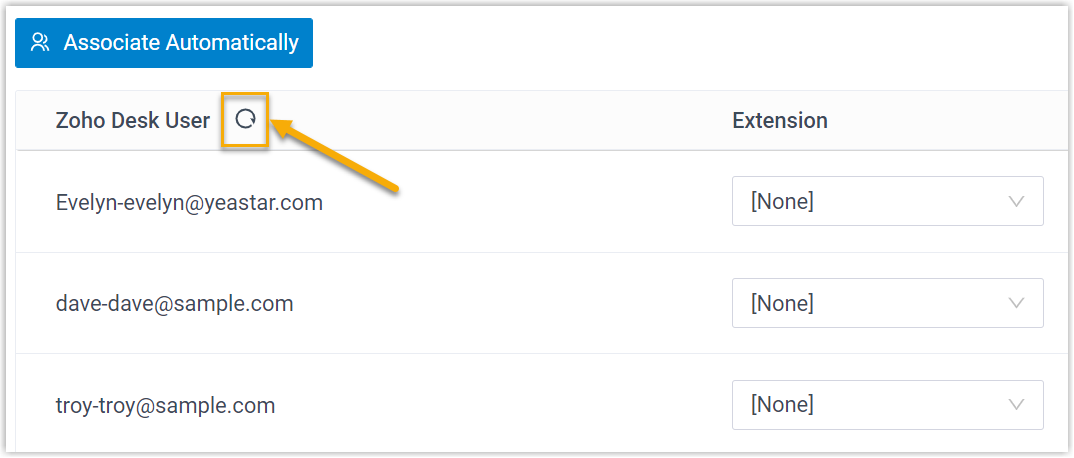
On the Zoho Desk integration page, click the refresh icon next to Zoho Desk User to pull the current list of Zoho Desk users.
-
Associate each Zoho Desk user with a Cloud Voice extension. You can do this automatically or by hand.
Automatic mapping
Use this when your users sign in to Zoho and to their extensions with the same email address. Cloud Voice matches the accounts by email.
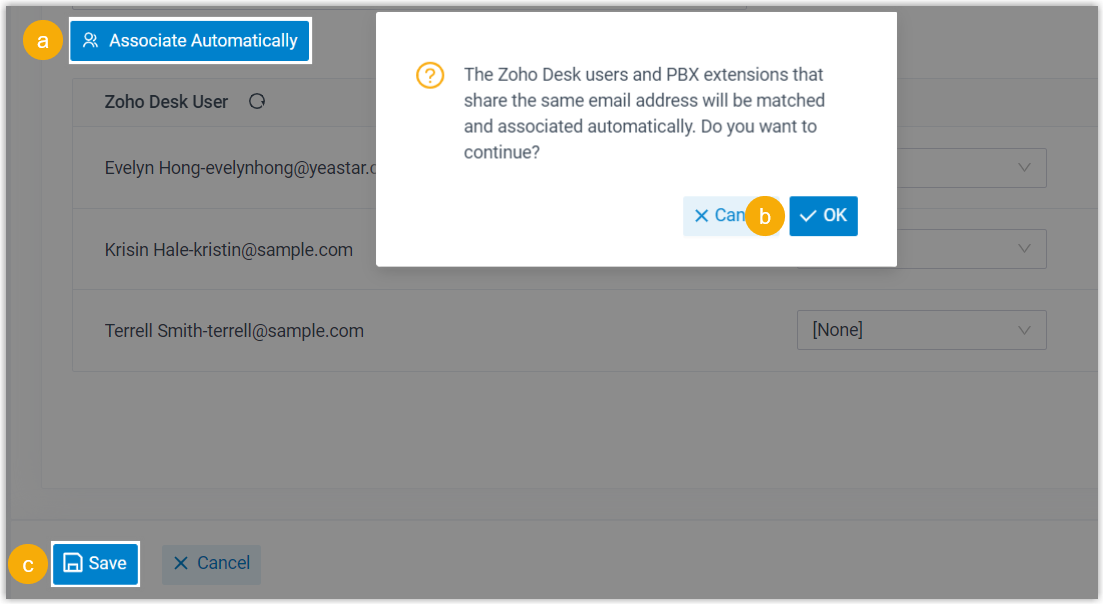
- Click Associate Automatically.
- Click OK in the confirmation window.
- Click Save.
Manual mapping
Use this when a user’s Zoho account and extension use different email addresses, so the accounts must be paired by hand.
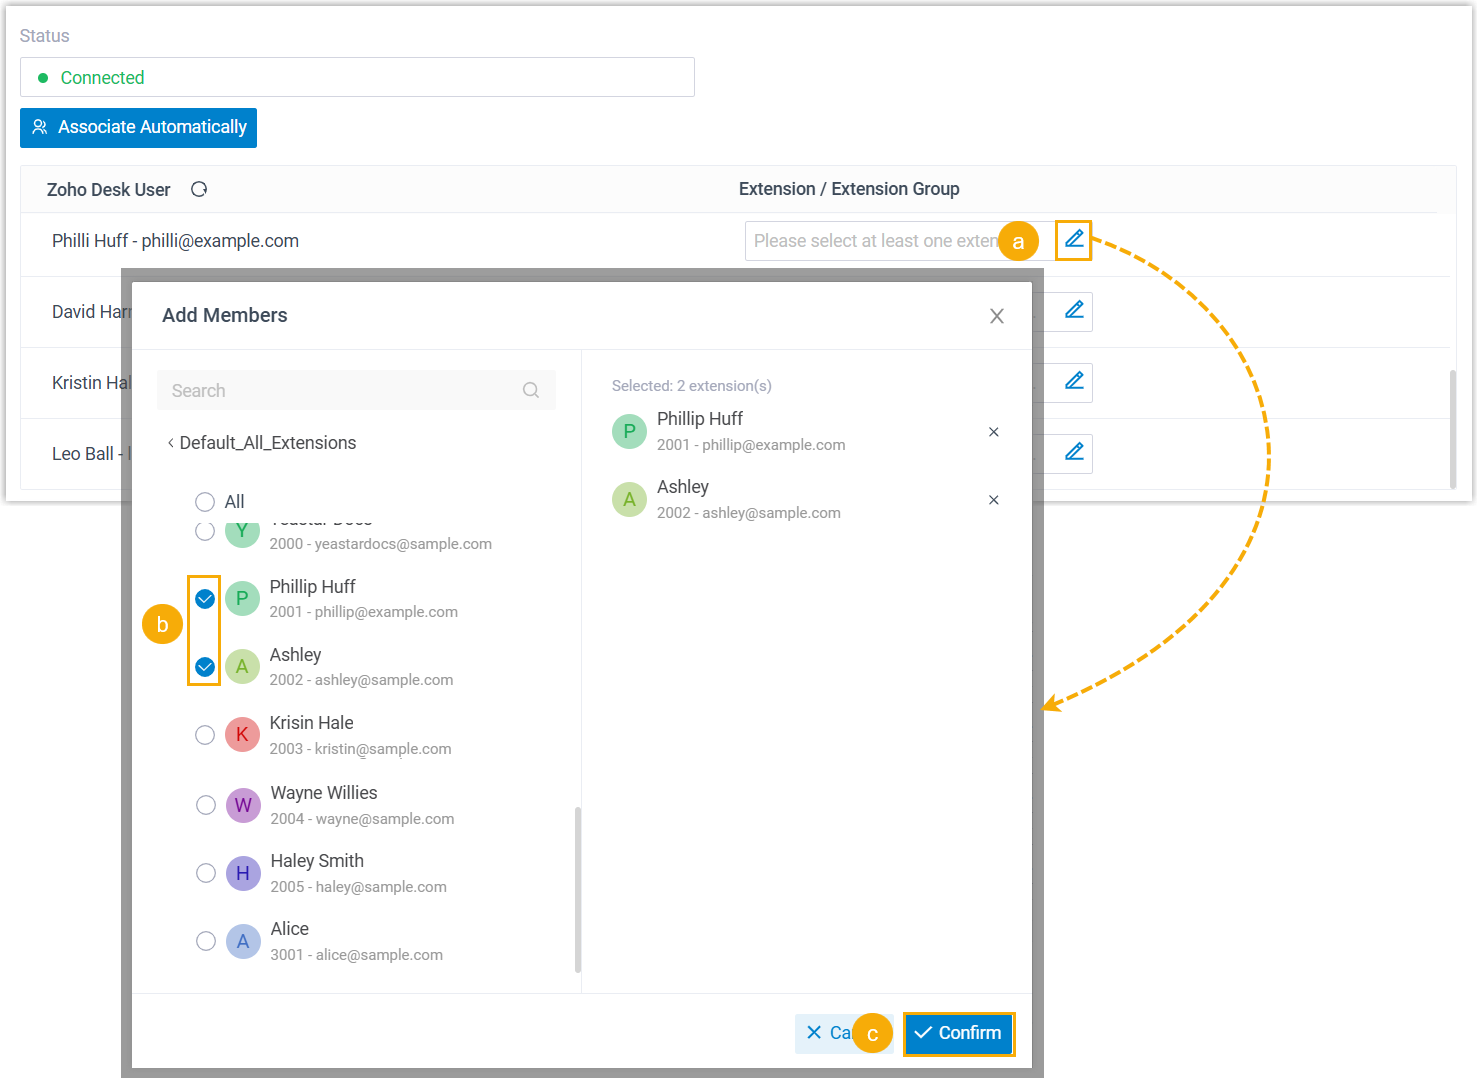
- Click the edit icon in the Extension / Extension Group field next to the Zoho user.
- Select the extension or extensions for that user in the pop-up.
- Click Confirm.
- Click Save.
Result
Section titled “Result”Cloud Voice and Zoho Desk are now connected, and the mapped Zoho Desk users can make and receive calls on their extensions.
What’s next
Section titled “What’s next”Question about this page?
Ask the AI assistant. It starts from this page, then searches the rest of the docs.
Ask Cloud Voice AI
Answers are AI-generated from the docs and may contain mistakes. Verify with the linked pages.