
Set up Contact Synchronization from Microsoft SQL
Once contacts flow from Microsoft SQL into Cloud Voice, your team can dial those records straight from the Cloud Voice App. Because the synced records land in phonebooks, you can also have Cloud Voice send incoming calls from those contacts to whichever destination you choose, based on the phonebook a caller belongs to.
Capacity limits
Section titled “Capacity limits”How many company contacts and phonebooks you can hold depends on the number of extensions on your system. Use the table below to check the ceiling for your deployment.
| Extensions (N) | N ≤ 50 | 50 < N ≤ 200 | N > 200 |
|---|---|---|---|
| Company contacts (total) | 50,000 | 200,000 | 500,000 |
| Company phonebooks | 100 | 200 | 500 |
Before you begin
Section titled “Before you begin”Map the contact fields you want to sync between Cloud Voice and Microsoft SQL first. See Integrate Cloud Voice with Microsoft SQL.
Configure synchronization
Section titled “Configure synchronization”-
Open the Microsoft SQL configuration page and go to the Contacts Synchronization section.
-
Turn on Contacts Synchronization, then fill in the settings described below.
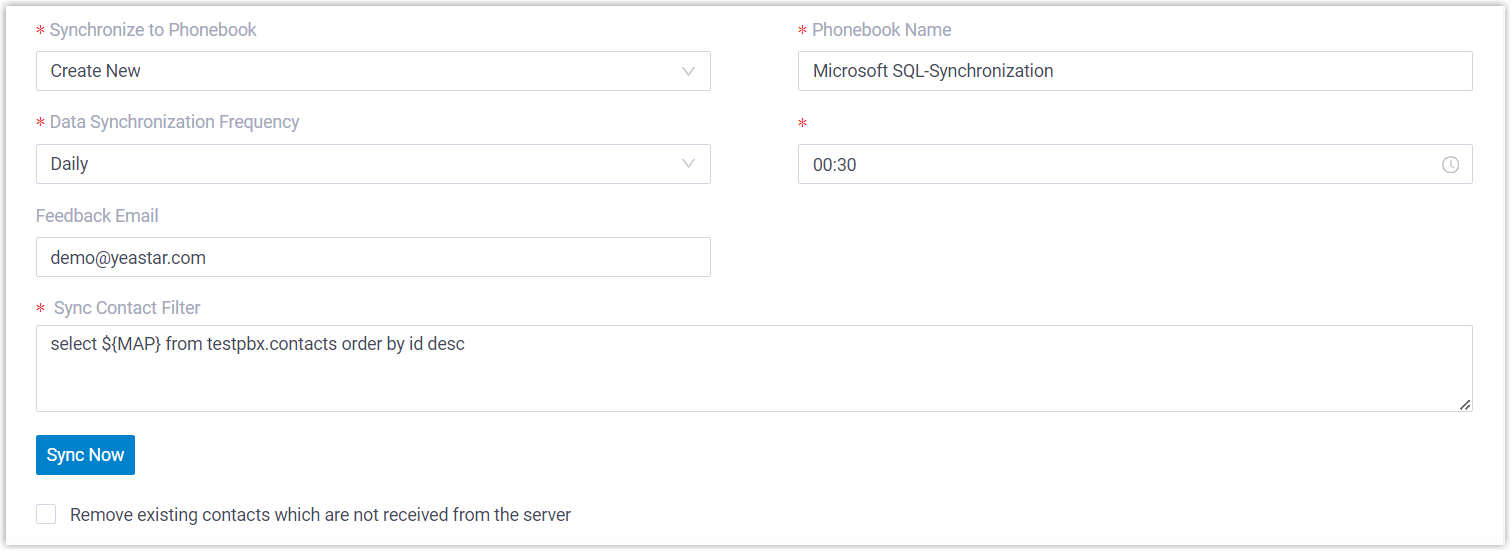
Setting What it does Synchronize to Phonebook Choose where the synced contacts are stored. See the phonebook options below. Data Synchronization Frequency Pick how often contacts sync, then set the time in the field that appears. Feedback Email Optional. Enter an address to be notified of each sync result. Sync Contact Filter Enter the SELECTstatement that pulls contacts from Microsoft SQL. See the syntax below.Remove existing contacts which are not received from the server When on, contacts that synced successfully last time but are missing from this run are deleted. Phonebook options for Synchronize to Phonebook:
- Create New: Build a brand-new phonebook to hold the synced contacts. Type its name in the Phonebook Name field.
- Read Specific Property Value and Create New: Generate phonebooks automatically from the values in one column of your contact table. Enter that column’s name in the Property Name field.
- {existing_phonebook}: Store the contacts in an empty phonebook that already exists on the system.
Feedback email limit: up to 5 addresses are allowed. Separate them with a semicolon (
;).Sync Contact Filter syntax: write the statement in the form
select ${MAP} from {schema_name}.{table_name}. For example:select ${MAP} from testpbx.contacts order by id descselect ${MAP}, Names the database columns you want to bring into Cloud Voice. At run time,${MAP}is replaced by the field values that correspond to the Cloud Voice fields you enabled in the Map section.from testpbx.contacts, The source table. You must use a two-part name in the form{schema_name}.{table_name}.order by id desc, Sorts the results in descending order.
-
Click Save.
-
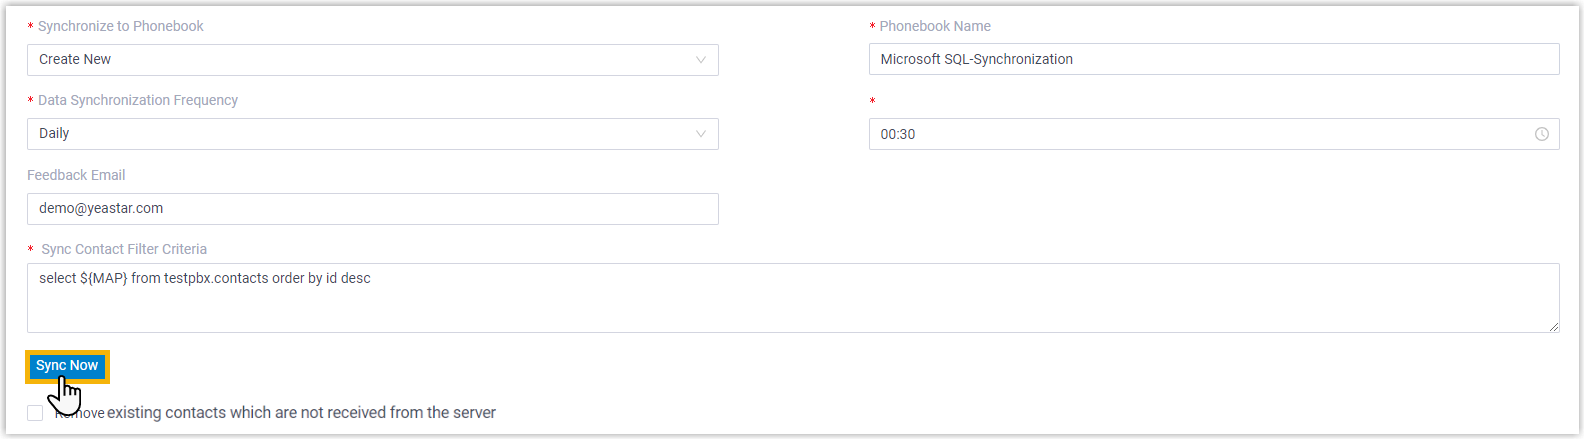
Click Sync Now to run the synchronization immediately.
What you’ll see
Section titled “What you’ll see”-
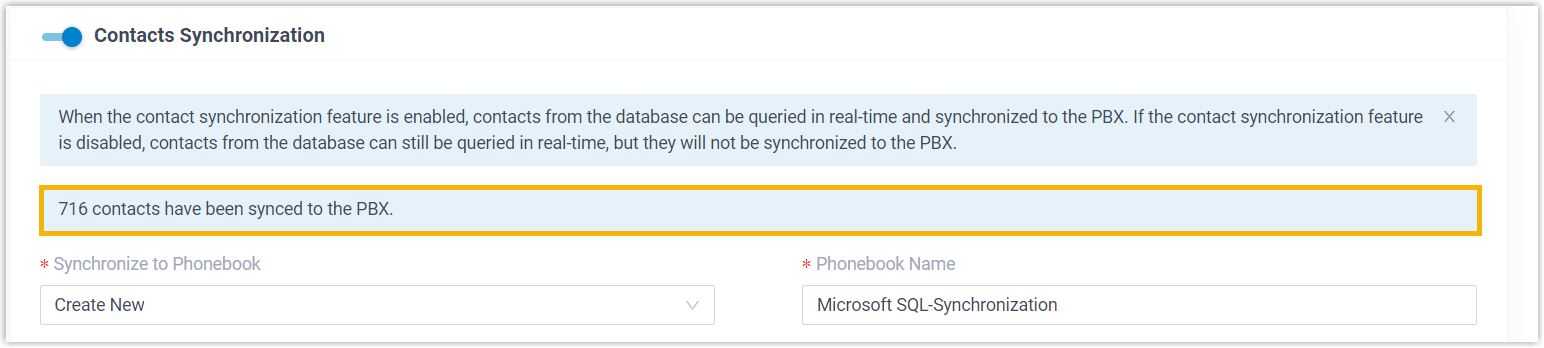
A banner appears showing how many contacts were synced into Cloud Voice.
-
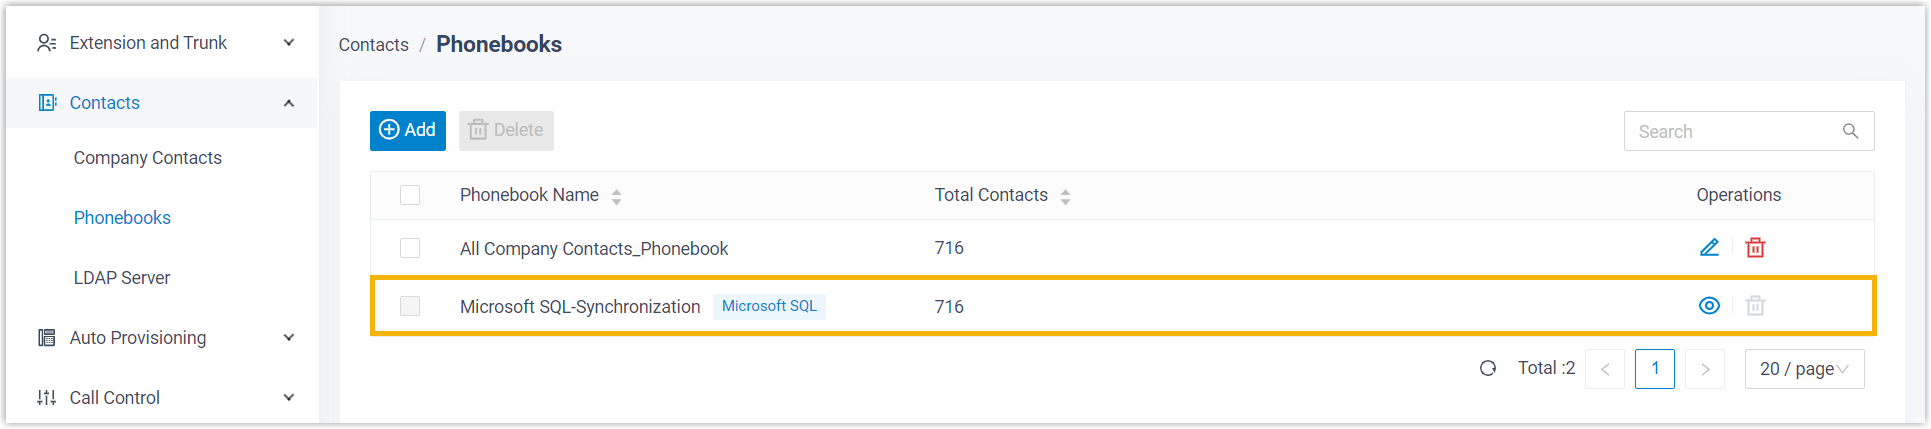
The synced records and their phonebooks appear under Contacts > Company Contacts / Phonebooks, each carrying the Microsoft SQL tag
 .
.
-
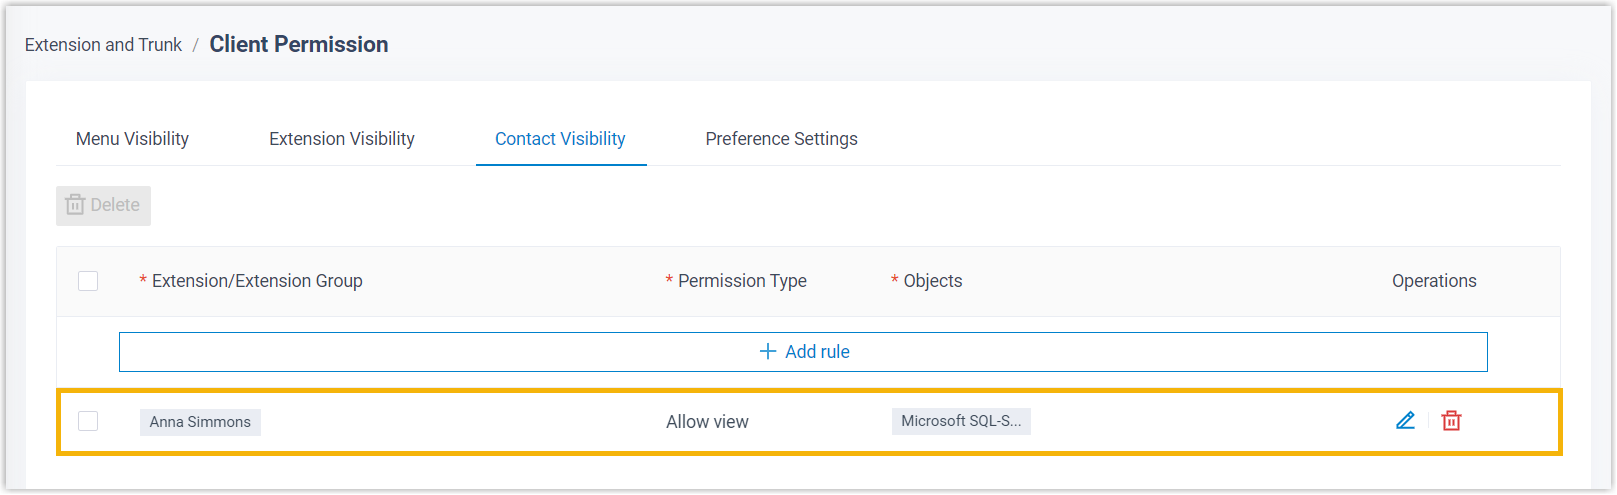
Authorized users can view and dial the contacts directly from the Cloud Voice App.
Next step
Section titled “Next step”To send incoming calls to specific destinations based on the phonebook a caller belongs to, set up inbound routes that match contacts across your different phonebooks.
Question about this page?
Ask the AI assistant. It starts from this page, then searches the rest of the docs.
Ask Cloud Voice AI
Answers are AI-generated from the docs and may contain mistakes. Verify with the linked pages.