
Create a CRM Application on HubSpot (Legacy)
Before Cloud Voice can exchange data with HubSpot, you need to register an application in a HubSpot developer account and grant it the right permissions. That application is what lets your phone system read and update records in HubSpot CRM (Customer Relationship Management, the software that stores your contacts, companies, and deals). This page walks through the legacy app-creation flow, from collecting the connection details in Cloud Voice to configuring authorization in HubSpot.
Prerequisites
Section titled “Prerequisites”You need a HubSpot developer account to create the application. A developer account is separate from a normal HubSpot login and is free to sign up for.
Step 1. Copy the redirect URL from Cloud Voice
Section titled “Step 1. Copy the redirect URL from Cloud Voice”HubSpot uses a redirect URL to return the authorization response to your phone system after a user approves access, so grab it first. You will paste this exact value into HubSpot in Step 2.
-
Sign in to the PBX (Private Branch Exchange, your phone system) web portal and open Integrations > CRM.
-
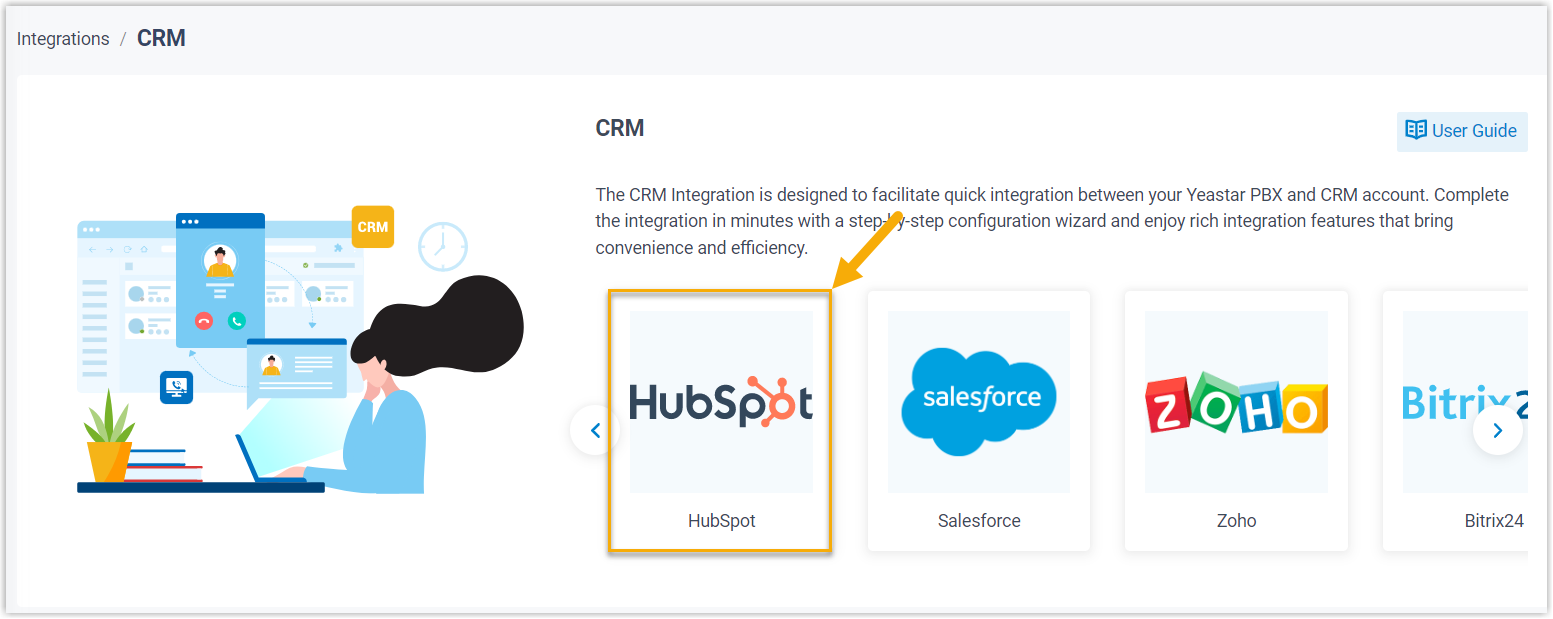
Select HubSpot.
-
In the Network section, find the Redirect URL, then select and copy it. Keep it handy for the next step.

Step 2. Create and configure the app in HubSpot
Section titled “Step 2. Create and configure the app in HubSpot”-
Sign in to your HubSpot developer account.
-
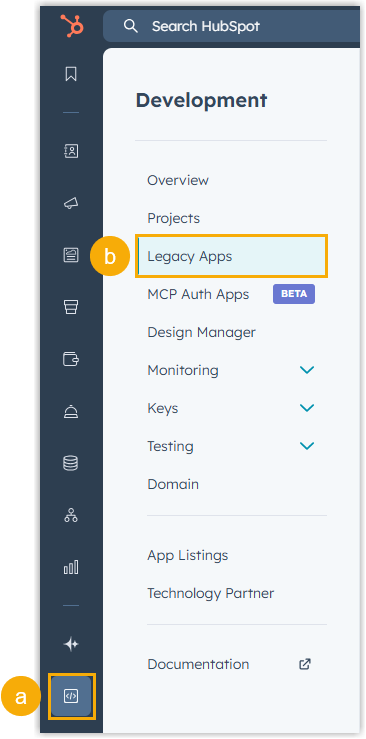
In the left navigation, go to Development > Legacy Apps.
-
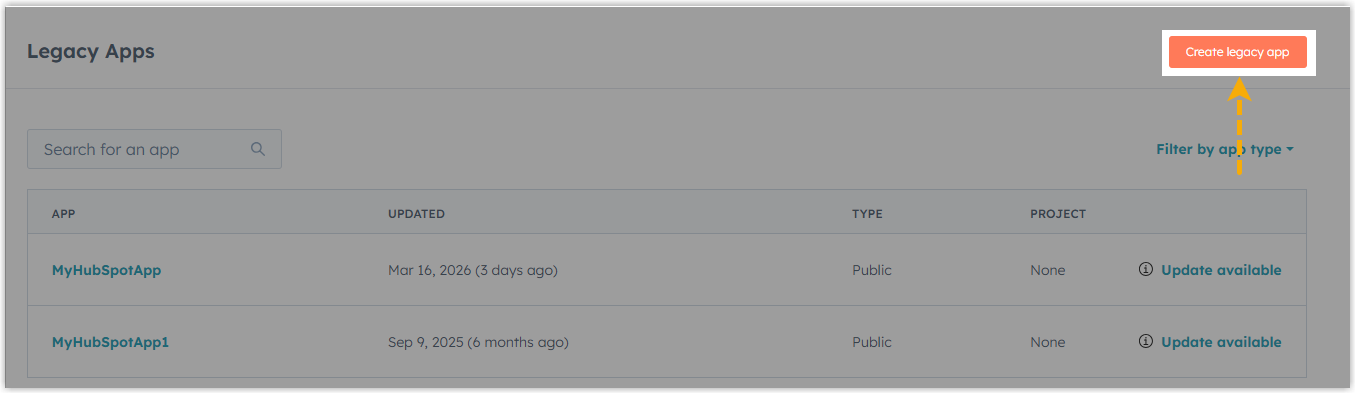
In the top-right corner, click Create legacy app.
-
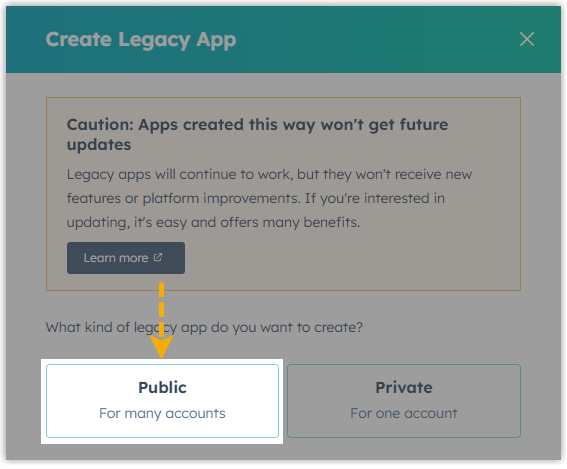
In the dialog that opens, choose Public as the application type.
-
On the App Info tab, fill in the app’s basic details.
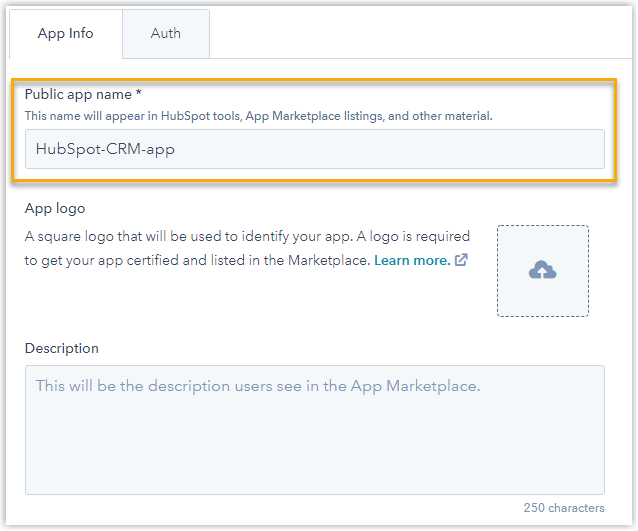
- In Public app name, enter a name. This is the name HubSpot users see wherever the app appears.
- Optionally, upload a logo and add a description.
-
On the Auth tab, set up the authorization for the app.
-
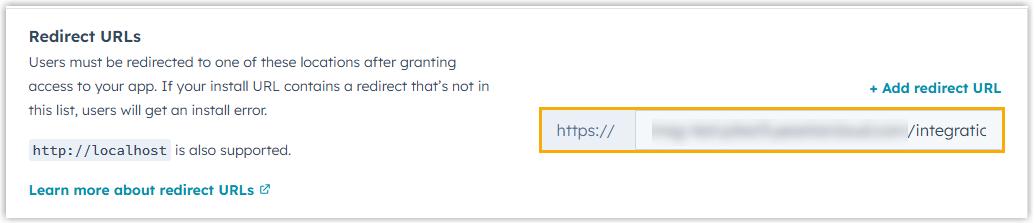
In the Redirect URLs section, paste the redirect URL you copied from Cloud Voice in Step 1.
-
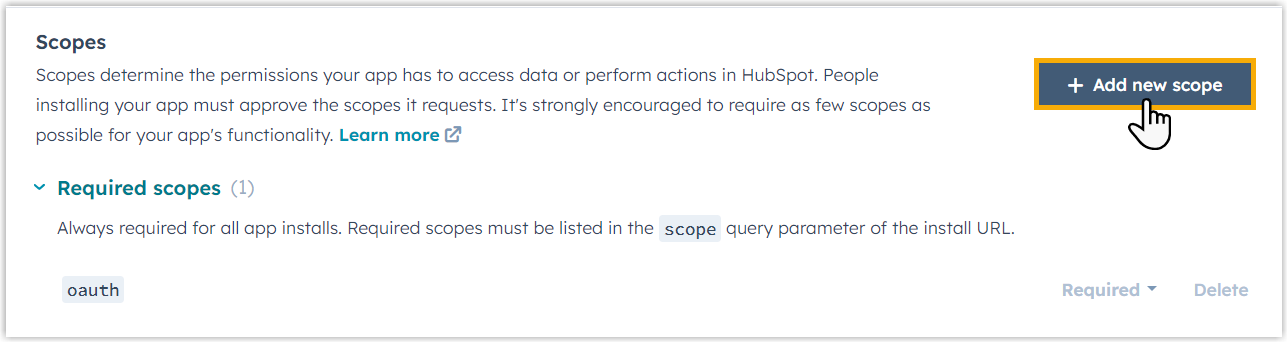
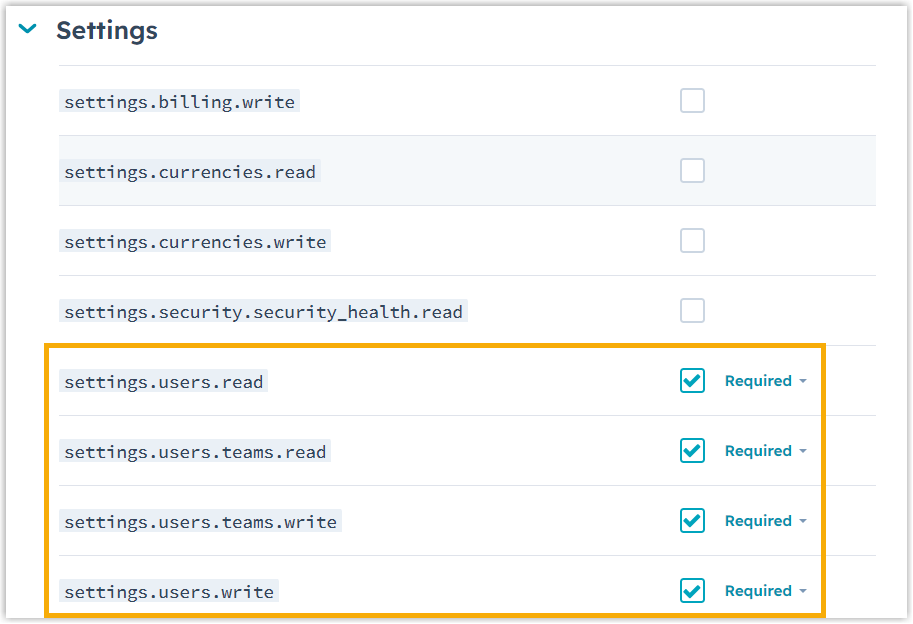
In the Scopes section, grant the app the permissions it needs to read and write HubSpot data. A scope is a single permission (for example, “read contacts”).
-
On the right of the page, click Add new scope.
-
Search for and select each scope in the table below, then click Update.
Category Scope CRM crm.objects.companies.readCRM crm.objects.companies.writeCRM crm.objects.contacts.readCRM crm.objects.contacts.writeCRM crm.objects.deals.readCRM crm.objects.deals.writeCRM crm.objects.owners.readCRM crm.schemas.companies.readCRM crm.schemas.companies.writeCRM crm.schemas.contacts.readCRM crm.schemas.contacts.writeCRM crm.schemas.deals.readCRM crm.schemas.deals.writeSettings settings.users.readSettings settings.users.teams.readSettings settings.users.teams.writeSettings settings.users.write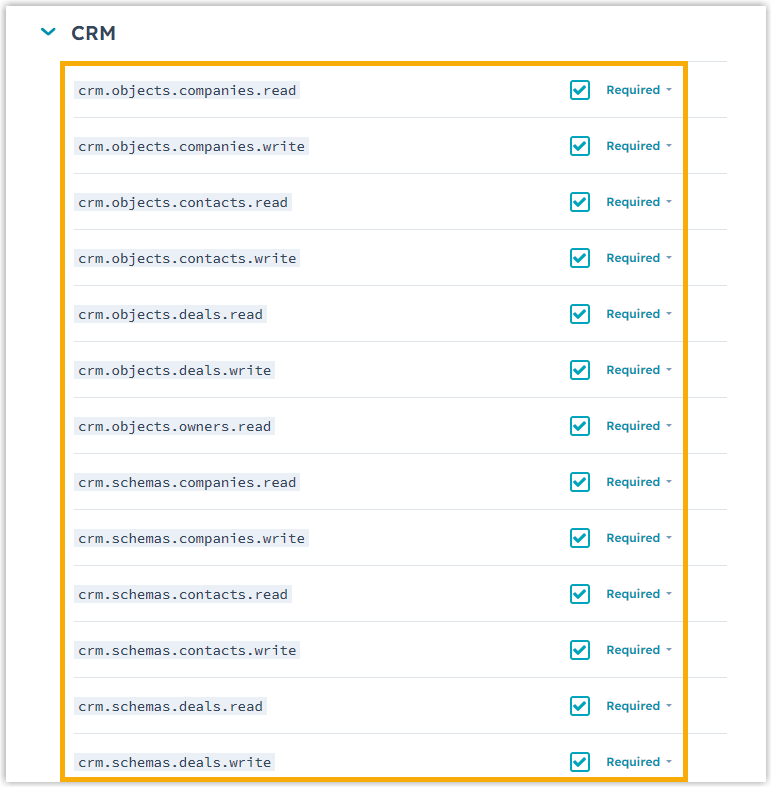
-
-
-
Click Create app.
Your HubSpot CRM application is now created.
What to do next
Section titled “What to do next”-
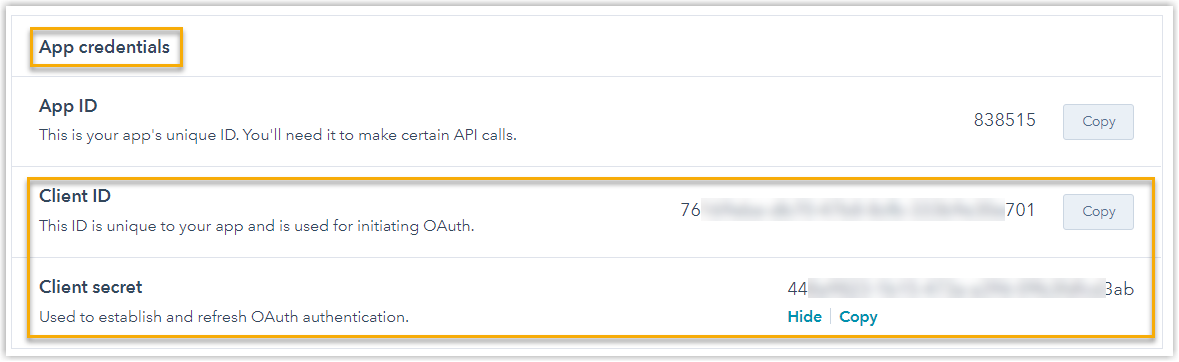
On the Auth tab, open the App credentials section to retrieve the Client ID and Client secret. You’ll need both to finish the integration.
-
Continue with Integrate Cloud Voice with HubSpot CRM.
Question about this page?
Ask the AI assistant. It starts from this page, then searches the rest of the docs.
Ask Cloud Voice AI
Answers are AI-generated from the docs and may contain mistakes. Verify with the linked pages.