
Integrate Cloud Voice with Zendesk
Linking Cloud Voice to Zendesk lets your support agents handle calls directly from their help desk. This page walks you through the one-time setup: collecting connection details from Cloud Voice, creating an OAuth application in Zendesk, authorizing the two systems to talk to each other, and mapping Zendesk users to their Cloud Voice extensions.
Requirements
Section titled “Requirements”Before you start, confirm that both sides meet the following.
Zendesk: you need one of the following plans:
- Zendesk Suite: Suite Team, Suite Growth, Suite Professional, or Suite Enterprise.
- Zendesk Support (standalone): Support Team, Support Professional, or Support Enterprise.
Cloud Voice:
- Plan: Enterprise Plan (EP) or Ultimate Plan (UP).
- Firmware: version 84.9.0.18 or later.
Before you begin
Section titled “Before you begin”Make sure the Zendesk account you use for this setup has administrator privileges in Zendesk Support. You will need admin access to create the OAuth client.
Step 1: Get the connection details from Cloud Voice
Section titled “Step 1: Get the connection details from Cloud Voice”Cloud Voice generates a redirect URI (the web address Zendesk sends the browser back to after a user approves access) that Zendesk needs when you register the application.
-
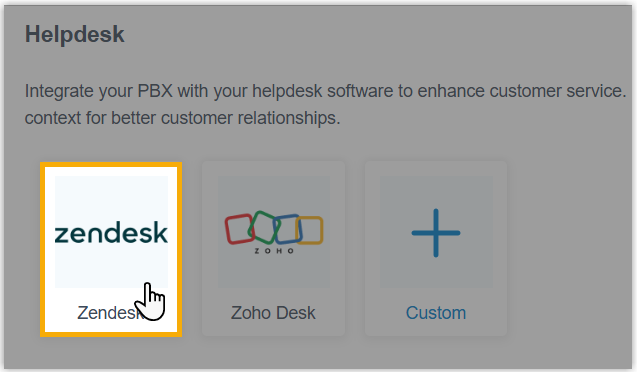
Sign in to the Cloud Voice web portal and open Integrations > Helpdesk.
-
Select Zendesk.
-
In the Network section, use the copy icon to capture the redirect URI. Keep it handy, you will paste it into Zendesk in the next step.

Step 2: Register an application in Zendesk
Section titled “Step 2: Register an application in Zendesk”Create an OAuth (Open Authorization) client in Zendesk so it can trust requests coming from Cloud Voice. OAuth lets the two systems share access without ever exchanging a password.
-
Sign in to your Zendesk account.
-
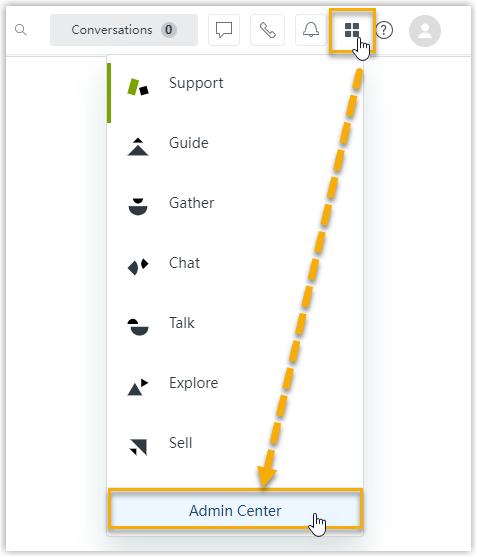
In the top-right corner, open the products menu and choose Admin Center.
-
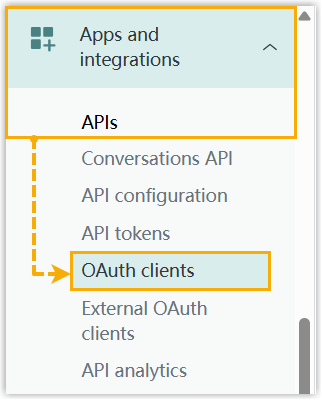
In the left navigation, go to Apps and integrations > APIs > OAuth clients.
-
Add a new client:
-
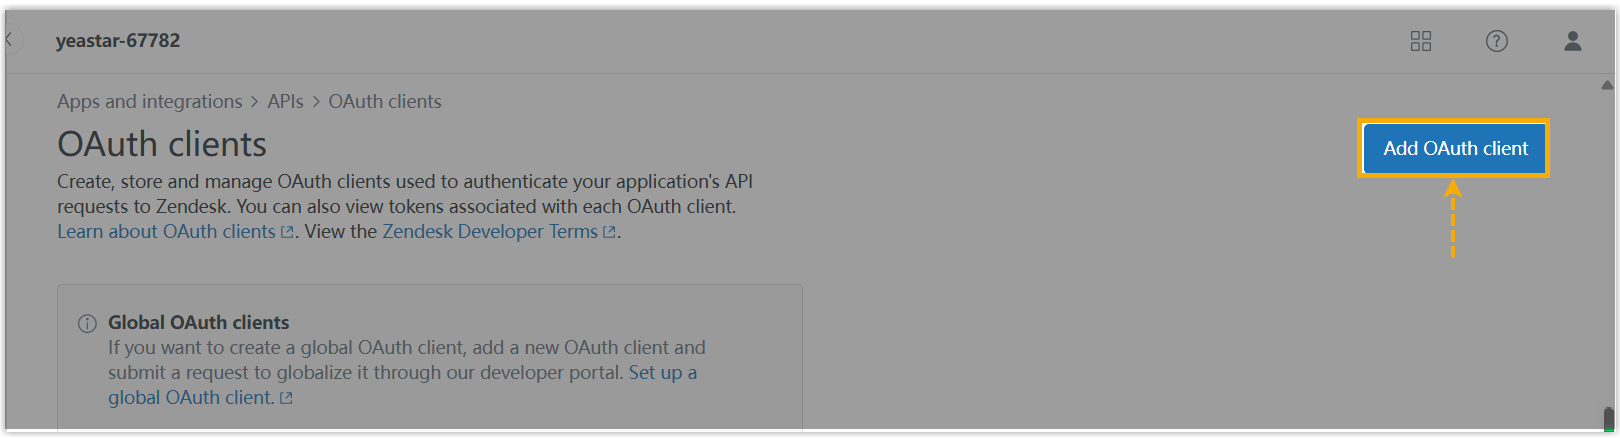
At the top-right of the OAuth clients page, click Add OAuth client.
-
Fill in the configuration:
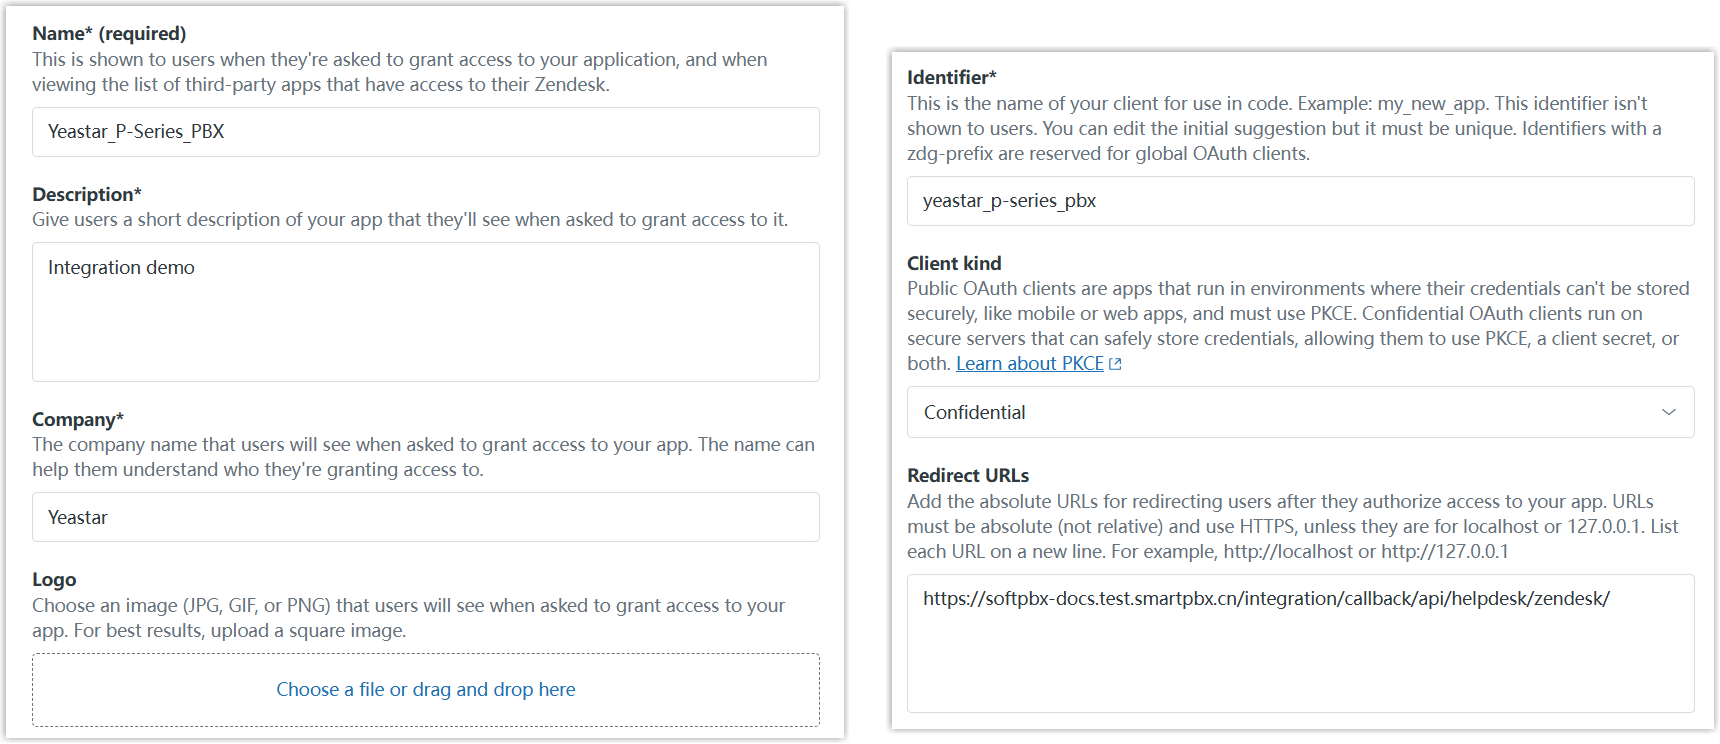
- Name: A recognizable name for the application.
- Description: A short summary of what the client is for.
- Company: The company name. Zendesk fills this in automatically with your organization’s name.
- Logo: Optional. Upload a logo if you want one.
- Identifier: Auto-generated from the name you entered. Note down this unique identifier, you will need it in Step 3.
- Client kind: Select Confidential. This tells Zendesk the integration keeps its secret on a secure server rather than in a browser or mobile app, which is what Cloud Voice needs.
- Redirect URLs: Paste the redirect URI you copied from Cloud Voice in Step 1.
-
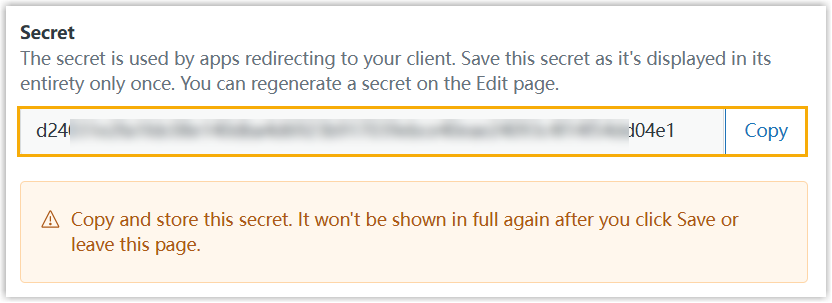
Click Save. Zendesk generates a Secret at the bottom of the page.
-
Click Copy and store the secret somewhere safe.
-
Step 3: Authorize the connection from Cloud Voice
Section titled “Step 3: Authorize the connection from Cloud Voice”Now hand the Zendesk credentials back to Cloud Voice and approve the connection.
-
In the Cloud Voice web portal, go to Integrations > Helpdesk.
-
Next to Zendesk, click Integrate.
-
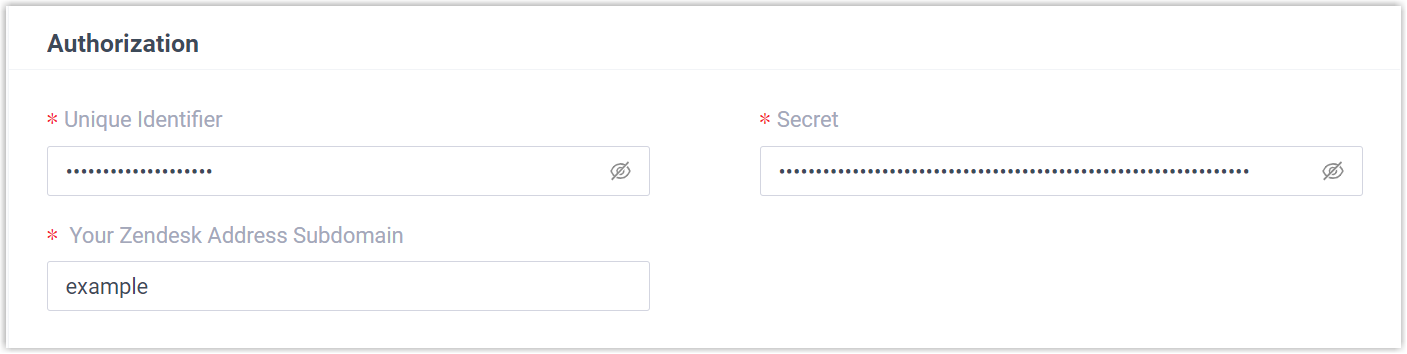
In the Authorization section, complete the fields:
-
Unique Identifier: Paste the identifier from your Zendesk OAuth client.
-
Secret: Paste the secret from your Zendesk OAuth client.
-
Your Zendesk Address Subdomain: Enter your Zendesk subdomain.

-
-
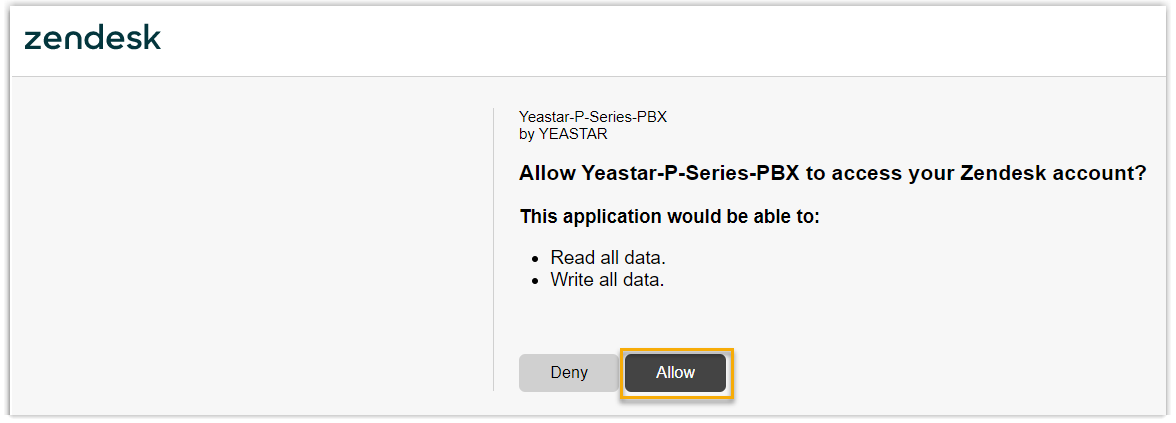
Click Save. A new browser tab opens asking you to grant the application access to your Zendesk data.
-
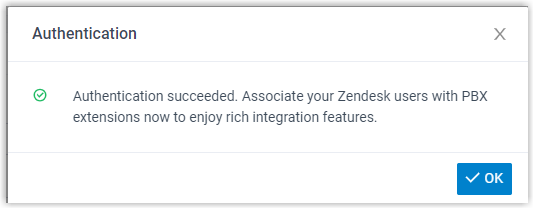
Click Allow. You return to Cloud Voice, where a pop-up reports the result of the authorization.
-
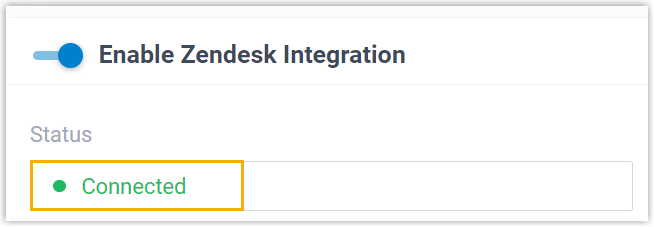
Click OK. The Status field now reads Connected, confirming that Cloud Voice is linked to Zendesk.
Step 4: Link Zendesk users to Cloud Voice extensions
Section titled “Step 4: Link Zendesk users to Cloud Voice extensions”Mapping each Zendesk user to an extension is what lets agents make and take calls from Zendesk.
-
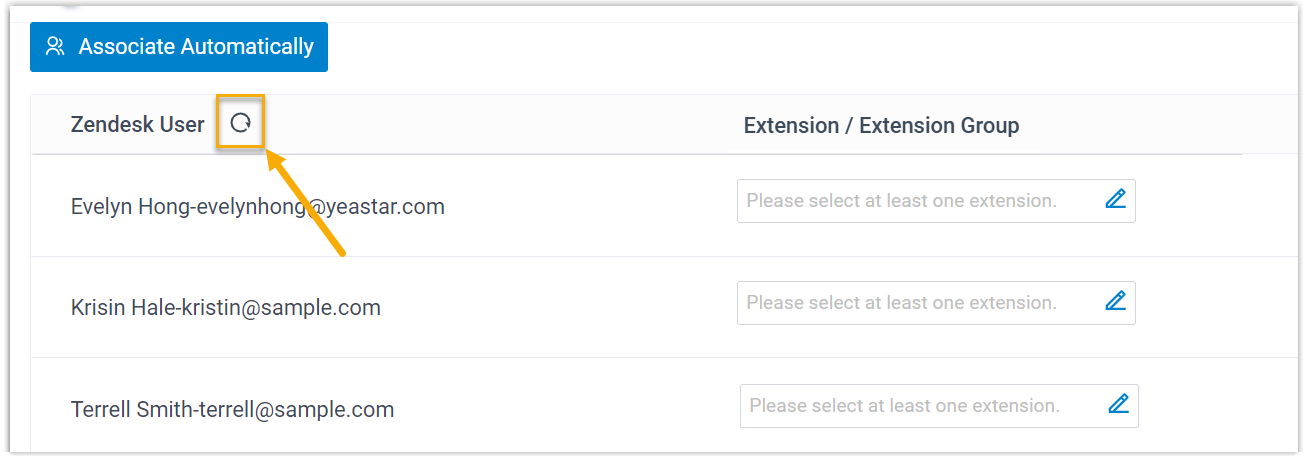
On the Zendesk integration page, click the refresh icon beside Zendesk User to pull in the current list of Zendesk users.
-
Associate the users with extensions using one of these methods.
Automatic association: use this when a user’s Zendesk account and Cloud Voice extension share the same email address. Cloud Voice matches them for you.
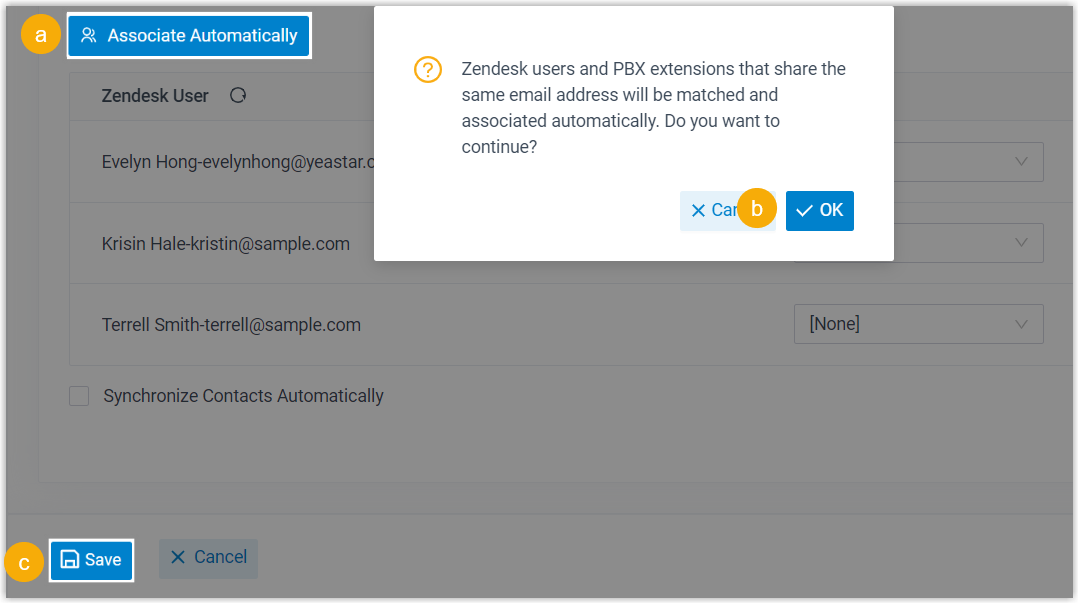
- Click Associate Automatically.
- In the pop-up, click OK.
- Click Save.
Manual association: use this when a user’s Zendesk email differs from the email on their extension, so you match them by hand.
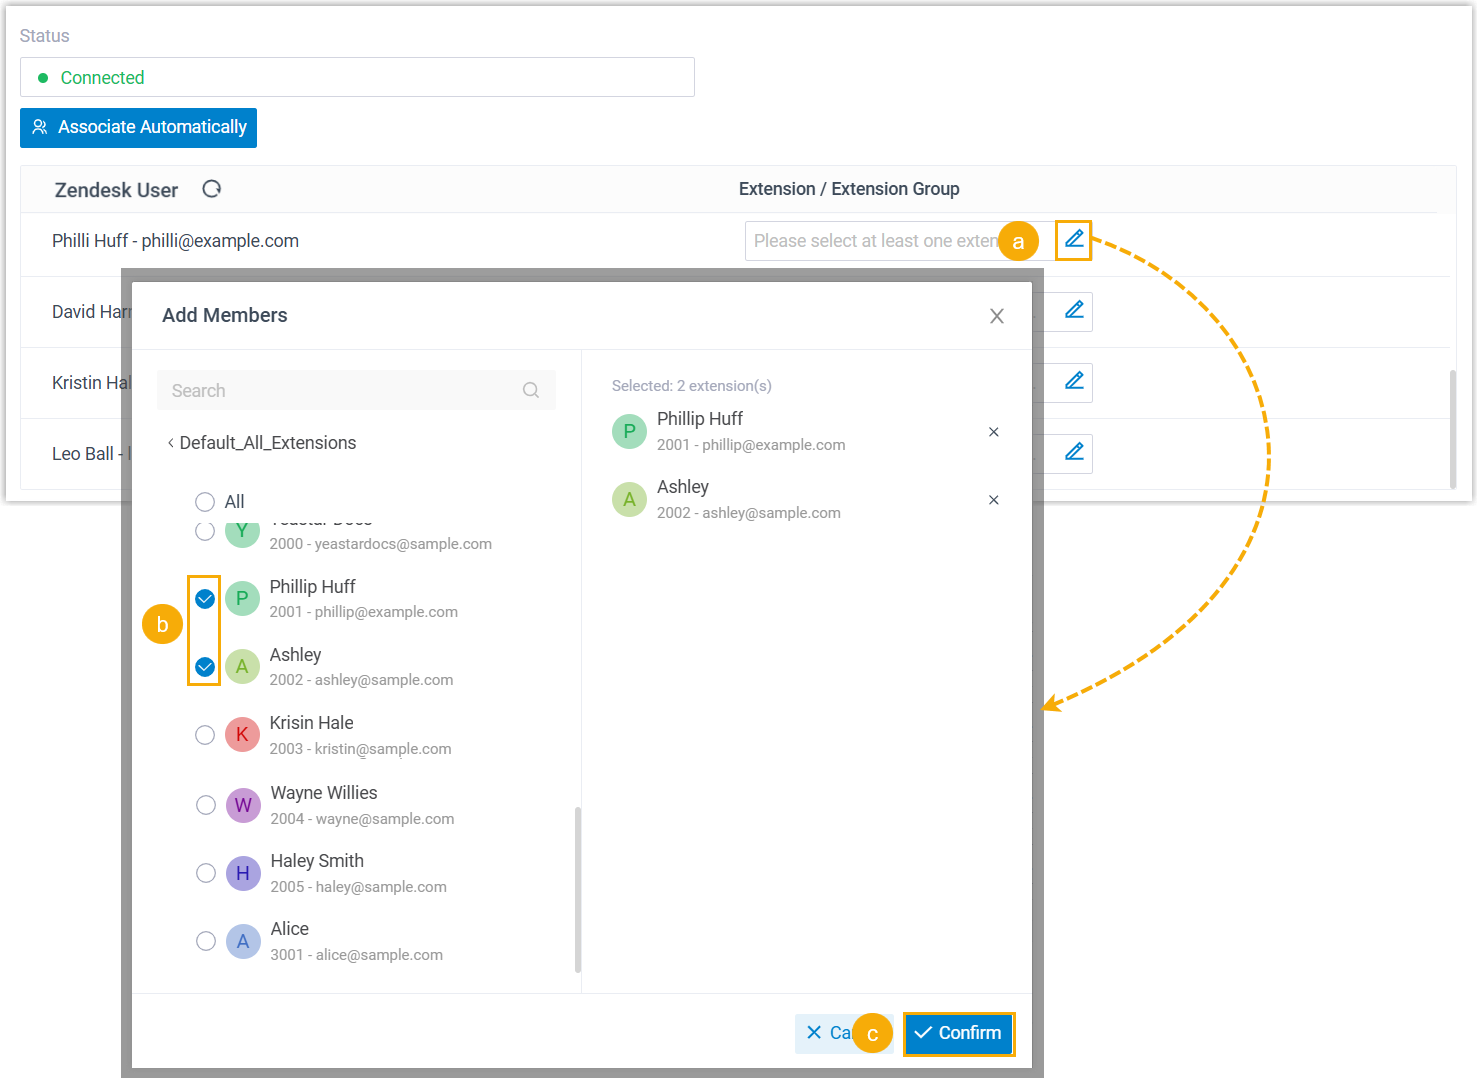
- In the Extension / Extension Group field next to the Zendesk user, click the edit icon.
- In the pop-up, select the extension(s) for that user.
- Click Confirm.
- Click Save.
Result
Section titled “Result”- Cloud Voice and Zendesk are now integrated.
- Associated Zendesk users can place and receive calls using their Cloud Voice extensions.
What’s next
Section titled “What’s next”Question about this page?
Ask the AI assistant. It starts from this page, then searches the rest of the docs.
Ask Cloud Voice AI
Answers are AI-generated from the docs and may contain mistakes. Verify with the linked pages.