
Set up a Call Flow from an Existing Flow
You don’t have to design every call flow from a blank canvas. Reuse work you (or someone else) already did by cloning a flow that’s on your system, or by importing a flow that was exported to a JSON file. Once the copy exists, you edit its components and enable it like any other flow.
Step 1. Create the flow from an existing one
Section titled “Step 1. Create the flow from an existing one”Sign in to your Cloud Voice portal and open Call Flow Designer. Then use whichever of the two methods below fits what you’re starting from.
Clone a flow already on the system
Section titled “Clone a flow already on the system”Cloning copies the entire flow: every component, connection, and setting from the original. You start with a working structure and change only what needs to differ.
-
Find the flow you want to copy in the list, and click the clone icon
 at the end of its row.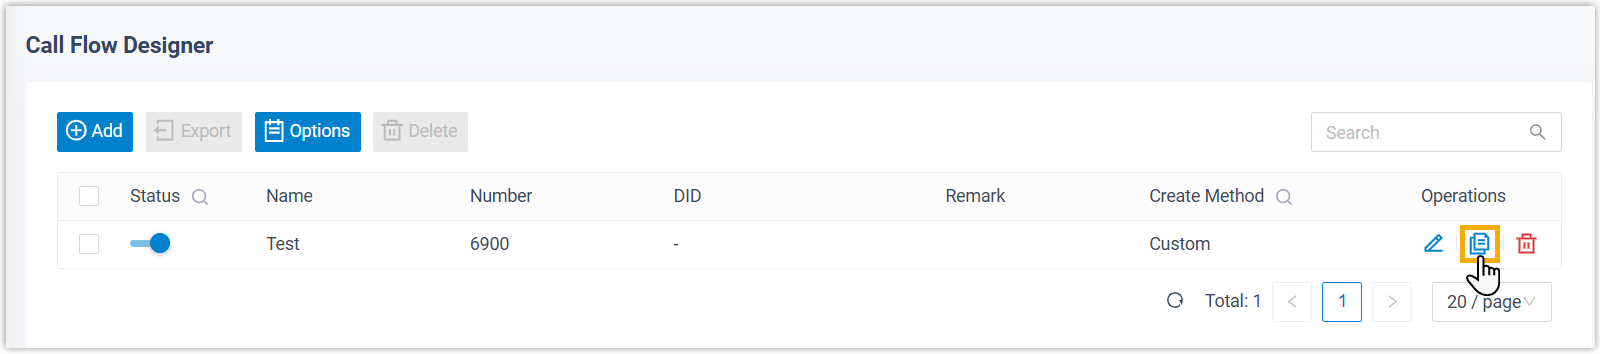
-
In the dialog, give the copy a Name and, if you like, a Remark, then click Save.
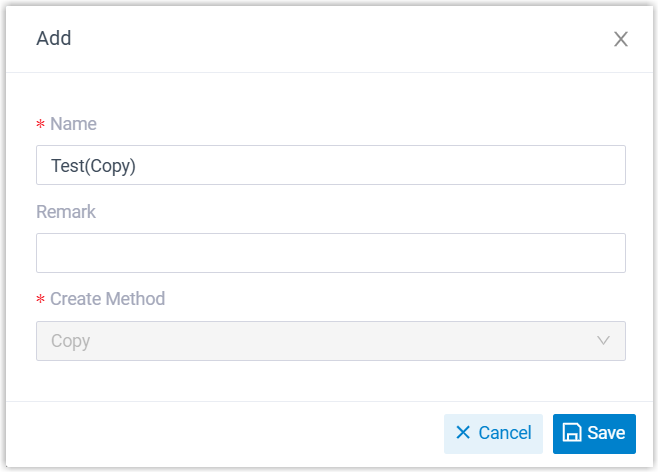
Cloud Voice creates the flow and opens its configuration page.
Import a flow from a JSON file
Section titled “Import a flow from a JSON file”-
At the top of the list, click Add.
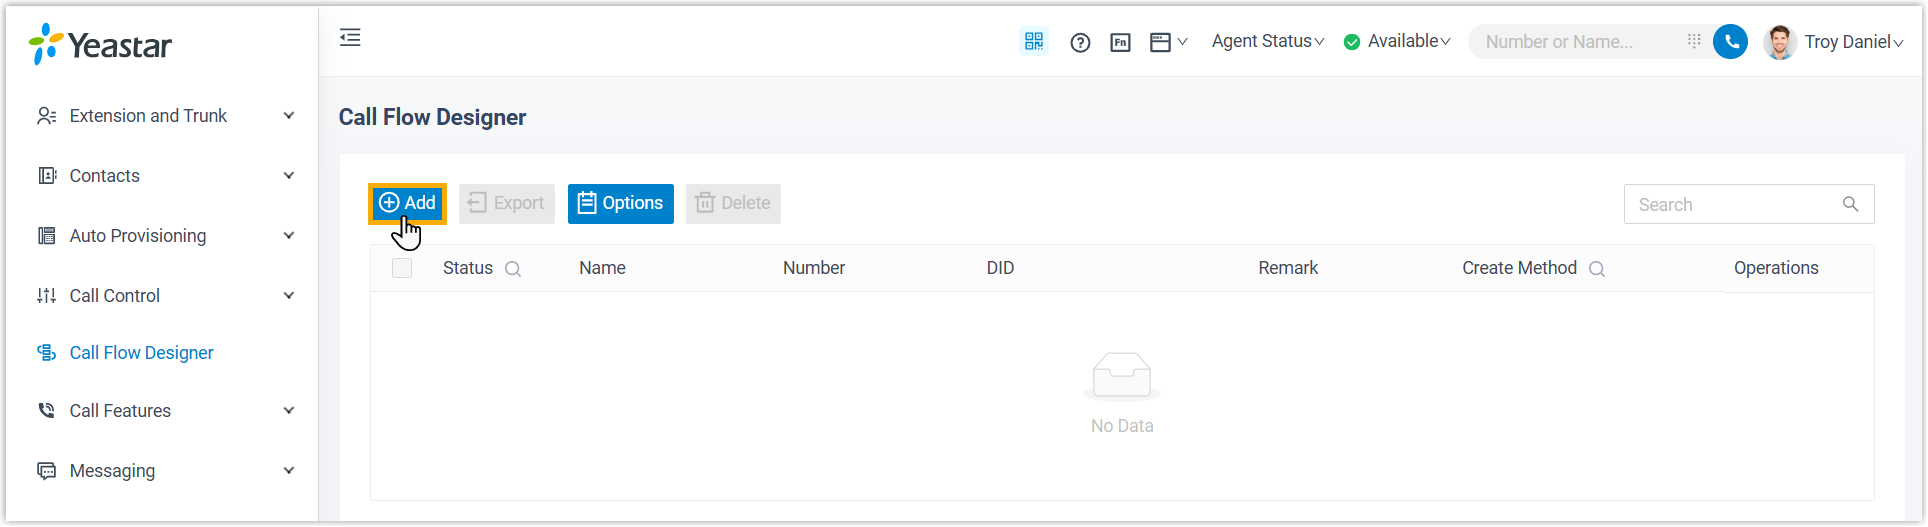
-
Complete the dialog, then click Save:
- Name: A label that makes the flow easy to recognize.
- Remark: A short description (optional).
- Create Method: Choose Import from File.
- Upload Call Flow File: Click Upload and choose the JSON file to import.
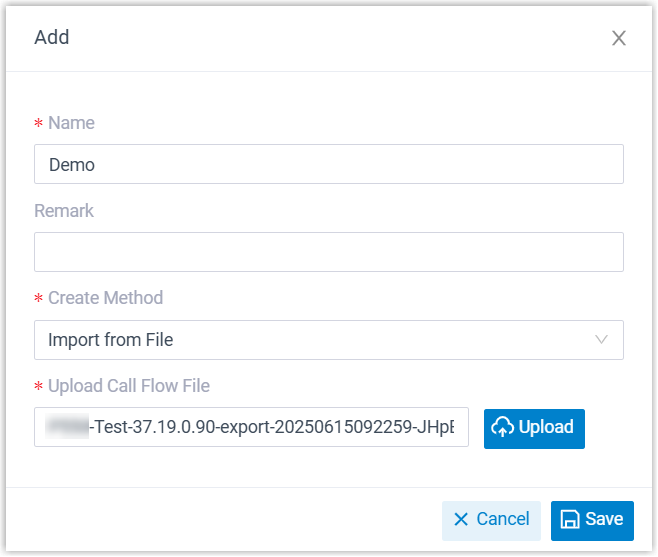
Cloud Voice creates the flow and opens its configuration page.
Step 2. Edit the components
Section titled “Step 2. Edit the components”-
Click any component on the canvas to open its settings. The table below describes what each component does and links to its full reference.
Component What it does Initial Action The flow’s entry point. Sets the number(s) callers dial to start the flow and can play an opening prompt that greets them or gives instructions. Prompt Plays one or more audio files, or a text-to-speech message, to the caller. Business Hours Routes calls to different destinations depending on the time of day. Menu Presents callers with a set of keypad options and routes each call by the DTMF digit pressed. DTMF (Dual-Tone Multi-Frequency) is the touch-tone signal a phone sends when a key is pressed. User Input Collects DTMF digits from the caller, usually paired with a Condition component that acts on what was entered. Language Changes the system-prompt language for the components that come after it. Record Starts recording once the caller is connected to another party, with optional prompts to announce the recording. It can also disable recording for calls that would otherwise be recorded. Dial by Number Lets callers dial a number directly to reach a destination. Dial by Name An end component. Callers reach an extension user by entering the first three letters of that user’s name. Transfer An end component that hands the caller off to a chosen destination, with optional prompts about the transfer. Hang Up Call An end component that disconnects the call when the caller reaches it. Condition Routes calls based on logical expressions. Loop Runs a group of components repeatedly, a fixed number of times, or until a condition is met. Internal Data Ops Queries and updates data in the built-in Cloud Voice database. See Get Extension Presence Status, Set Extension Presence Status, Get Queue Agent, Get Queue Info, Get Agent Status, Set Agent Status, Get System Info, Get System Capacity, Get Extension Info, and Get Company Contact Info. Email Sender Sends email, useful for real-time notifications, alerts, or delivering caller-specific details. Database Access Interacts with a database during the flow, running SQL operations (Structured Query Language, the standard way to read and write database records) to retrieve or update data. HTTP Request Sends HTTP requests (HyperText Transfer Protocol, the standard protocol of the web) to external web servers to exchange data with third-party services. -
Optional: To add a component, click the add icon
 on a branch, then pick the component you want.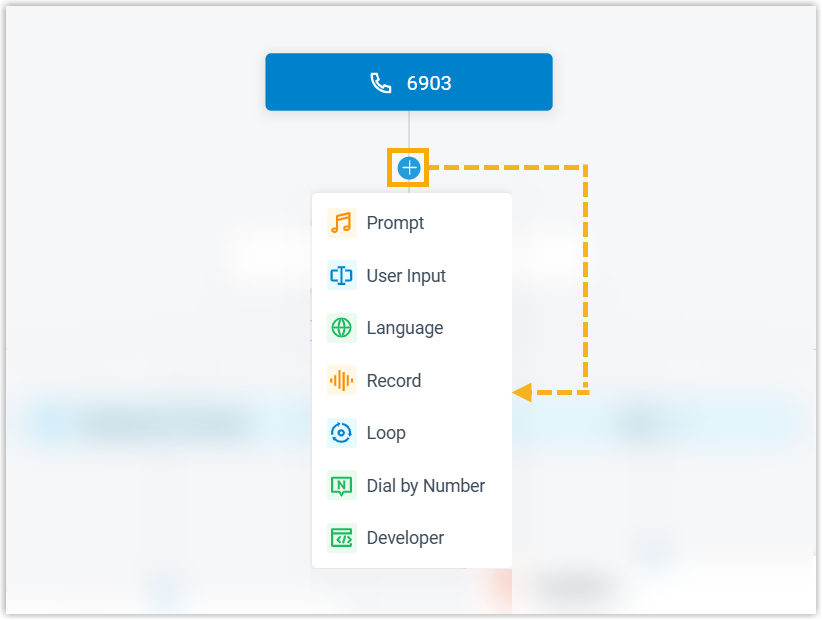
-
Click Save in the top-right corner.
Step 3. Enable the flow
Section titled “Step 3. Enable the flow”-
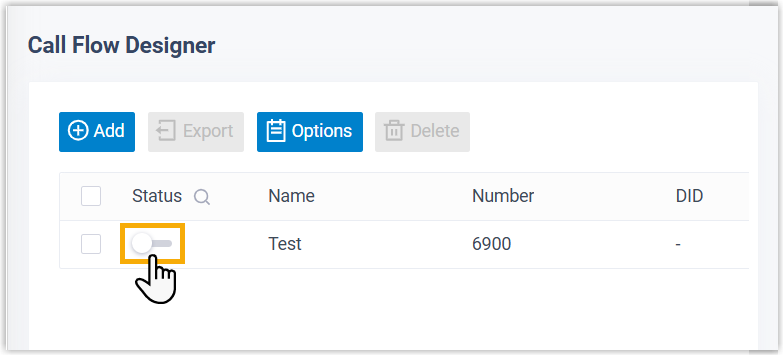
Back on the call flow list, toggle on the switch for your flow.
-
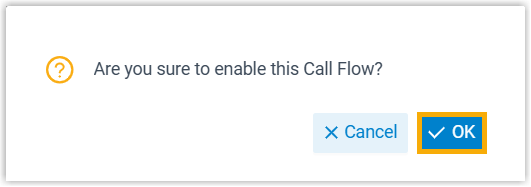
Confirm by clicking OK in the dialog.
Question about this page?
Ask the AI assistant. It starts from this page, then searches the rest of the docs.
Ask Cloud Voice AI
Answers are AI-generated from the docs and may contain mistakes. Verify with the linked pages.