
Manage Wallboard Widgets
The Wallboard is built from individual widgets, and you control which statistics appear and how they are arranged. This lets you keep the metrics that matter most front and center. This page covers how to add a widget, change its size, pin it in place, remove it, attach a note, and return everything to the default layout.
Where changes are applied
Section titled “Where changes are applied”Every task on this page begins the same way: choose a scope in the top-left corner of the Wallboard, then switch the board into edit mode.
-
In the top-left corner of the Wallboard, select All or pick an individual queue.
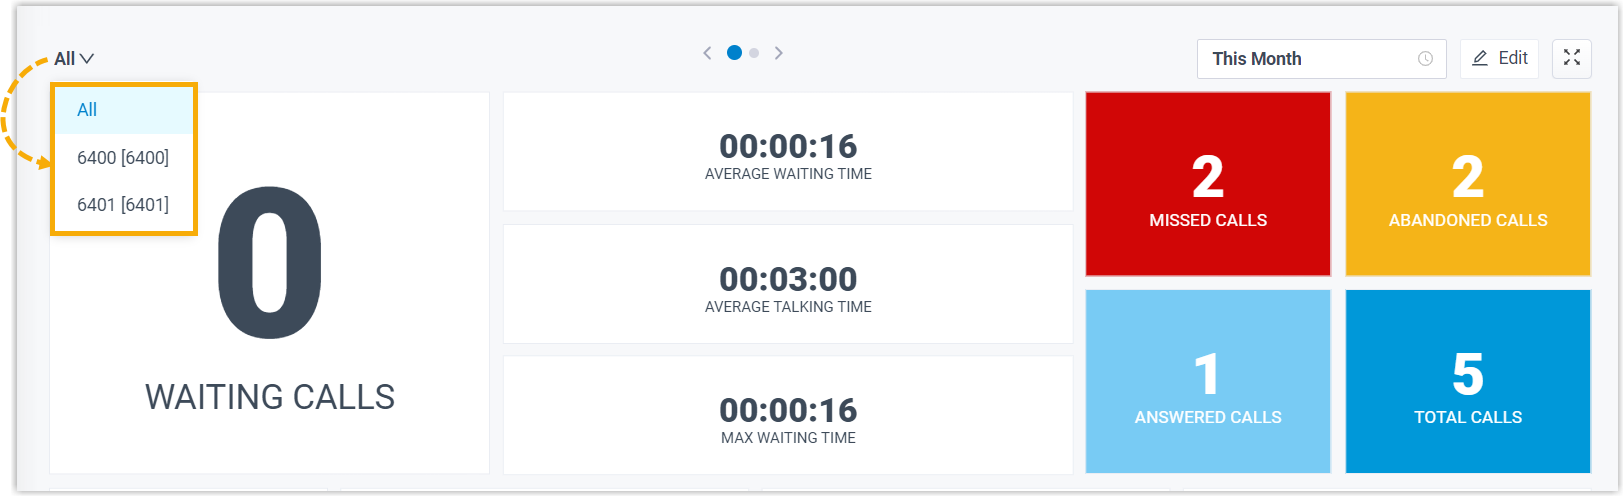
-
In the top-right corner of the Wallboard, click Edit.
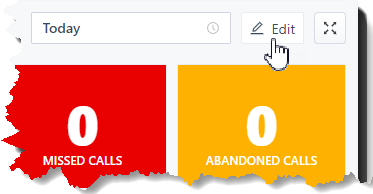
Once you are in edit mode, follow the steps for the task you want below, and click Save when you finish.
Add a widget
Section titled “Add a widget”- Enter edit mode as described in Where changes are applied.
- Click Add Widget.
- From the Type drop-down list, choose the statistic you want the widget to show.
- In the Note field, type a short description that suits your needs.
- Click Save.
Resize a widget
Section titled “Resize a widget”-
Enter edit mode as described in Where changes are applied.
-
Point to the lower-right corner of the widget.
-
Hold the widget and drag the border frame up, down, left, or right until the widget is the size you want.
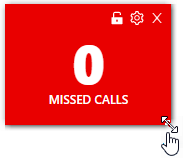
-
Click Save.
Move and pin a widget
Section titled “Move and pin a widget”Pin a widget to hold it in a fixed position so it stays put as you adjust the rest of the layout.
-
Enter edit mode as described in Where changes are applied.
-
Drag the widget to the position you want.
-
Click the lock icon
 on that widget.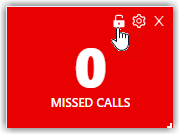
-
Click Save.
Delete a widget
Section titled “Delete a widget”-
Enter edit mode as described in Where changes are applied.
-
Click the delete icon
 on the widget you want to remove.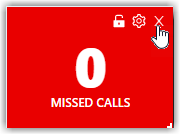
-
Click Save.
Add a note to a widget
Section titled “Add a note to a widget”Add a short caption along the bottom of a widget to give context to the statistic it displays.
-
Enter edit mode as described in Where changes are applied.
-
Click the settings icon
 on the widget.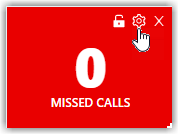
-
In the Note field, type a short description that suits your needs.
-
Click Save.
Reset all widgets
Section titled “Reset all widgets”Discard your customizations and return the widgets to their default layout.
-
Enter edit mode as described in Where changes are applied.
-
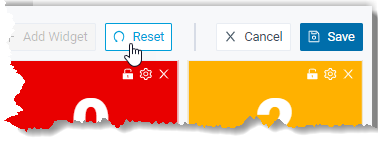
Click Reset, then click Save.
The custom position, note, and size of every widget revert to the default settings.
Question about this page?
Ask the AI assistant. It starts from this page, then searches the rest of the docs.
Ask Cloud Voice AI
Answers are AI-generated from the docs and may contain mistakes. Verify with the linked pages.