Route Inbound Calls to Original Extensions via AutoCLIP Route
With AutoCLIP feature in IZT Cloud Voice, you can route inbound calls from original extensions who have placed the calls. This intelligent route handling can greatly improve work efficiency and customer satisfaction. This topic describes how to set up the AutoCLIP feature.
Prerequisites
Make sure the desired trunk purchased from trunk provider has the Caller ID feature, or the PBX cannot distinguish the Caller ID and implement AutoCLIP.
Procedure
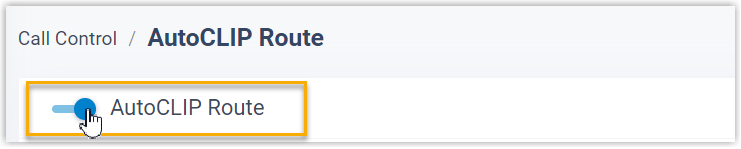
- Log in to IZT Cloud Voice web portal, go to Call Control > AutoCLIP Route.
- On the top of the page, enable the AutoCLIP feature.
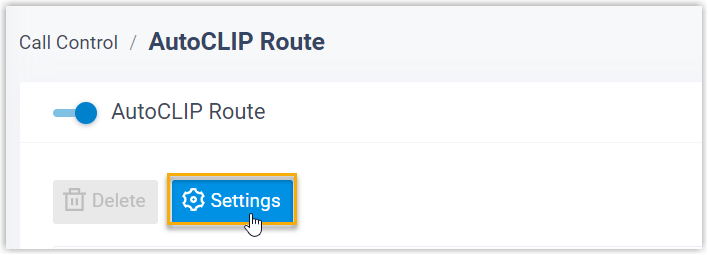
- Click Settings to set up rules for AutoCLIP feature.
- Configure the AutoCLIP settings according to your needs.
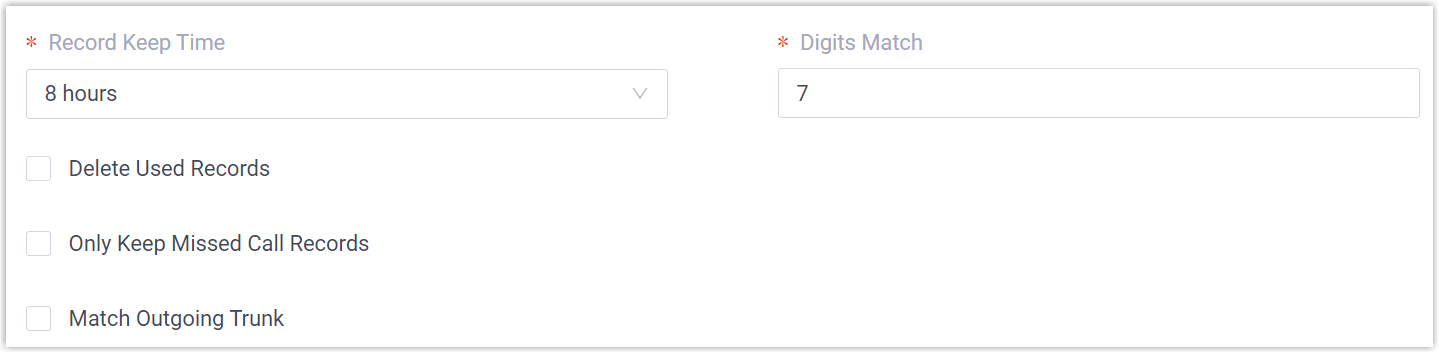
Setting Descriptions:
- Record Keep Time: Set how long records can be kept in the AutoCLIP list.
- Digits Match: Define how many digits from the last digits of the incoming call ID will be used to match the AutoCLIP list.
- Delete Used Records: Decide whether an AutoCLIP record should be deleted after it is matched and retrieved.
- Only Keep Missed Call Records: AutoCLIP will consider and store records for missed calls only.
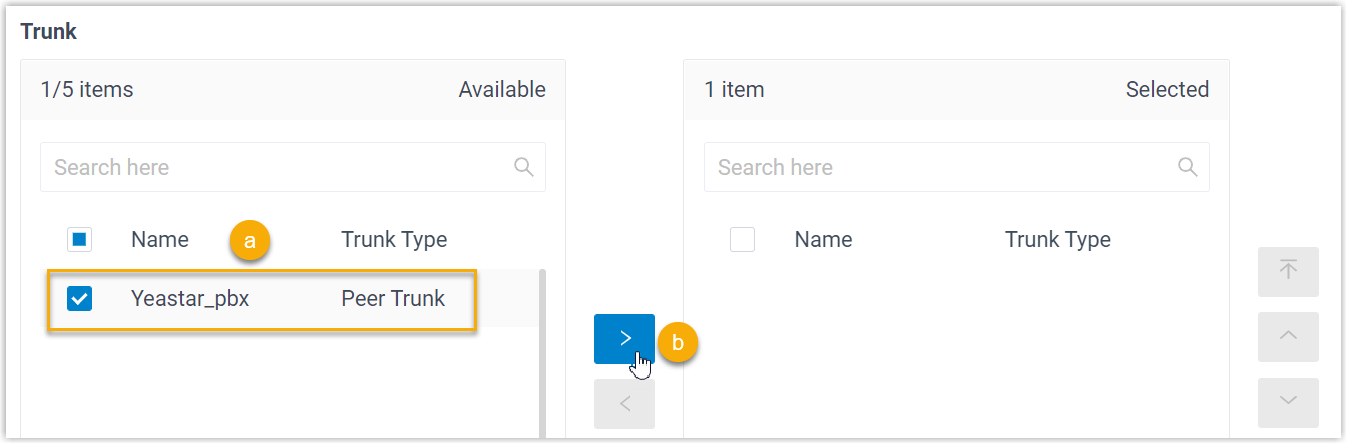
- In the Trunk section, select which trunks will use AutoCLIP.
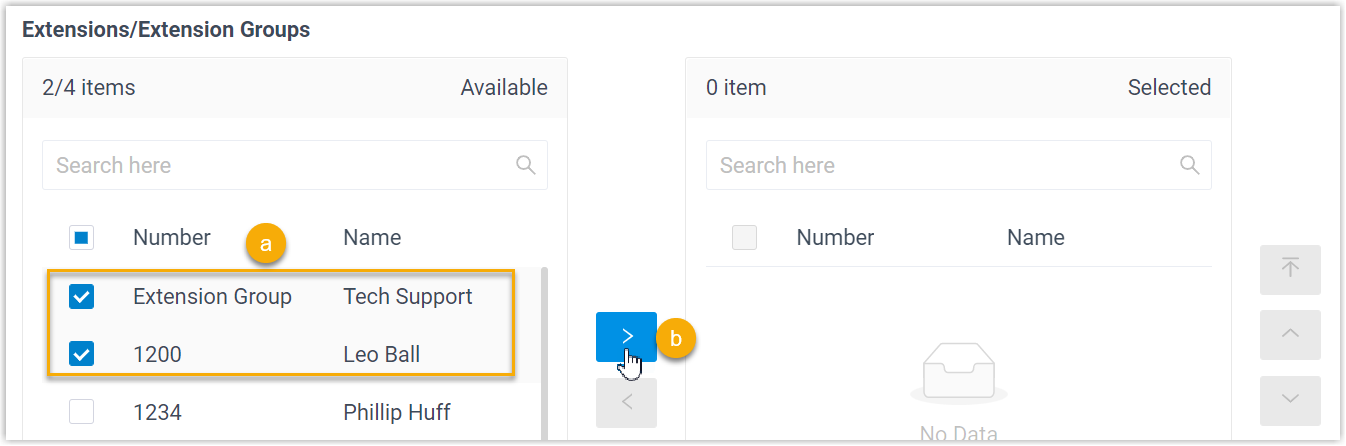
- In the Extension/Extension Groups section, select the extensions or groups that will use AutoCLIP.
- Click Save and Apply.
Result
When users make calls through trunks with AutoCLIP feature, the PBX will record all outbound numbers with required details. When customers call back, PBX will match them to their initial extension.
You have successfully set up the AutoCLIP feature!