📂 Manage Call Recording Files
This topic discusses how to manage call recordings, including searching, playing, downloading, or deleting the recording files.
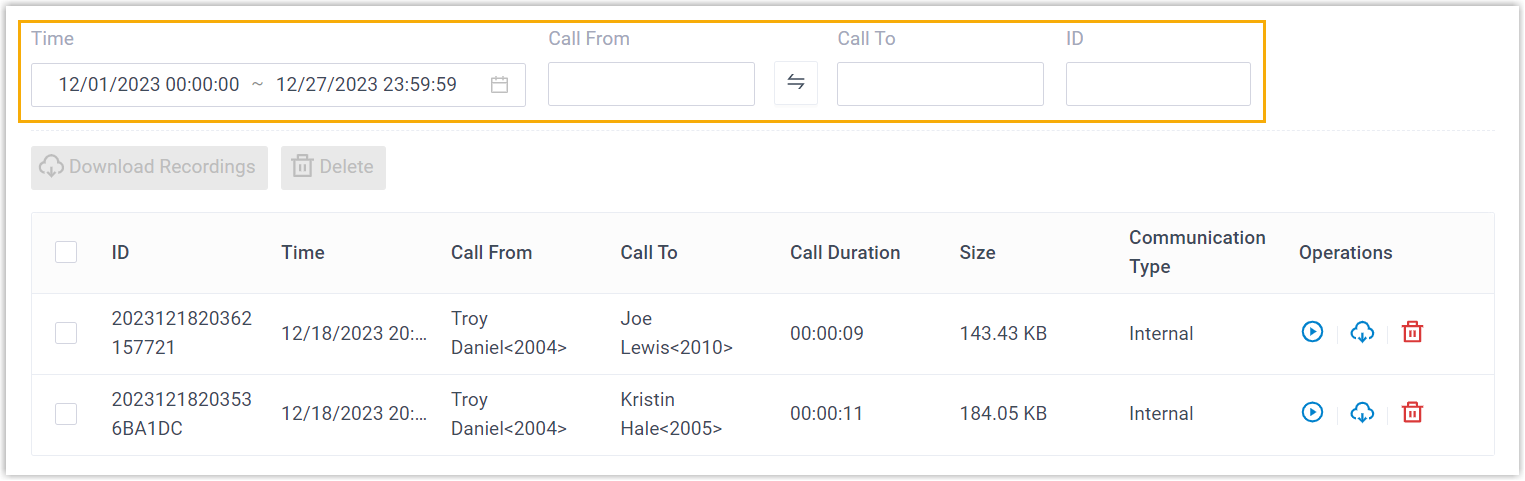
Search Recording Files
You can search the recording files by time, caller number, callee number, or file name.
- Log in to PBX web portal, go to Reports and Recordings > Recording Files.
- Set the criteria to filter the desired recordings:
- Time: Set the start time and end time of the call.
- Caller Number: Enter the caller's number or name.
- Callee Number: Enter the callee's number or name.
- Click Search.
- The system will display all recordings that match the criteria.
Play Recording Files
- Log in to PBX web portal, go to Reports and Recordings > Recording Files.
- Select the criteria to filter the desired recordings.
- Click Play next to the recording you wish to listen to.
- Play on Web Client: You can play the call recording on the web directly.
- Play to Extension: Play the recording file to the phone of the extension.
- Download Play files: Play options automated controls.
Download Recording Files
You can download recording files to your local computer or to an external system (such as FTP server, SFTP server, Amazon S3, or Google Drive).
- Log in to PBX web portal, go to Reports and Recordings > Recording Files.

- Download recording files as needed:
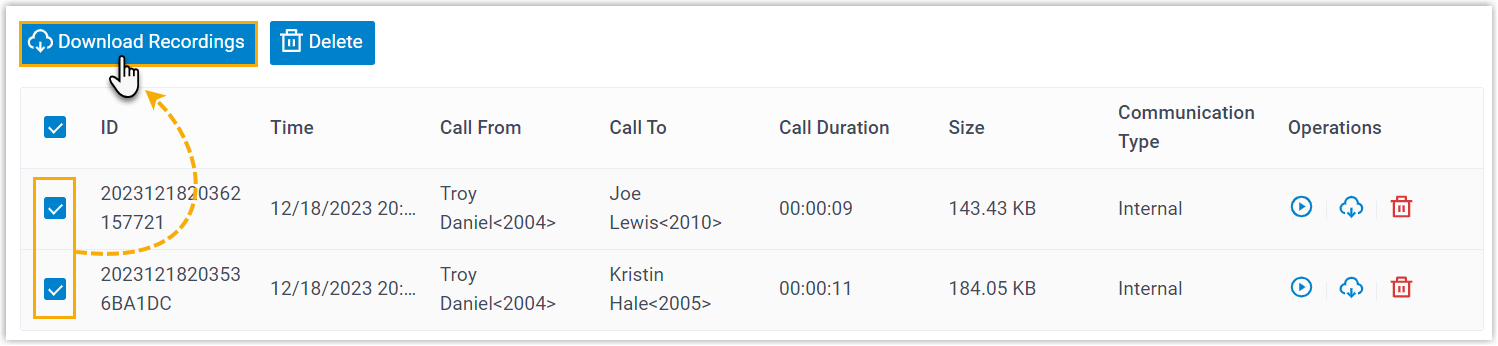
- Download a Recording File: Select the file, click Download.
- Download Multiple Recording Files: Check the options, click Download checking list:
Delete Recording Files
- Log in to PBX web portal, go to Reports and Recordings > Recording Files.
- Optional: Set the criteria to filter recordings.
- Delete:
- Delete Recording: Select the recording, Delete.
- Delete Multiple Recording Files: Bulk options enabling delete: