Create an Extension Group
This topic describes how to create an extension group.
Procedure
-
Log in to the PBX web portal, go to Extension and Trunk > Extension Group, and click Add.
-
Configure basic settings for the extension group: a. In the Name field, enter a group name to help you identify it. b. In the Select Members drop-down list, set which extensions will be added to the group.
-
All Extensions: If you choose this option, all the extensions will be moved to the Selected box.
Note: ONLY one group that contains all the extensions is allowed.
- Specific Extensions: If you choose this option, select the desired extensions from Available box to Selected box.
-
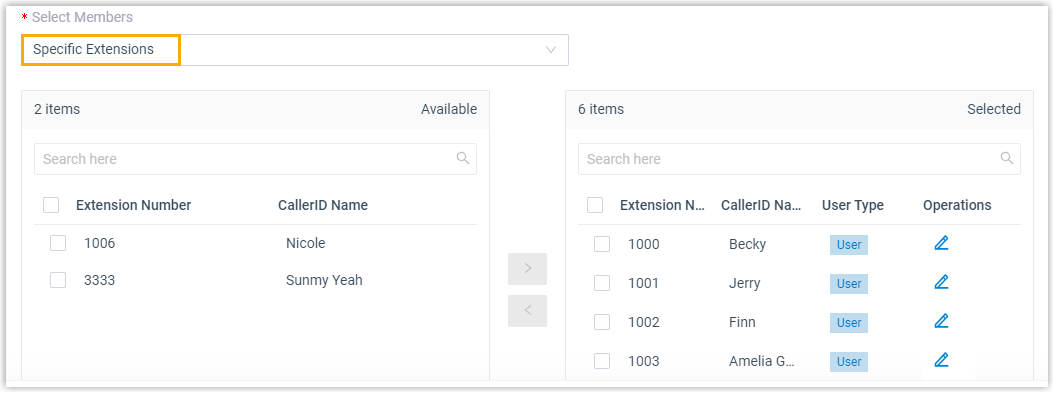
- Assign user types for group members.
Note: Users of different user types have different permissions. For more information, see User types in an extension group.
i. In the Selected box, click beside the desired member.
ii. In the pop-up window, configure the User Type and permissions.
- If you select Manager or User, the member has all the permissions that are granted to the user type.
Note: The permissions of Manager and User are pre-defined. To change the permissions, see View or change permissions for managers and users.
- If you select Custom, select the checkboxes of the desired permissions.
iii. Click Save.
- Click Save.
Result
- The extension group is displayed on the Extension Group list.
- No one can view the group on IZT Cloud Voice clients. To allow specific users to view the group, see Set up Extension Visibility.