📥 Set up an Inbound Route
To receive inbound calls from external users, you need to set up at least one inbound route in IZT Cloud Voice.
Background Information
IZT Cloud Edition has a default inbound route to route all inbound calls to an IVR. You can either delete the default inbound route, add a new one to configure settings according to your company's requirements.
Prerequisites
Ensure that you have set up at least one trunk for external users to call in.
Procedure
- Log in to the PBX web portal, go to Call Control > Inbound Route, click Add.
- In the Basic section, set the Name and Destination for the inbound route.
- In the Trunk List section, select the desired trunks from Available Trunks to Selected Trunks.
- (Optional) If you want to route inbound calls to one destination according to the DID numbers, configure the DID Pattern and Caller ID Pattern.
- The PBX will route inbound calls only when the caller IDs match the Caller ID pattern.
- (Optional) If you want to route inbound calls based on Caller ID numbers, configure Caller ID Pattern.
- (For DID-based routing) Click Look Up to show more options, select the desired DID Numbers.
- Configure the inbound route details:
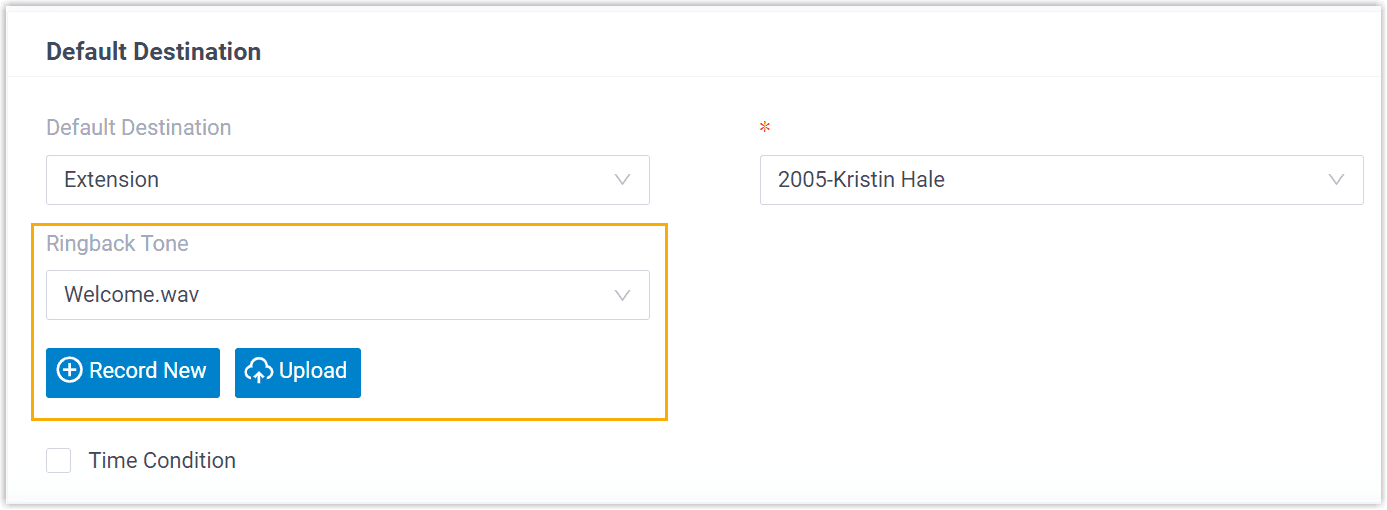
- Set Destination: When the destination is set to an extension, you can specify or upload a music file as the follow-up Ringback Tone File.
- If you want to route inbound calls to one destination whenever the calls reach the system, perform the following actions:
- Click Keep Time Condition Unselected.
- Select the Default Destination.
- (Optional) Set the caller ID information for the inbound route.
- (Optional) Set Fax Detection, select If you do not want inbound calls to fax detection.
- Click Save and Apply.
Now you’ve successfully set up an inbound route in IZT Cloud Voice!