📧 Set up Gmail as an Email Server
This topic describes how to set up Gmail as an email server in IZT Cloud Voice.
Prerequisites
Make sure your Gmail account can access Google services:
- Turn on 2-Step Verification
- Generate an App Password
Step 1: Create an App Password on Google Account
To ensure that the PBX can access Gmail as an email server, you need to turn on 2-step verification and create an app password as follows:
- Sign in to Google Account.
- In the left navigation panel, click Security.
- In the Signing in to Google section, click 2-Step Verification and enter your password to verify your account.
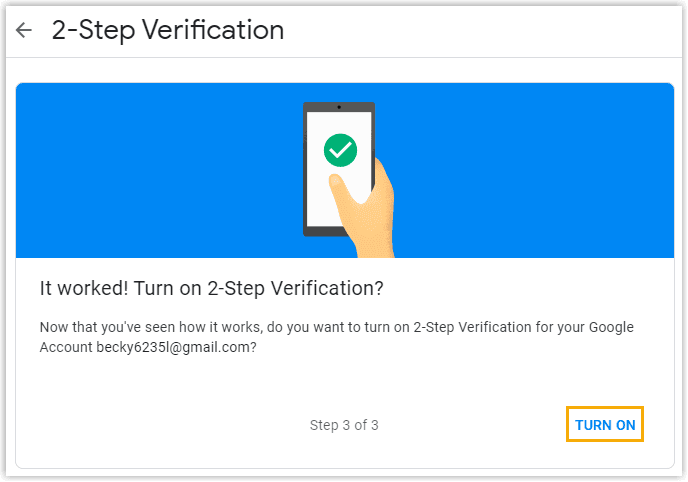
- Click TURN ON on 2-Step Verification page, then click GET STARTED and enter your Gmail password to verify your account.
- Select a verification method, your phone number, and a prompt according to your settings.

- Just above the page, click on the App passwords option and enter your Google password again.
- Select the App as Mail, and Device as Windows Computer, then click Generate.
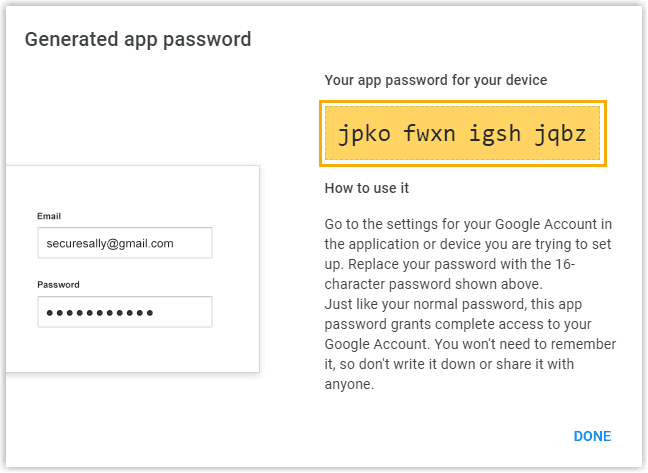
- Copy the generated app password. You will need the password to set up Gmail as an email server.
Step 2: Configure Gmail as Mail Server in IZT Cloud Voice
To ensure that the PBX can access Gmail as mail server, you need to perform the steps as follows:
- Log in to PBX web portal, go to System > Email > Email Server.
- In the Type of Email Server drop-down list, select Custom Email Server.
- Fill in the email server settings:
- Sender Name: Enter the sender name.
- SMTP Server Address (SMTP): Enter smtp.gmail.com.
- Outgoing Mail Server (SMTP) Port: Enter 465.
- Encryption Method: Select SSL/TLS.
- Enter the email address and generate app password obtained from Google:
- Email Address: Enter your Gmail address, which will appear as the From address for outgoing emails sent by the PBX.
- Username: Enter your full Gmail address.
- Password: Enter the generated app password.
- Click Test to make sure the settings are correct:
- In the Email Address field, enter a recipient’s email address to test and click Send.
- Click Save.
Result
- If the test email is sent successfully, the page displays "Success" and the recipient's mailbox receives the email.
- If the test email fails to be sent, the page displays "Failed to send" and prompts you with an error message. You can check the error in Email Sent Logs.