🔒 Archive Files to SFTP Server
This topic describes how to set up and archive files to an SFTP server using IZT Cloud Voice.
Requirements and Restrictions
Requirements
- PBX Firmware: Version 84.15.0.2 or later
- PBX Plan: Ultimate Plan
Restrictions
- Archive Server: 10
- Archive Task: 200
Prerequisites
Before you begin, you need to prepare the following resources and collect the required information:
- Prepare an SFTP server with Domain/IP Address, Port, and File Transfer Protocol.
- Ensure the specified SFTP account has both read and write permissions, and take note of the Username and Password/Private Key.
Step 1: Add SFTP Server as Archive Server
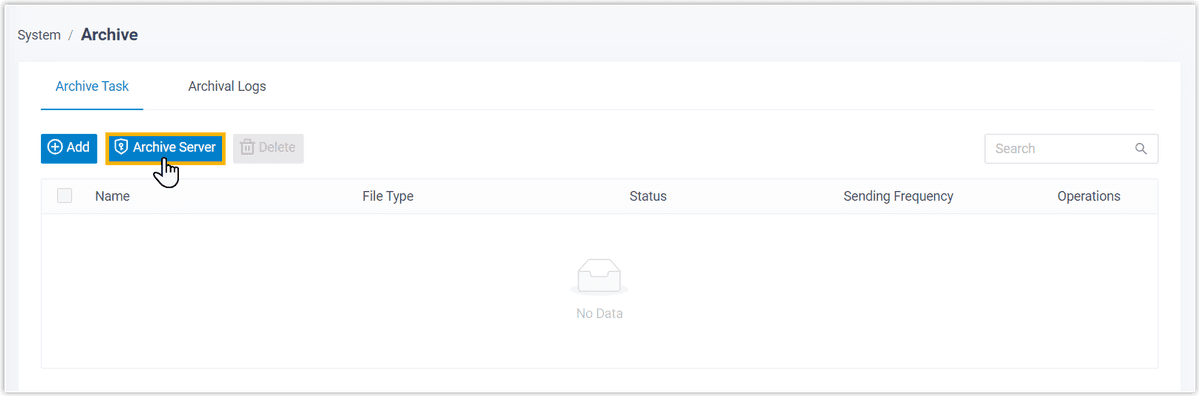
- Log in to PBX web portal, go to System > Archive.
- Under the Archive Task tab, click Archive Server.
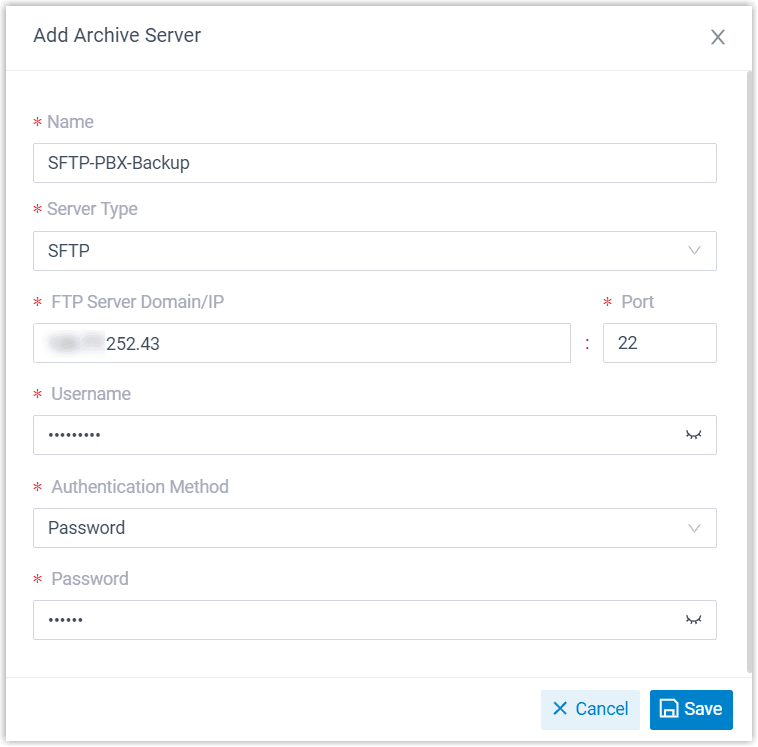
- Click Add.
- In the pop-up window, complete the following settings:
| Setting | Description |
|---|---|
| Name | Enter a name to help you identify the server. |
| Server Type | Select SFTP. |
| SFTP Server Domain/IP | Enter the address of your SFTP server. |
| Port | Enter the port on which your SFTP server is running. The default port is 22. |
| Authentication Method | Select the authentication method: Password or Private Key. |
| Username | Enter the username for the SFTP account. |
| Password/Private Key | Enter the password associated with the username or upload the private key file. |
- Click Save to close the window.
Step 2: Create Task to Archive Files to SFTP Server
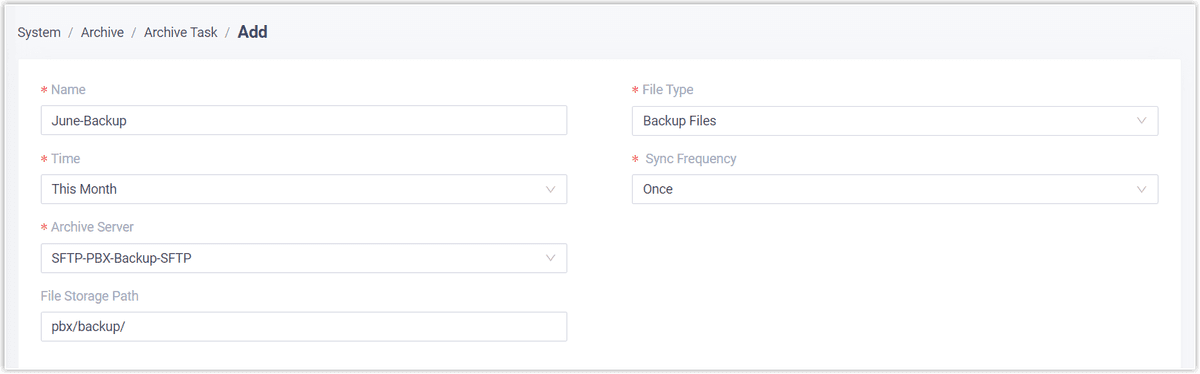
- Under the Archive Task tab, click Add Task.
- Create a one-time or recurring archive task:
| Setting | Description |
|---|---|
| Name | Enter a name to help you identify the task. |
| File Type | Select Recording Files & Backup Files as needed. |
| Time | Specify a date and time for this task. |
| Sync Frequency | Choose between Once, Daily, or Weekly and set the respective frequency and timescales where appropriate. |
| Archive Server | Select the SFTP server that you have added. |
| Select Folder/Path | Specify the path to the folder in which you want to store archived files. For example, /archive. |
- Click Save.
Result
The specified files will be archived to the designated folder in your SFTP server immediately or at the scheduled time.
- Scheduled Execution: The system executes only one task at a time to avoid affecting system performance. If there are multiple tasks, they will be queued up one after another.
- Archive Result: You can check the archive result on the PBX or directly on the SFTP server:
🔎 Note: If the task is failed, the Failed to Archive File(s) event will be triggered. You can click Retry to retry the task.
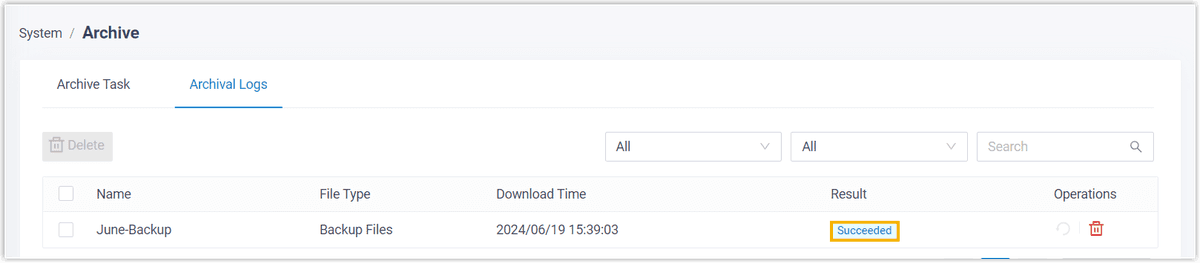
Check the Archive Result on PBX
- Go to PBX web portal > Archive > Archival Logs.
- If the Result column for the task shows Succeeded, it indicates that the archive was successful.
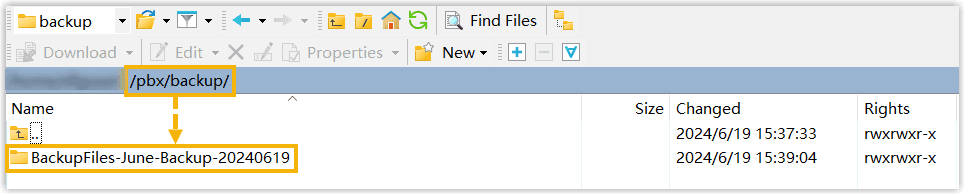
Check the Archive Result on SFTP Server
- Log in to SFTP server.
- Navigate to the designated folder.
- If the specified files are present in the folder, it indicates that the archive is successful.